
Drawing skintones with colored pencils is probably the most challenging task for all pencils artists and drawing enthusiasts out there. And that’s quite understandable since skin consists not only of multiple hues of browns, reds, and yellows, but also unlikely colors such as greens, blues and purples. (Yes, really!)
Fortunately, there are a couple of tricks and shortcuts to achieve the best result with the least effort, especially if you are busy (ahem, =lazy) like me.
Color Palette
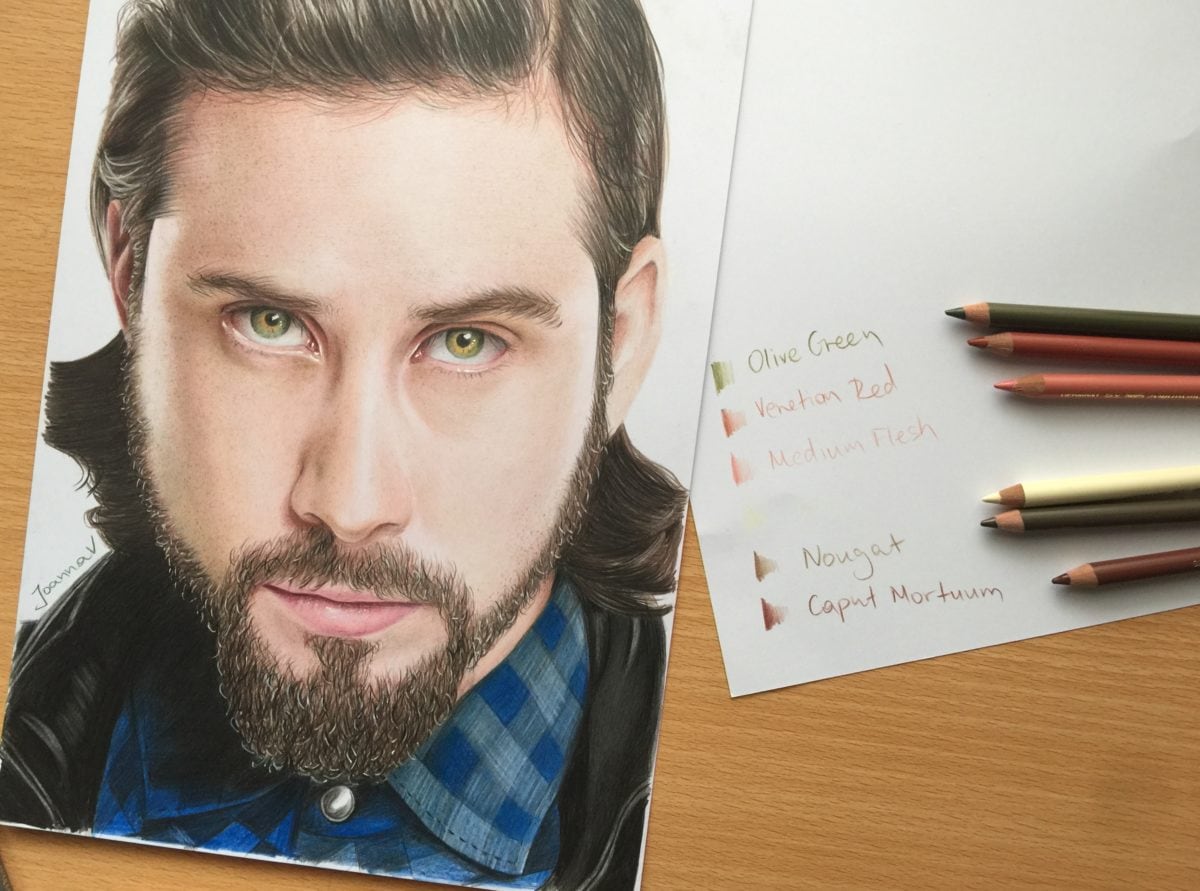
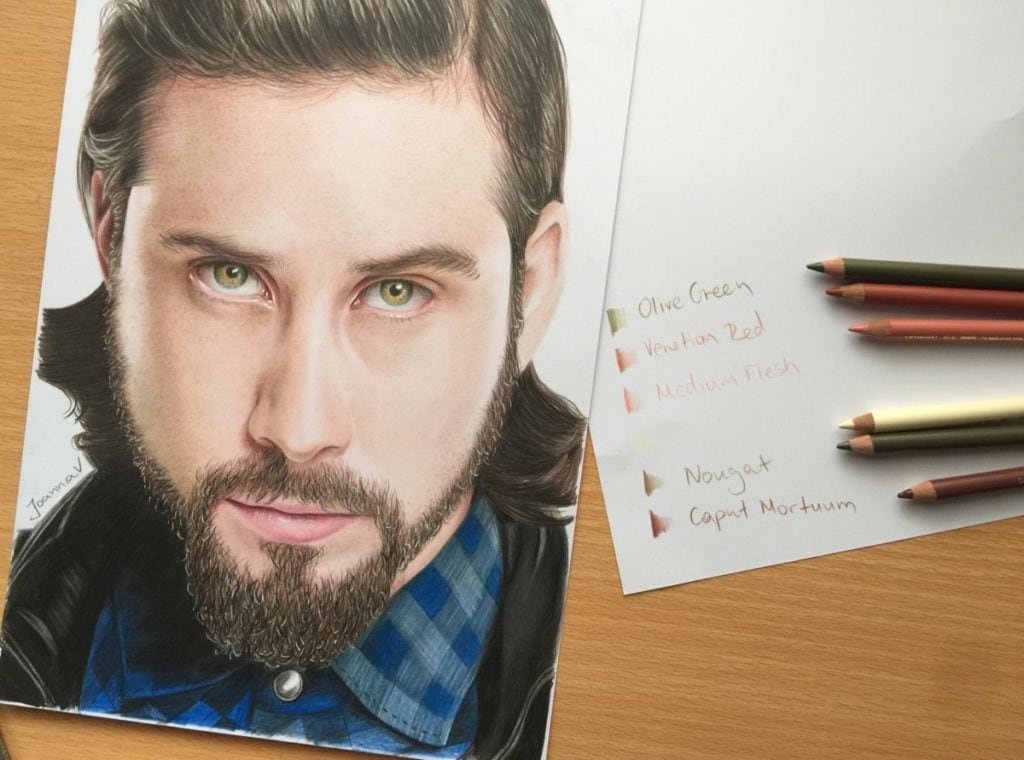
Firstly what I love to do is choose my color palette. This consists mainly of 5-6 colors. Three browns, a light, medium and a dark one, as well as a reddish and a greenish pencil. I use the light, medium and dark brown for the highlights, medium tones and shadows respectively. Then I might add a red layer if I would like some warmth to my skin, or I will some green strokes to make the skin less saturated. After all, green is complimentary to red and they tend to “cancel” each other.
My color palette for this drawing consists of the following colors:
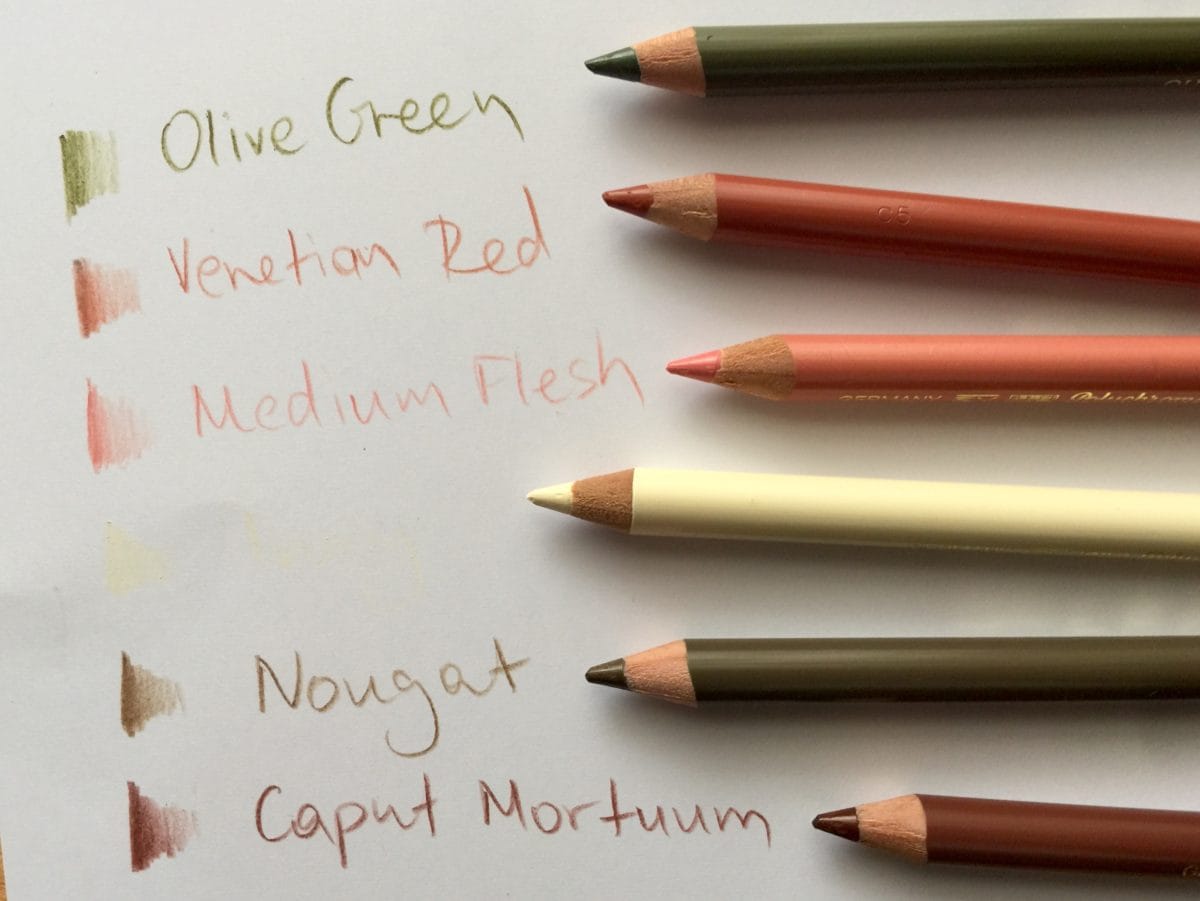
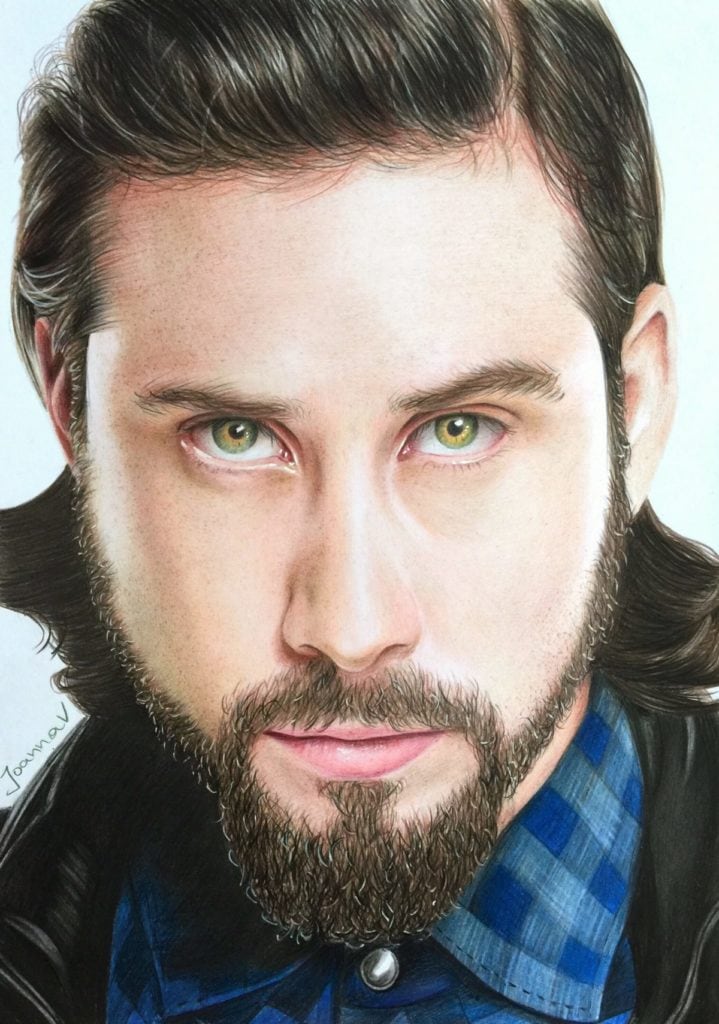
They are all faber-castell polychromos colored pencils. Ivory is very light, it doesn’t show on camera, but it is there! So, basically I used Ivory for highlights, Medium Flesh for mid-tones, and for the shadows I mixed two colors: Nougat and Caput Mortuum. Then I made him blush with Venetian Red on the cheeks, and intensified the shadows on the left part of his face with Olive Green.
Stick to your choice
Once I choose my palette, I rarely use any other colors. If you are a beginner, it is quite important that you use the same colors throughout the whole drawing, otherwise it might look patchy. Don’t worry about matching the color 100% with the reference photo. As long as the color is consistent, it doesn’t matter which colors you use. Some choose unlikely colors on purpose, it adds character. But this is a topic for another post! 😉
Also, when defining my palette, I tend to choose either complimentary colors and colors that match one another. This adds depth to my drawing and makes it look less flat or monochromatic.
A couple of guest star tools
Lastly, there are a couple other tools worth mentioning, for those who would like to take it to the next level. These include an eraser and a white marker.
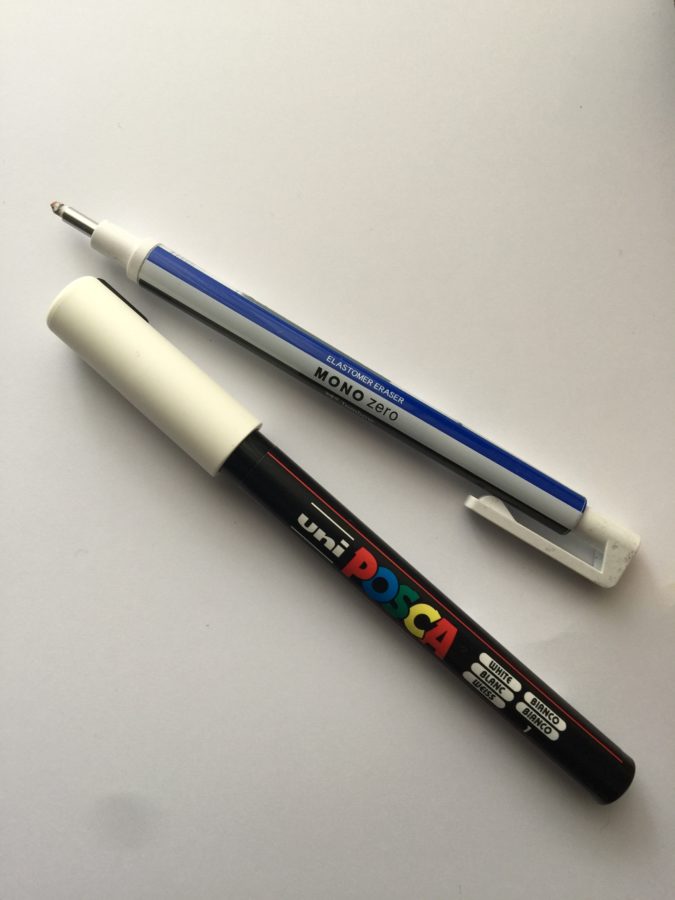
No matter how light-handed one can be, unwanted strokes can always happen when working with colored pencils. When I need the skin to be extra smooth, like Avi’s here, I like to use an eraser to carefully erase these strokes. I prefer pencil erasers, like tombow mono zero shown here, as they are super thin and can erase very small details without disturbing the surrounding area. Sometimes I use a normal eraser which I sharpen with a knife.
Finally, a white marker always comes in handy. Apart from drawing white details, like hairs, reflections etc, I use it sparingly to write over over-worked areas that cannot be erased any other way. The area becomes white and you can recolor it. Just be careful which marker you will choose. I love this white posca marker shown here, as it is super opaque and high quality.
So, basically that’s all. Hope you found this post useful and I would love to know your own tips!
 Art discussion
 The future of Art (or why AI won’t take over)
 Colored Pencils
 My 5 top High End Artist Grade Colored Pencils
 Acrylic Markers
 Ohuhu Acrylic Markers Review
 Colored Pencils
 Woomer Art Colored Pencils Review
 Graphite
 Staedtler Mars Lumograph Black Review
 Arrtx
Arrtx