

How to create custom brushes is a question I get asked all the time. So here I am, spilling all my secrets!
Today I will be showing you how to create a simple rain brush. Generally, there are many ways to create a brush, but I will be showing this particular one because it requires zero drawing and can be made only with a few taps. You can also watch this tutorial in video format, just scroll till the end of this page.
So, I am starting off with a new canvas, 2048×2048 pixels. Exact size doesn’t matter, as long as it is square. That being said, you CAN use a non-square image as brush input but it will be distorted. And make sure it is big enough, otherwise the created brush will be pixelated.
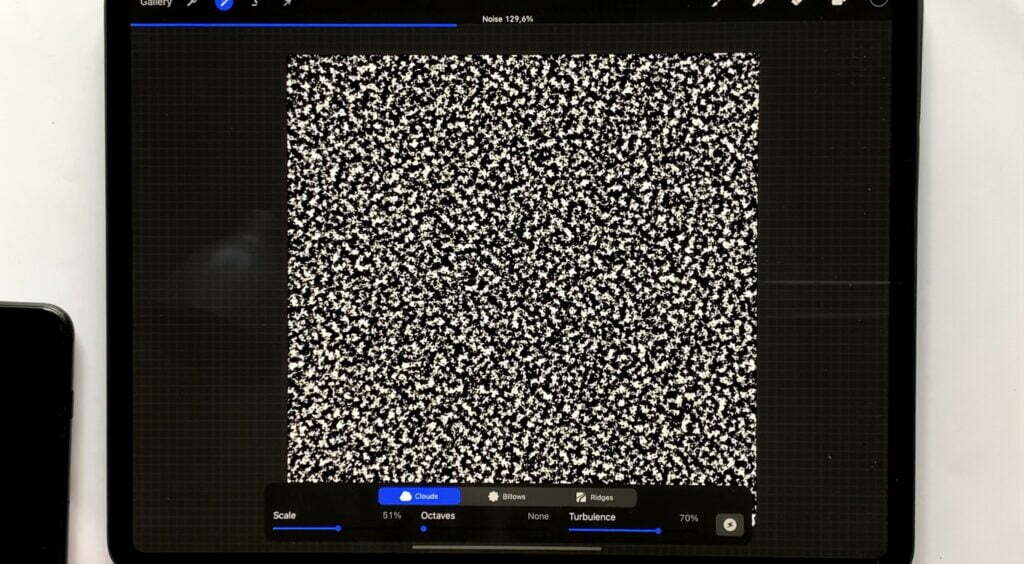
So, firstly I fill my layer with a solid black color. After that I am adding noise by simply going to Adjustments -> Noise -> Layer and then glide your finger or Apple Pencil across the screen.

I play with the settings (clouds, billows, ridges, scale, octaves, turbulence) until I have something like this:
My goal here is to manipulate the image enough to eliminate the white spots. The simplest way to do so is duplicate the existing layer and either, rotate, scale or distort it. Here I have duplicated my layer and rotated it 90 degrees. The result should look something like this:
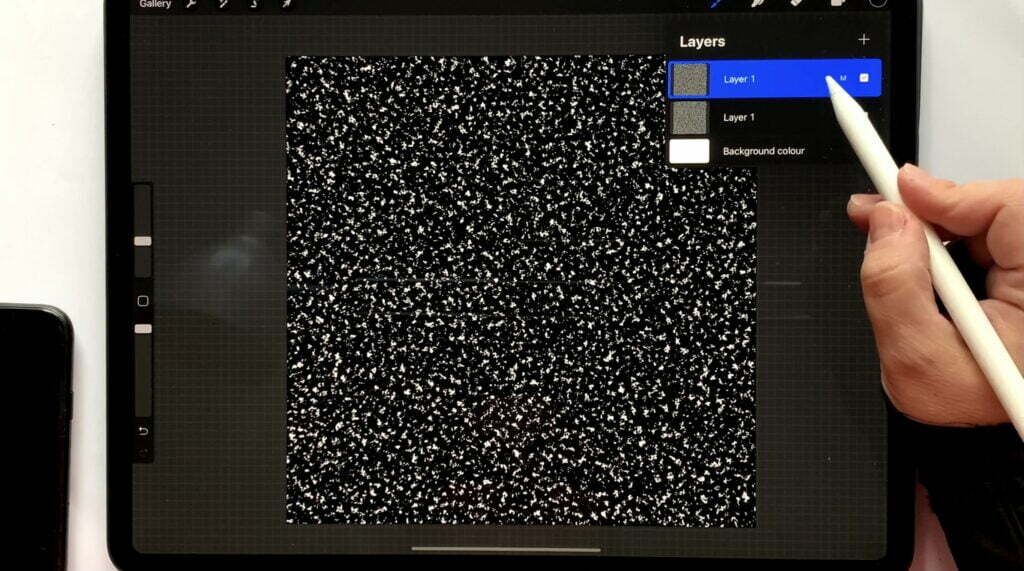
There are fewer white spots now, and we are ready for the next part. Now I will use the motion blur feature, by going to Adjustments -> Gaussian Blur -> Layer and then I slide again my finger (or Apple Pencil) until I have something like this:
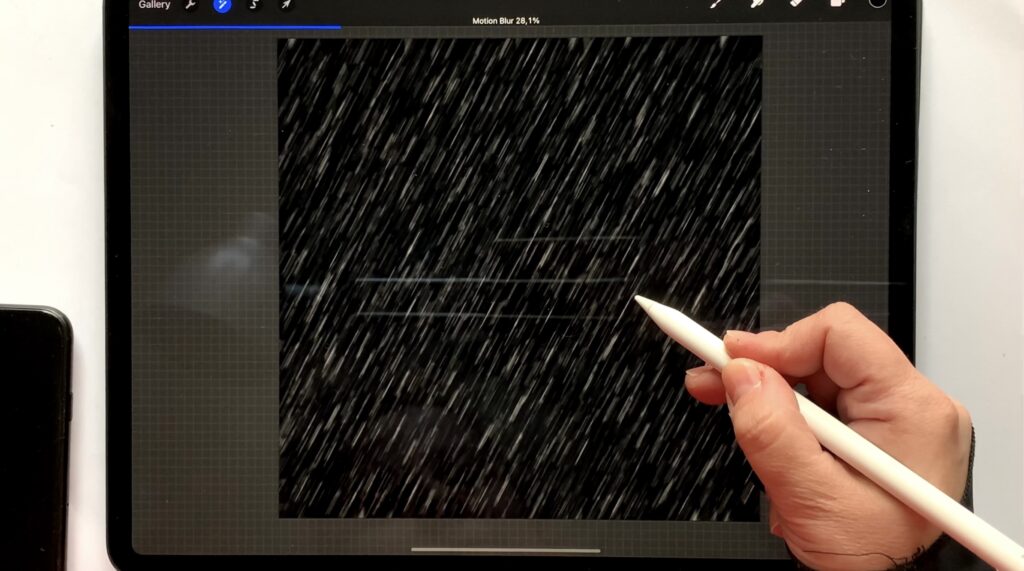
Looks like heavy rain, right? The quality of the rain (light, heavy etc) depends on the initial image, the amount of white spots. The more white spots, the heavier the rain. Just don’t overdo it! 😉
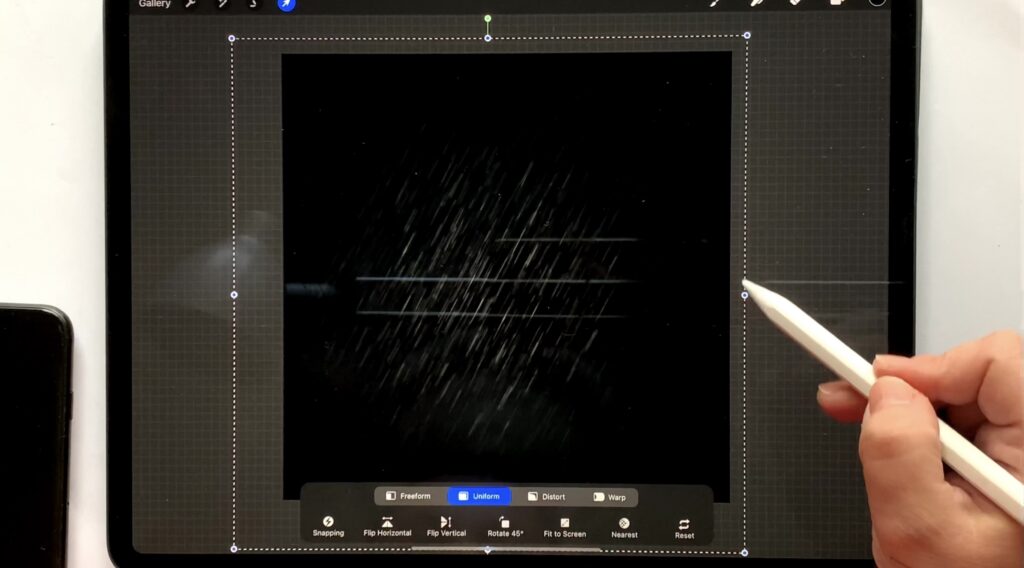
Now, in order to create a good rain brush (and this is also the rule for most texture brushes), the edges should be faded to black. So, what you can do, is paint the edges to create a smooth-ish gradient. What I love to do, however, is use a gradient brush on top. (You can download my free gradient brushes here). This way, transition is flawless, and the process requires zero drawing (just as I promised in the beginning of this post!)
That’s our final image after the gradient brush. The middle is the rain we just created and it fades to black at the edges. Now, we just need to save this image to our gallery (actions -> share -> jpeg -> save image) and then go to the brush library and tap “+” to create a new brush.
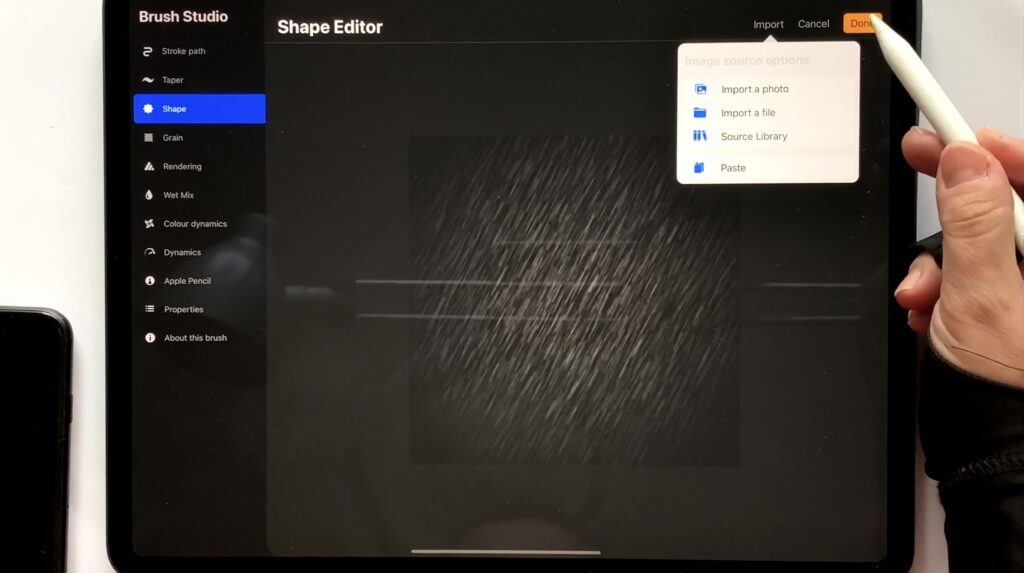
At the “shape” tab, I upload the image I just saved to my photo library. Then, to actually make it look like realistic rain, I go to the “stroke path” tab and play with the “spacing” slider.

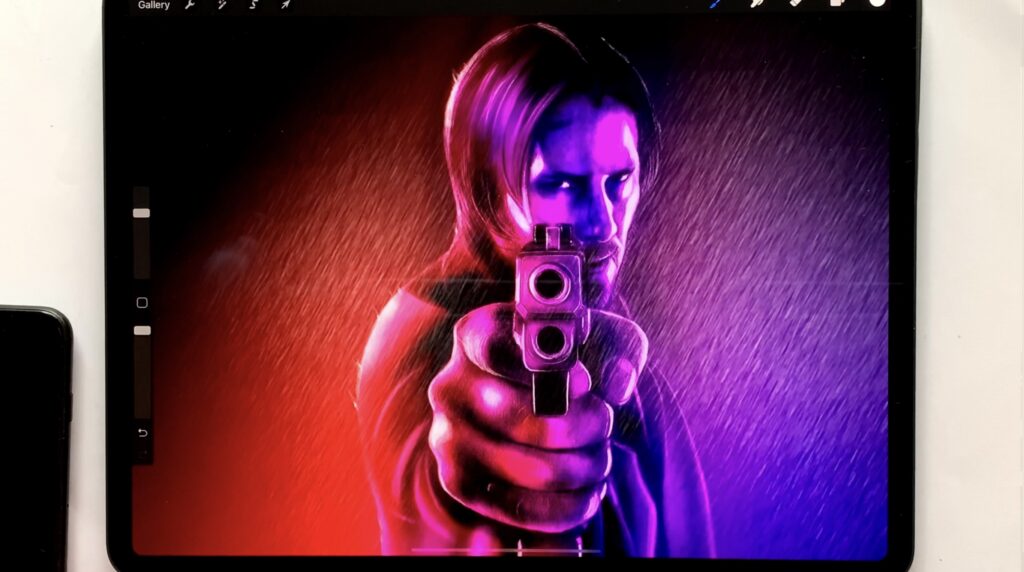
Once I am satisfied with the result on the “drawing pad” on the right, I tap “done” and … call it done! Yay, we just created our awesome rain brush, right? Time to test it!
Let me know if this method of creating a rain brush works for you! See ya!
 Fonts
Fonts Fontself for iPad Review – vol2
 Art discussion
 The future of Art (or why AI won’t take over)
 Colored Pencils
 My 5 top High End Artist Grade Colored Pencils
 Acrylic Markers
 Ohuhu Acrylic Markers Review
 Colored Pencils
 Woomer Art Colored Pencils Review
 Graphite