
Those of you who have been following me for a while, should know that I do most of my work on an iPad Pro. I progressively started replacing my pc with my iPad about three years ago, and now I use my iPad 95% of the time. I do almost everything here, including digital painting/design, heavy photo editing and managing all my pages.
Naturally I struggle daily with my projects, as some things that are a 2-click job on a pc, need a lot more effort on an iPad. So I strive to constantly find new tricks and shortcuts to make my iPad life easier. 🙂
Today I am showing you how I fake vector-based designs in Procreate app.
And, YES, it is possible to fake vector designs in procreate, with some limitations of course. All you need is some basic skill in digital painting, and optionally some stock images/brush sets. Yep, I didn’t say it’s gonna be easy! 😉
So, for my latest project, I wanted to recreate the She-ra logo. Yes, the She-ra, Princess of Power. If you (like me) were born in the 80’s, you should have known her! Anyways, on to the logo.
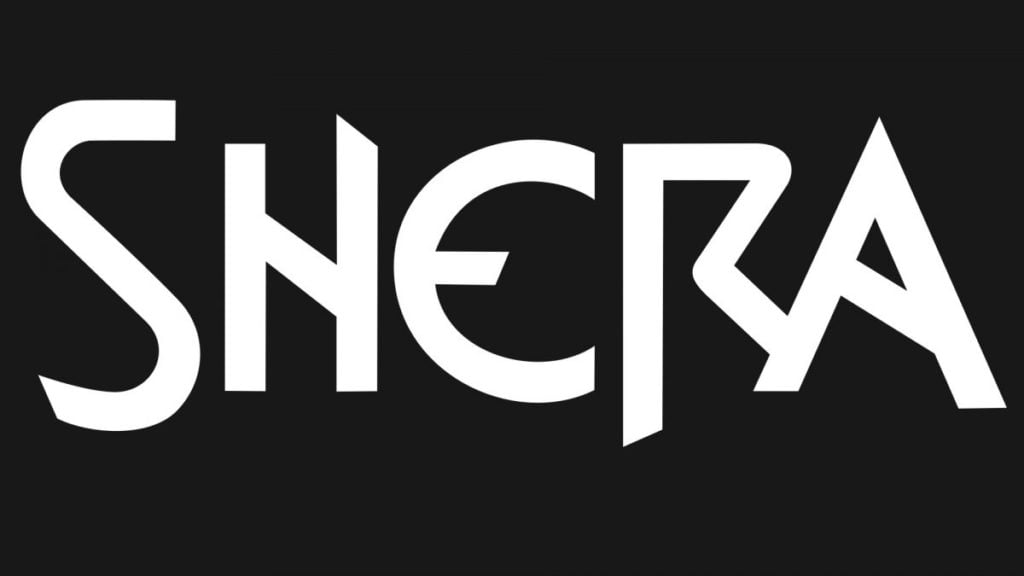
Started off with a plain text, this one:
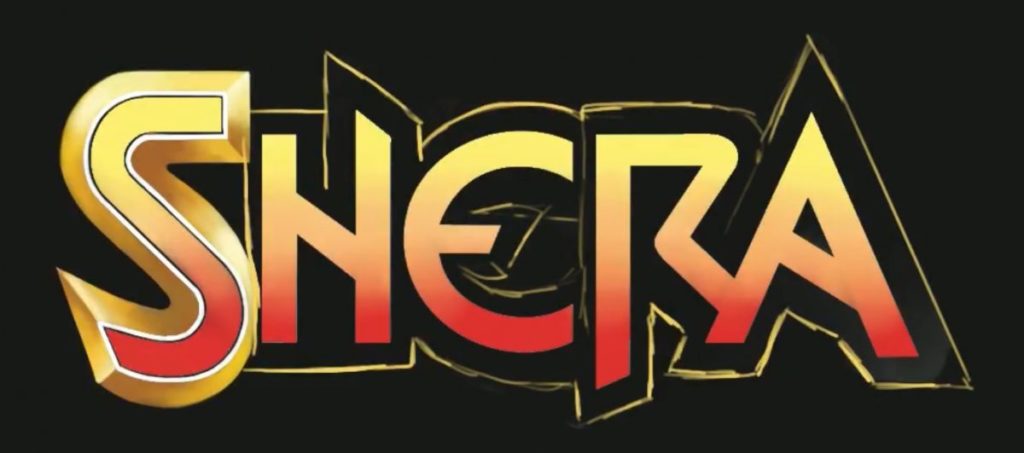
First step is to apply a gradient to the white of the letters. I chose two colors, a bright red and a bright yellow and blended them in order to achieve a “gradient” effect. (Obviously this tutorial is for those who already have a basic knowledge of procreate, but if you feel I don’t explain things enough, mail me and I will be happy to help!) As my goal is to ultimately produce a 3D gold effect, like the “S”, I outline the letters to have a feel of the shape.
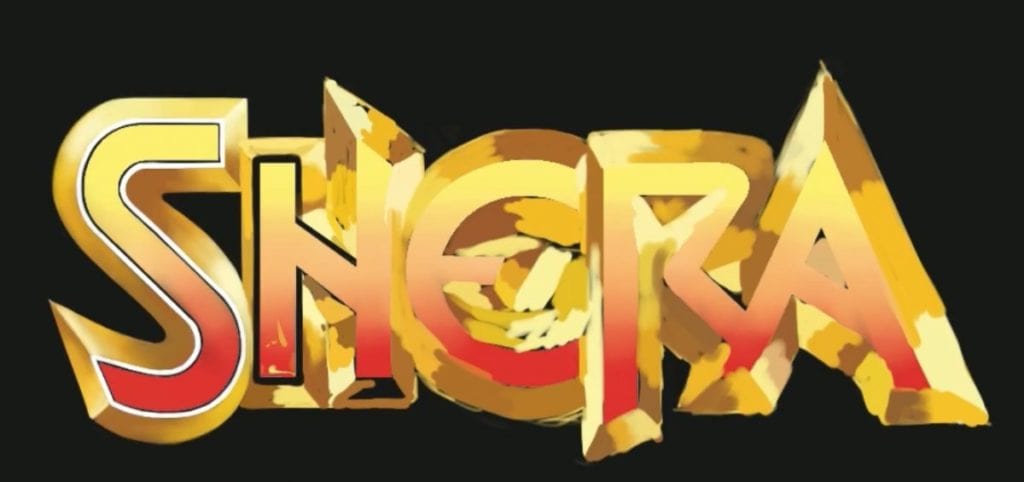
Next I block in the colors, which will later be blended and give this gold texture. Pretty scary, right?
Next i outline each letter to make it “pop”. Probably the most difficult part, as the lines are hand drawn and need precision to look like… well that they are NOT hand drawn! But, worry not! Most times, such a result can be achieved by coping-pasting. Hmmm, I guess another tutorial is on the way!
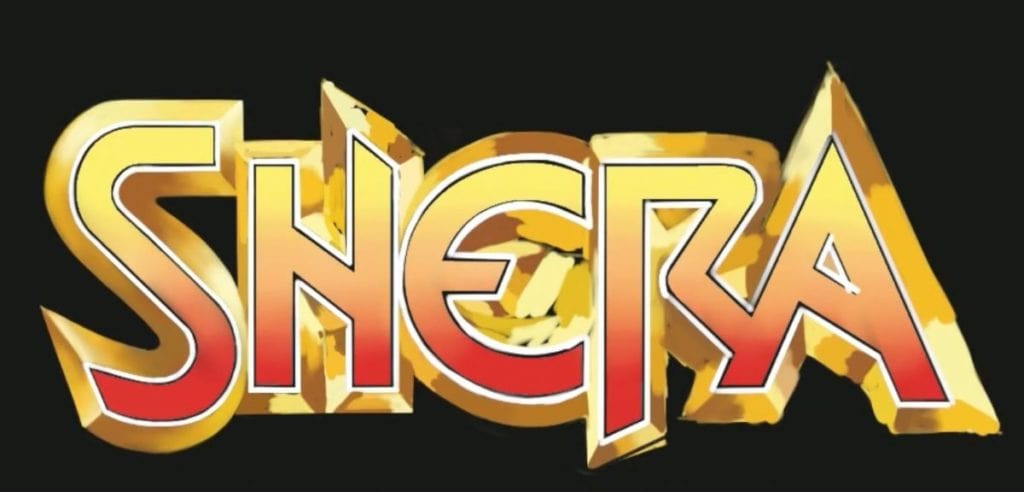
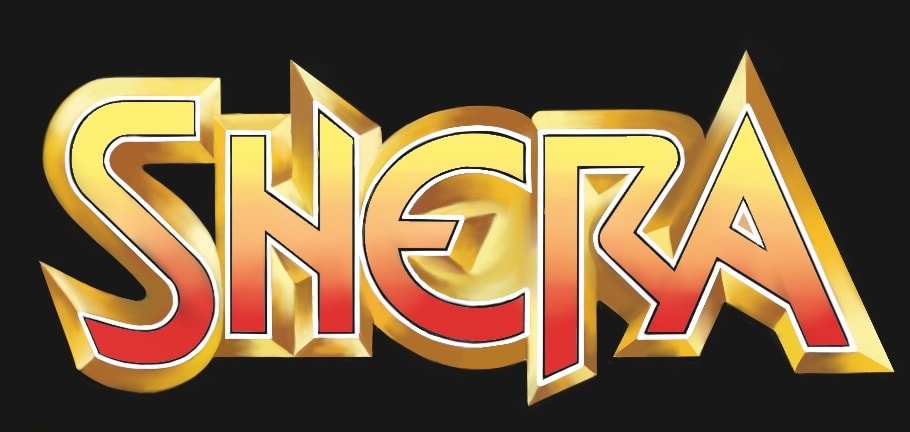
Now, all you need is to blend everything together. I use both some overpainting and the smudge tool to produce a 3D gradient effect. In the end, our logo looks something like this:
It is not perfect, someone with an eye for detail can see that it is basically hand-drawn, but still it is a decent design. And remember that practice (and time!) make perfect!
And for those of you who are not so confident with digital painting, you can download my procreate gradient brush set here, and basically produce the same gradients, without having to blend the colors colors.
Finally, here is a time lapse video of the whole process. Hope it will shed some light.
Have fun and keep creating guys!
 Art discussion
 The future of Art (or why AI won’t take over)
 Colored Pencils
 My 5 top High End Artist Grade Colored Pencils
 Acrylic Markers
 Ohuhu Acrylic Markers Review
 Colored Pencils
 Woomer Art Colored Pencils Review
 Graphite
 Staedtler Mars Lumograph Black Review
 Arrtx
Arrtx
2 Responses
Why does the YouTube say click here for 12 free brushes. You click it and it tries to make you buy some? Is this a scam??
It is not a scam, they are free.