
A beginner-friendly Nomad Sculpt tutorial today. Before we jump straight in, just a couple of things you should have in mind. Firstly, I tried to keep things as simple as possible. Sure there are “better” ways to do certain stuff, but they are more complicated, and since this is a beginner tutorial, I kept things simple and easy. Secondly, I do not cover every single detail, especially with Nomad Sculpt interface. But feel free to ask anything if you have any questions.
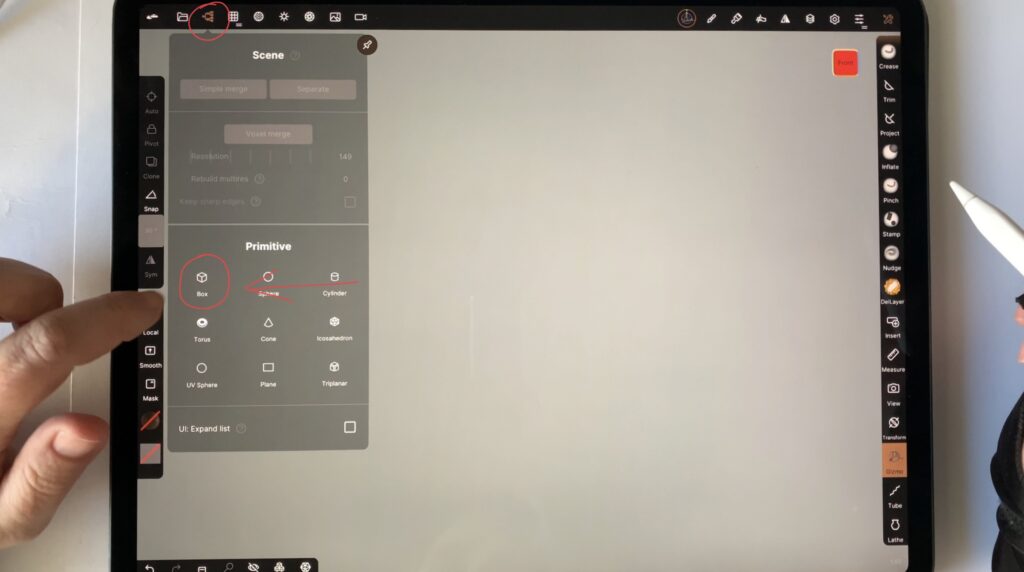
So, I am starting by deleting the default Nomad Sculpt sphere and adding a cube.
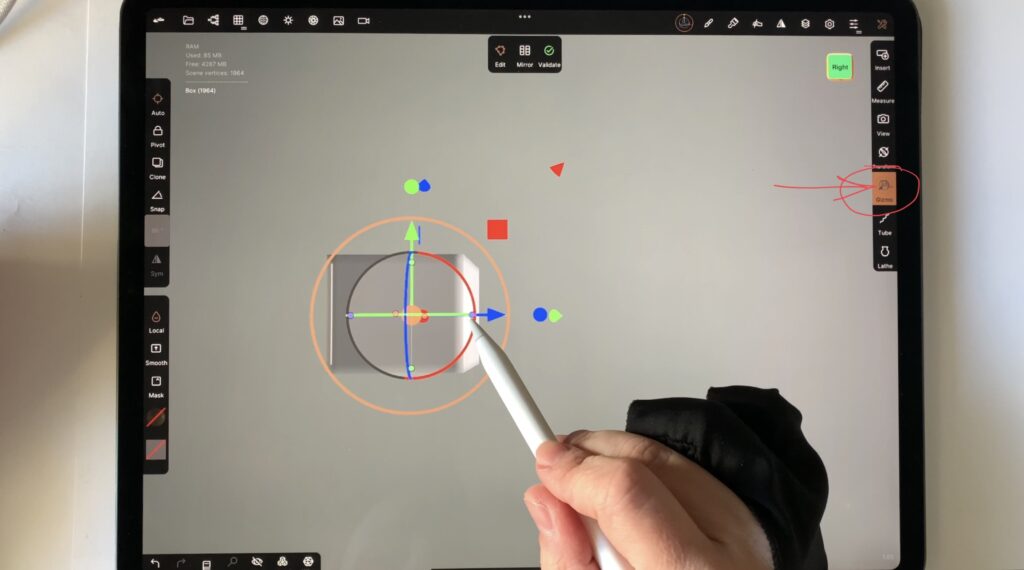
With the Gizmo tool, I am manipulating my cube so that it looks like a bar-of-gold rectangle.
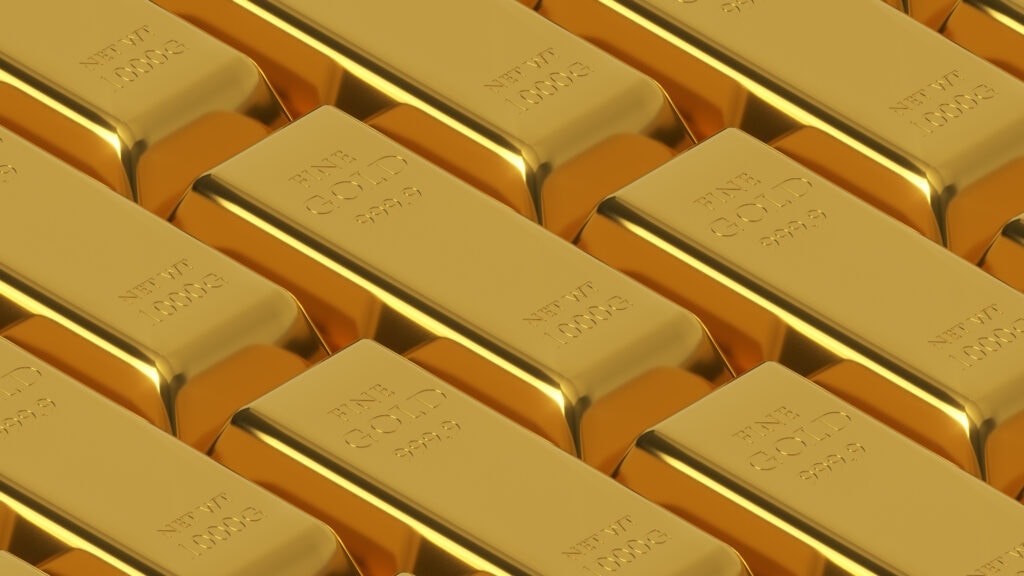
Throughout the whole process I will be referencing the stock image below. It is from envato.elements, one of my favorite stock photo websites. You can also check out this post where I list all my favorite sites for resources (both paid and free).
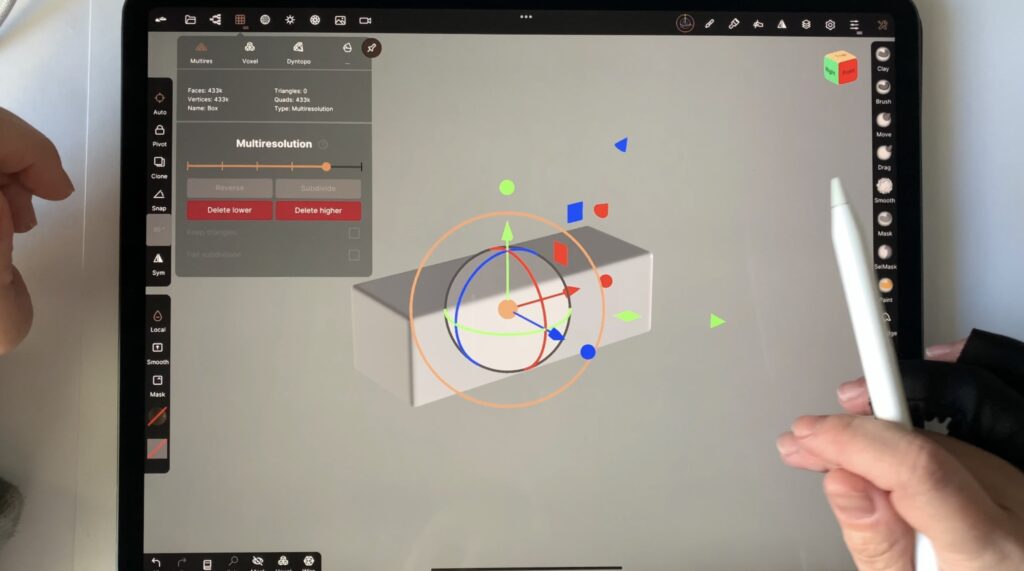
Before I do anything, I will go to “multiresolution” and subdivide my shape a few times. The reason is that I will use some features that do not work with low resolution. Ideally I should have high resolution only where I need it. But this is tricky and as I mentioned, this is a beginner tutorial. So I go on and subdivide the whole rectangle. (actually it is called rectangle only when in two dimensions. No idea how it is called in three. Why I am not googling it? 1) I guess you know what I mean and 2) I am documenting my pure, irrational thoughts so that you know how crazy I am!)
Next I will trim my shape so that it is not a “perfect” rectangle, but it has a nice trapeze-like shape, just like the bar of gold on my reference. Make sure you tick “fill holes” and that you have symmetry on.
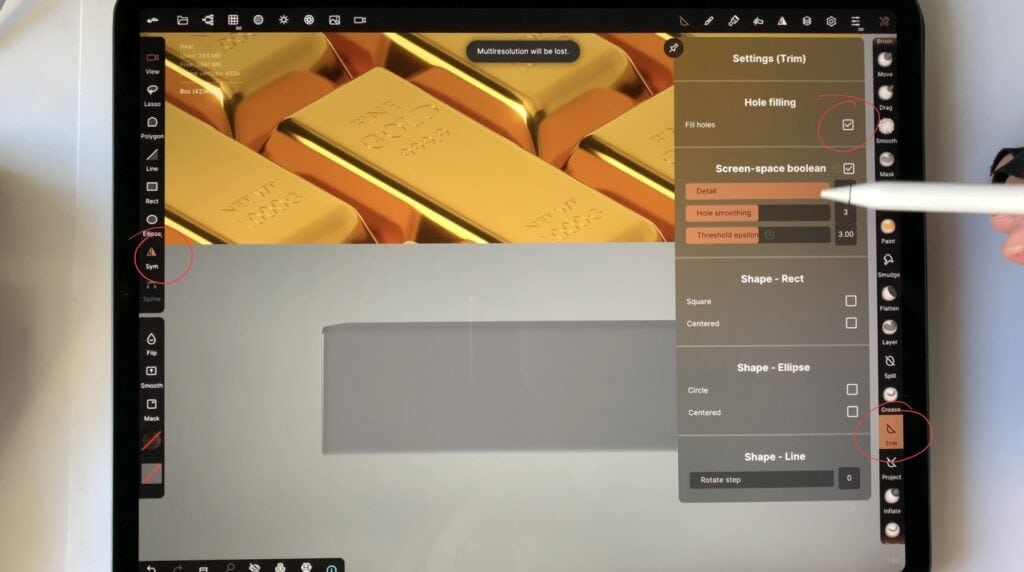
Trimming can be actually tricky and you might need to try a few times before you get the grasp of it. Don’t be afraid to play with the settings. Especially when you are using the symmetry tool, be careful which plane the object is symmetrical to. If you have trouble figuring things out, you can always disable the symmetry tool, and trim everything manually!

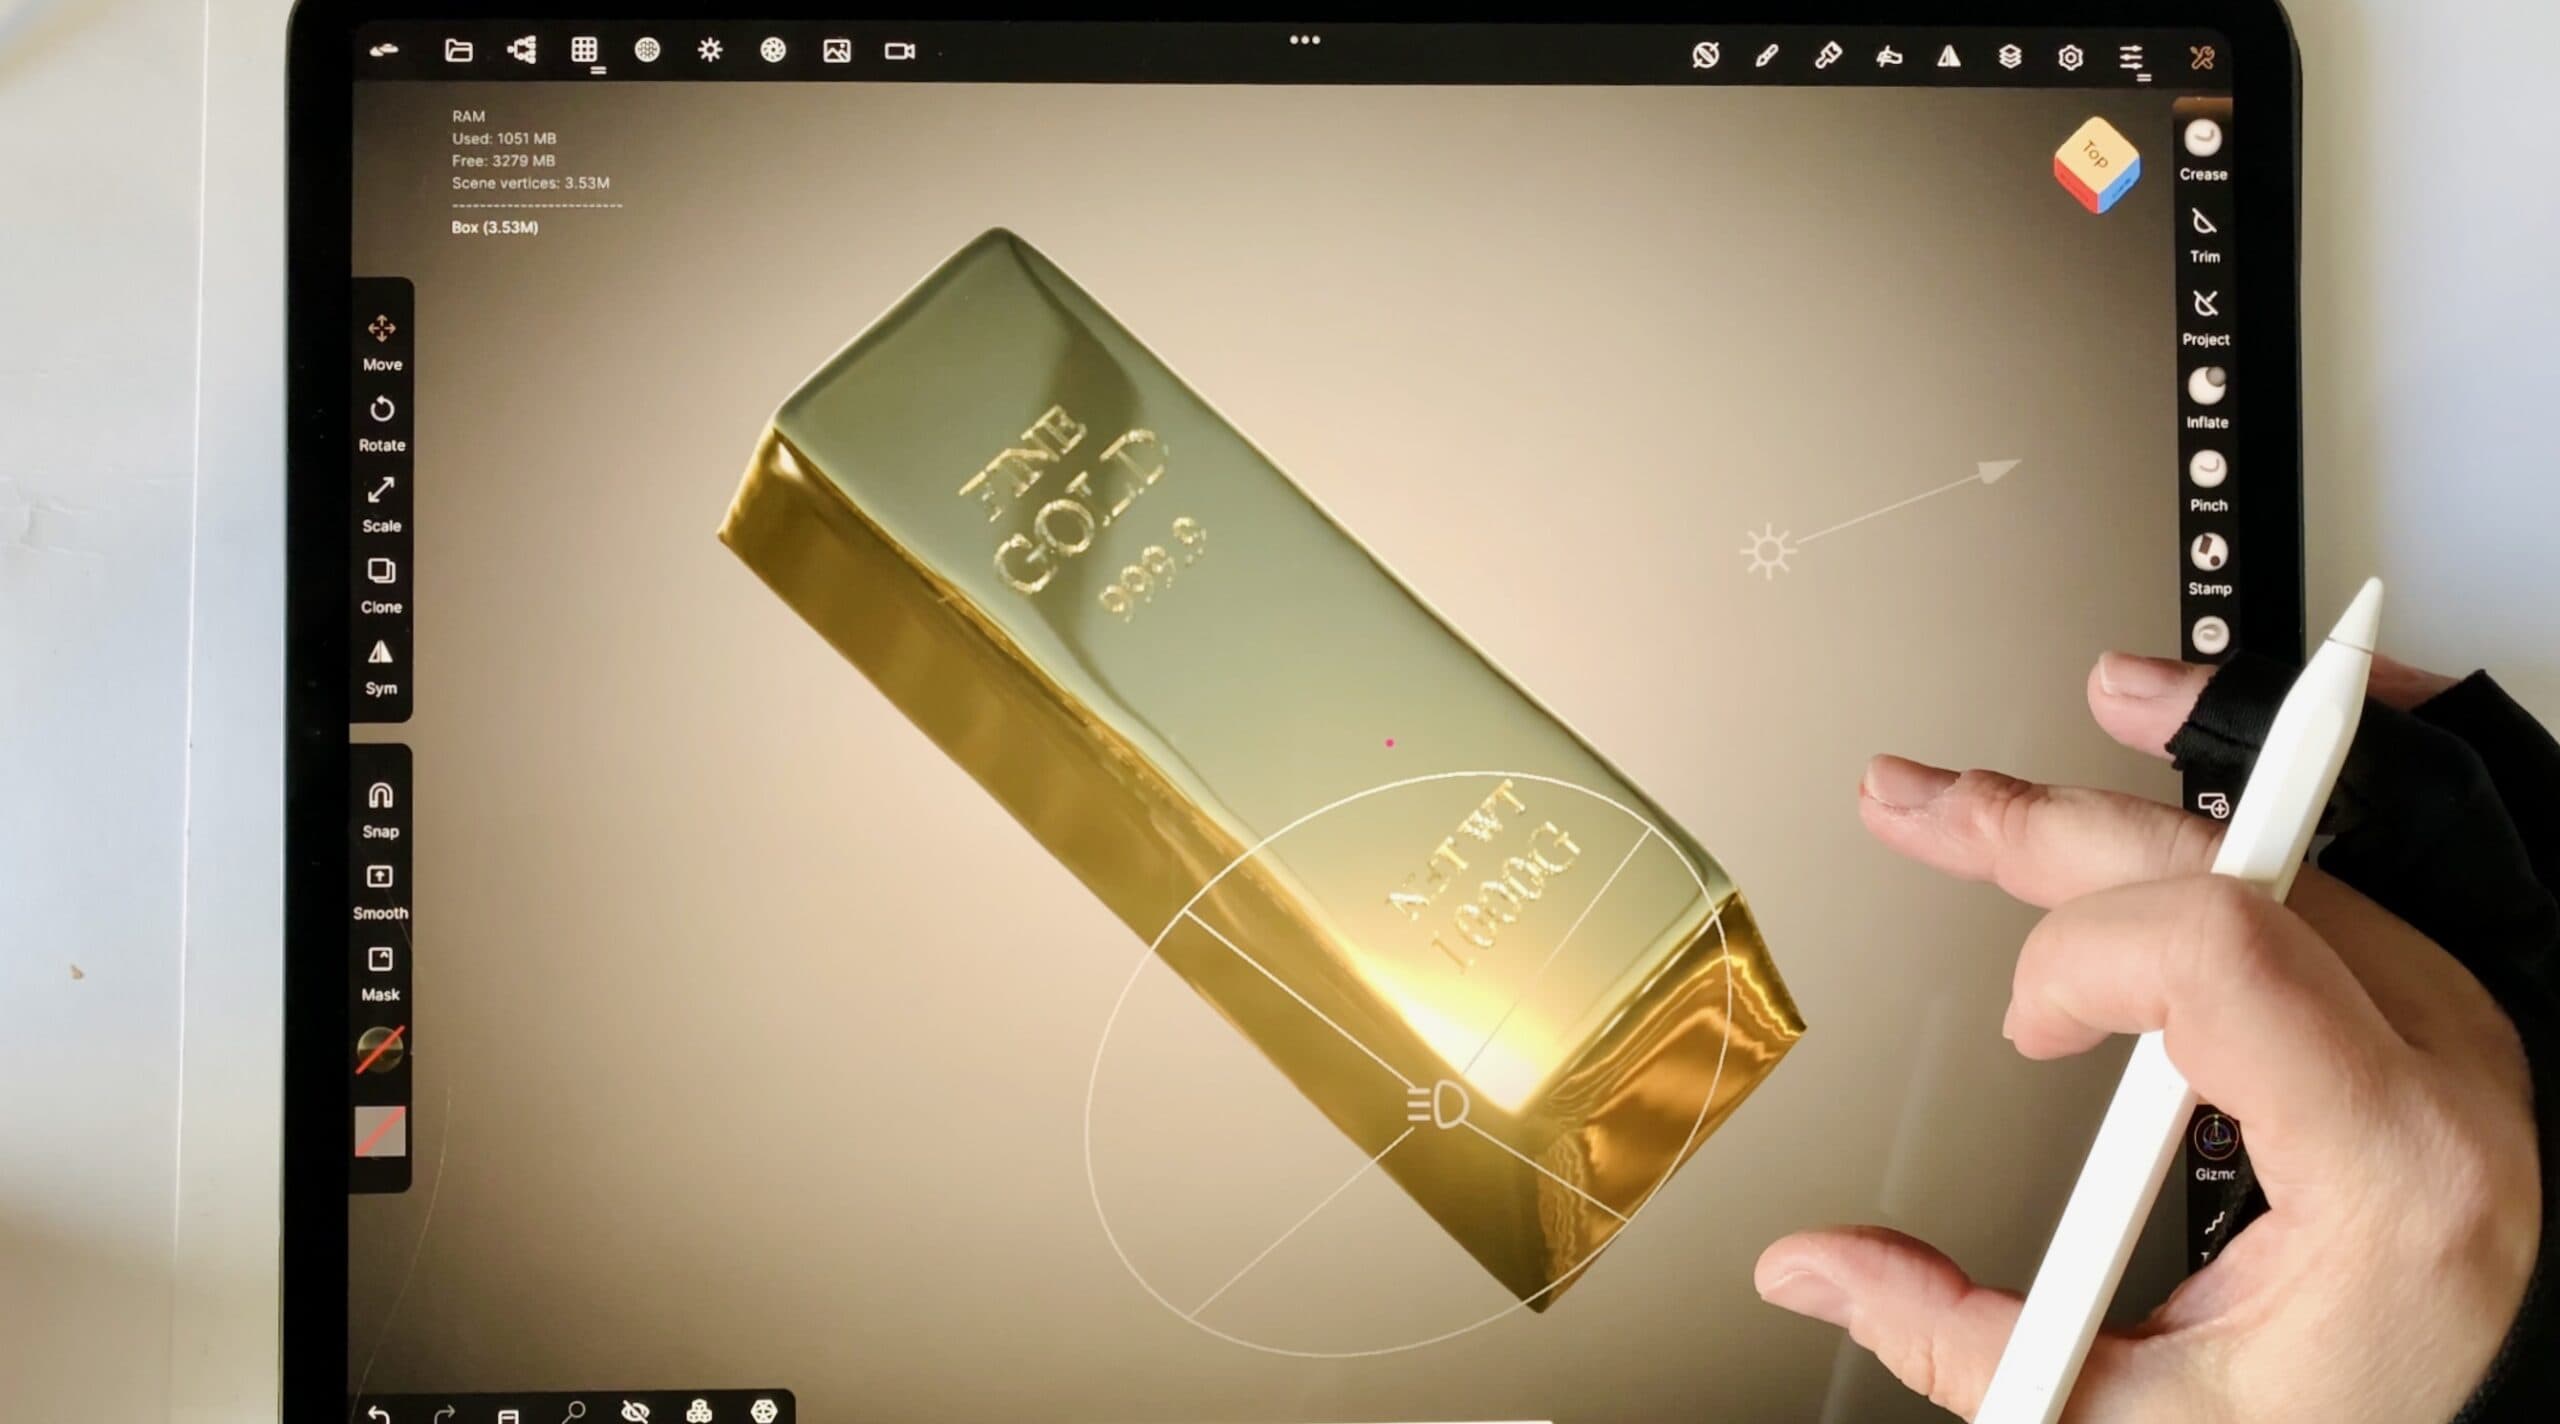
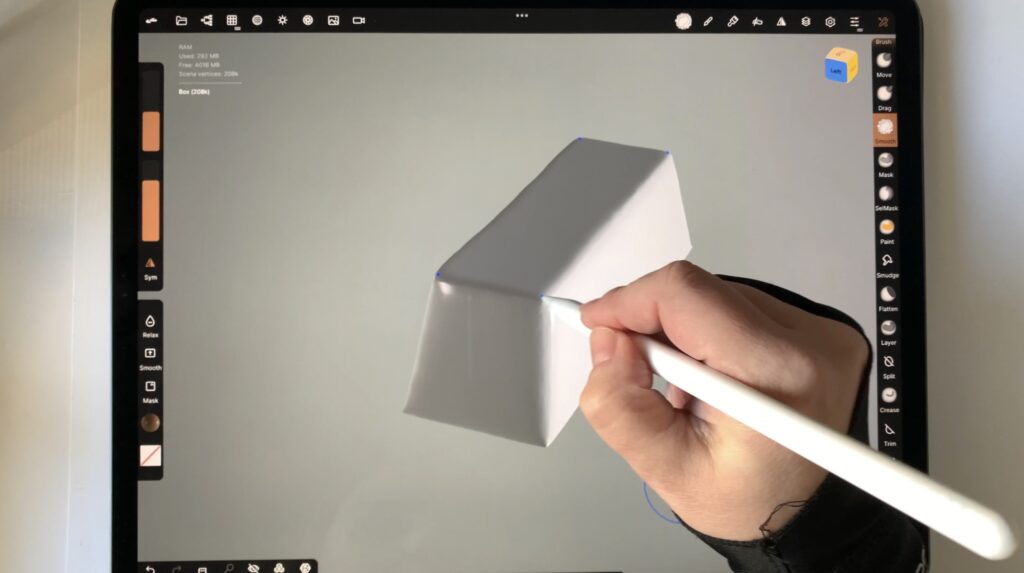
Ok, now we have a nice bar, but it is harsh at the edges. So, I am taking the “smooth” tool to soften the edges.
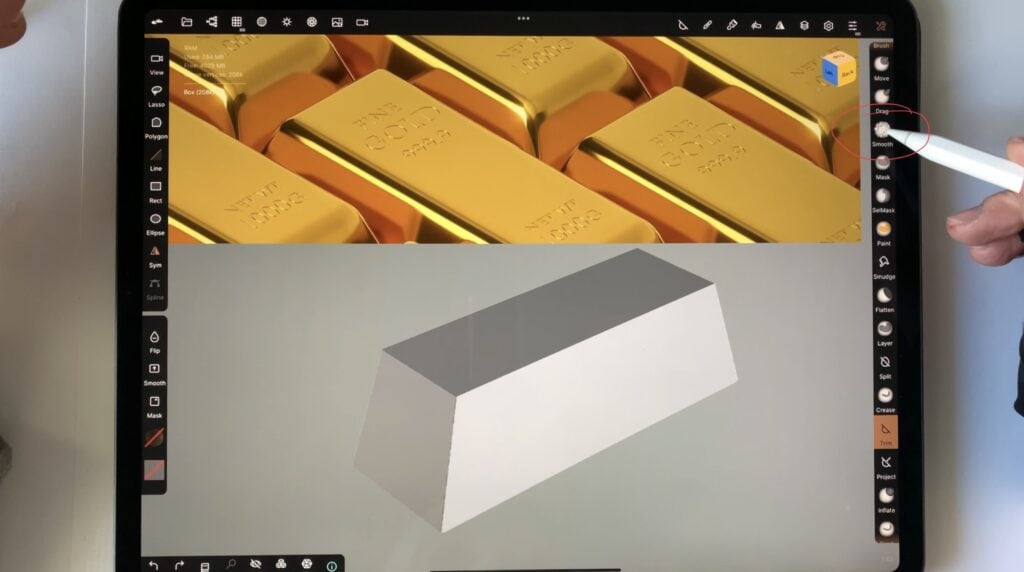
It is a tedious process, but you don’t need to do anything perfect. When my bar looks something like the image below, I stop.
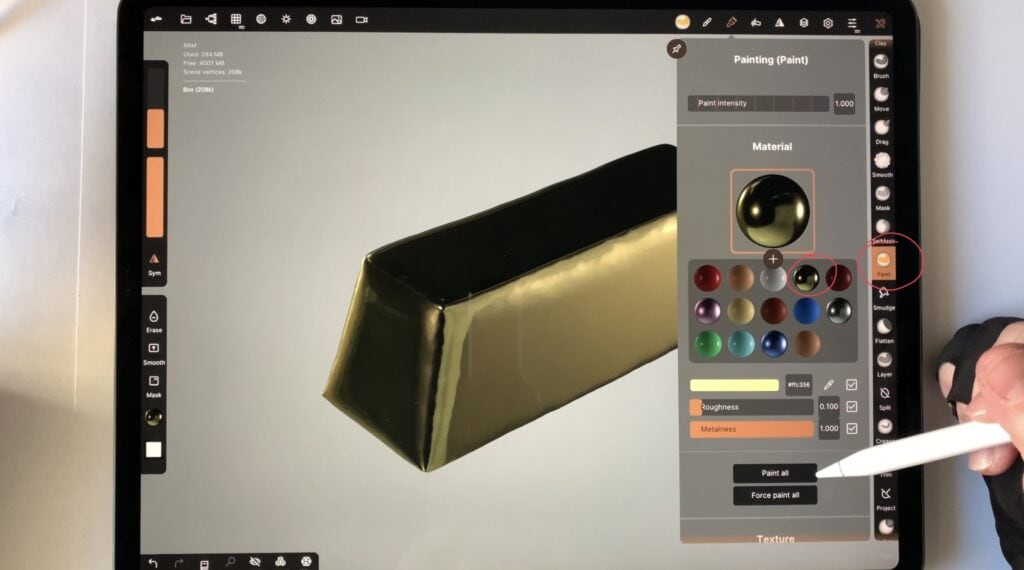
Time for painting. I grab the paint tool and paint my bar with a shiny gold color.
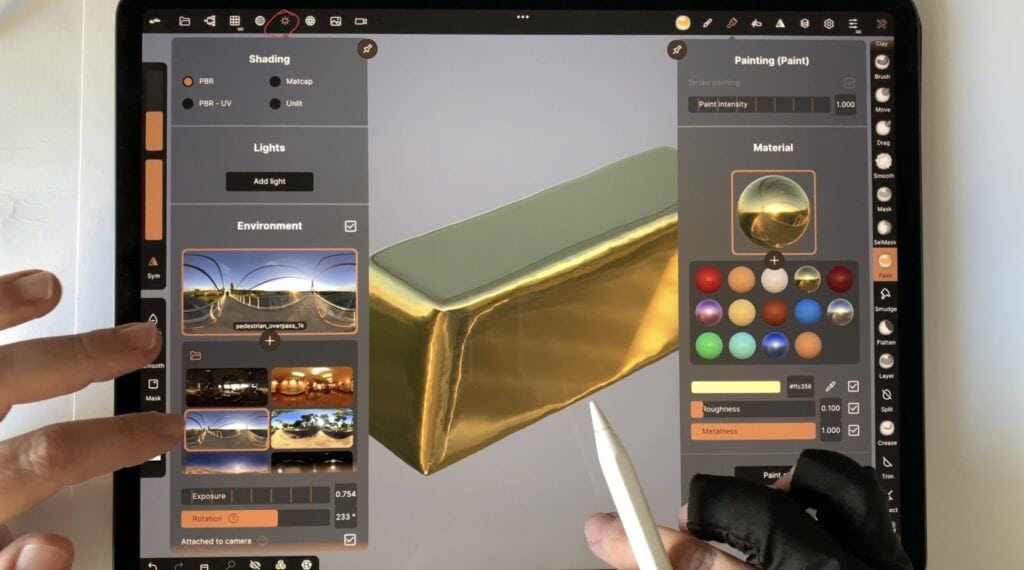
Completely optional, I am not too fond of my lighting, so I will go on and change that as well.
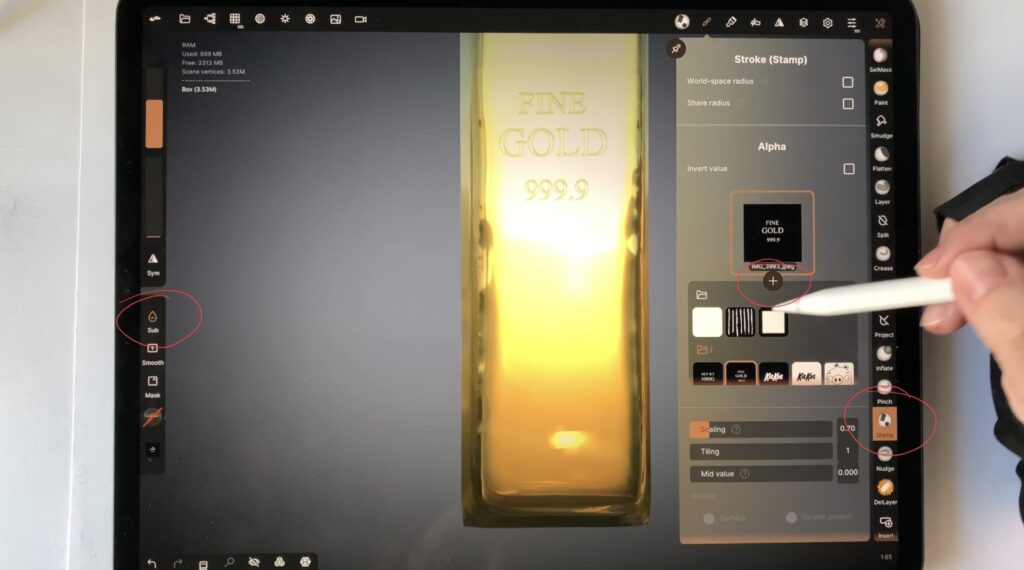
It’s time now to create the engravings on the top. For that, I am using procreate app and I try to “copy” the graphic as close as I can. I won’t go into the detail how to create the procreate graphic, but below you can find the final images, ready to use and load in Nomad sculpt.


Now I will use the stamp tool to create the engravings. I load the images I just created, and with “sub” turned on, I “stamp” them on the bar. And that’s all!
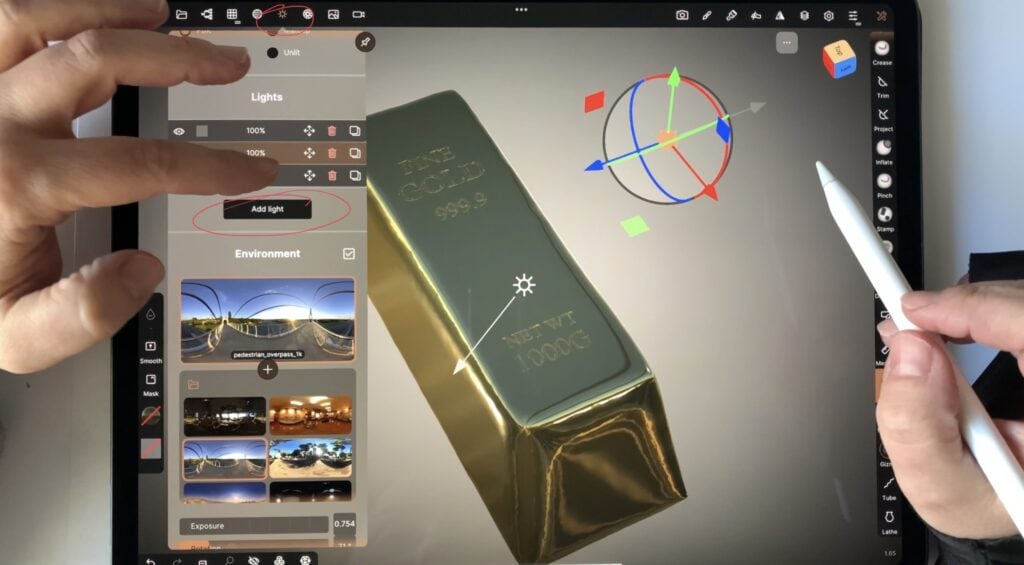
But because I am such a drama queen and I love bold, dramatic illustrations, I will go on and add a few extra light sources.
And now we’re done. You can also check out this tutorial in video format below, and let me know what you think should you give it a try. Happy sculpting!
 Fonts
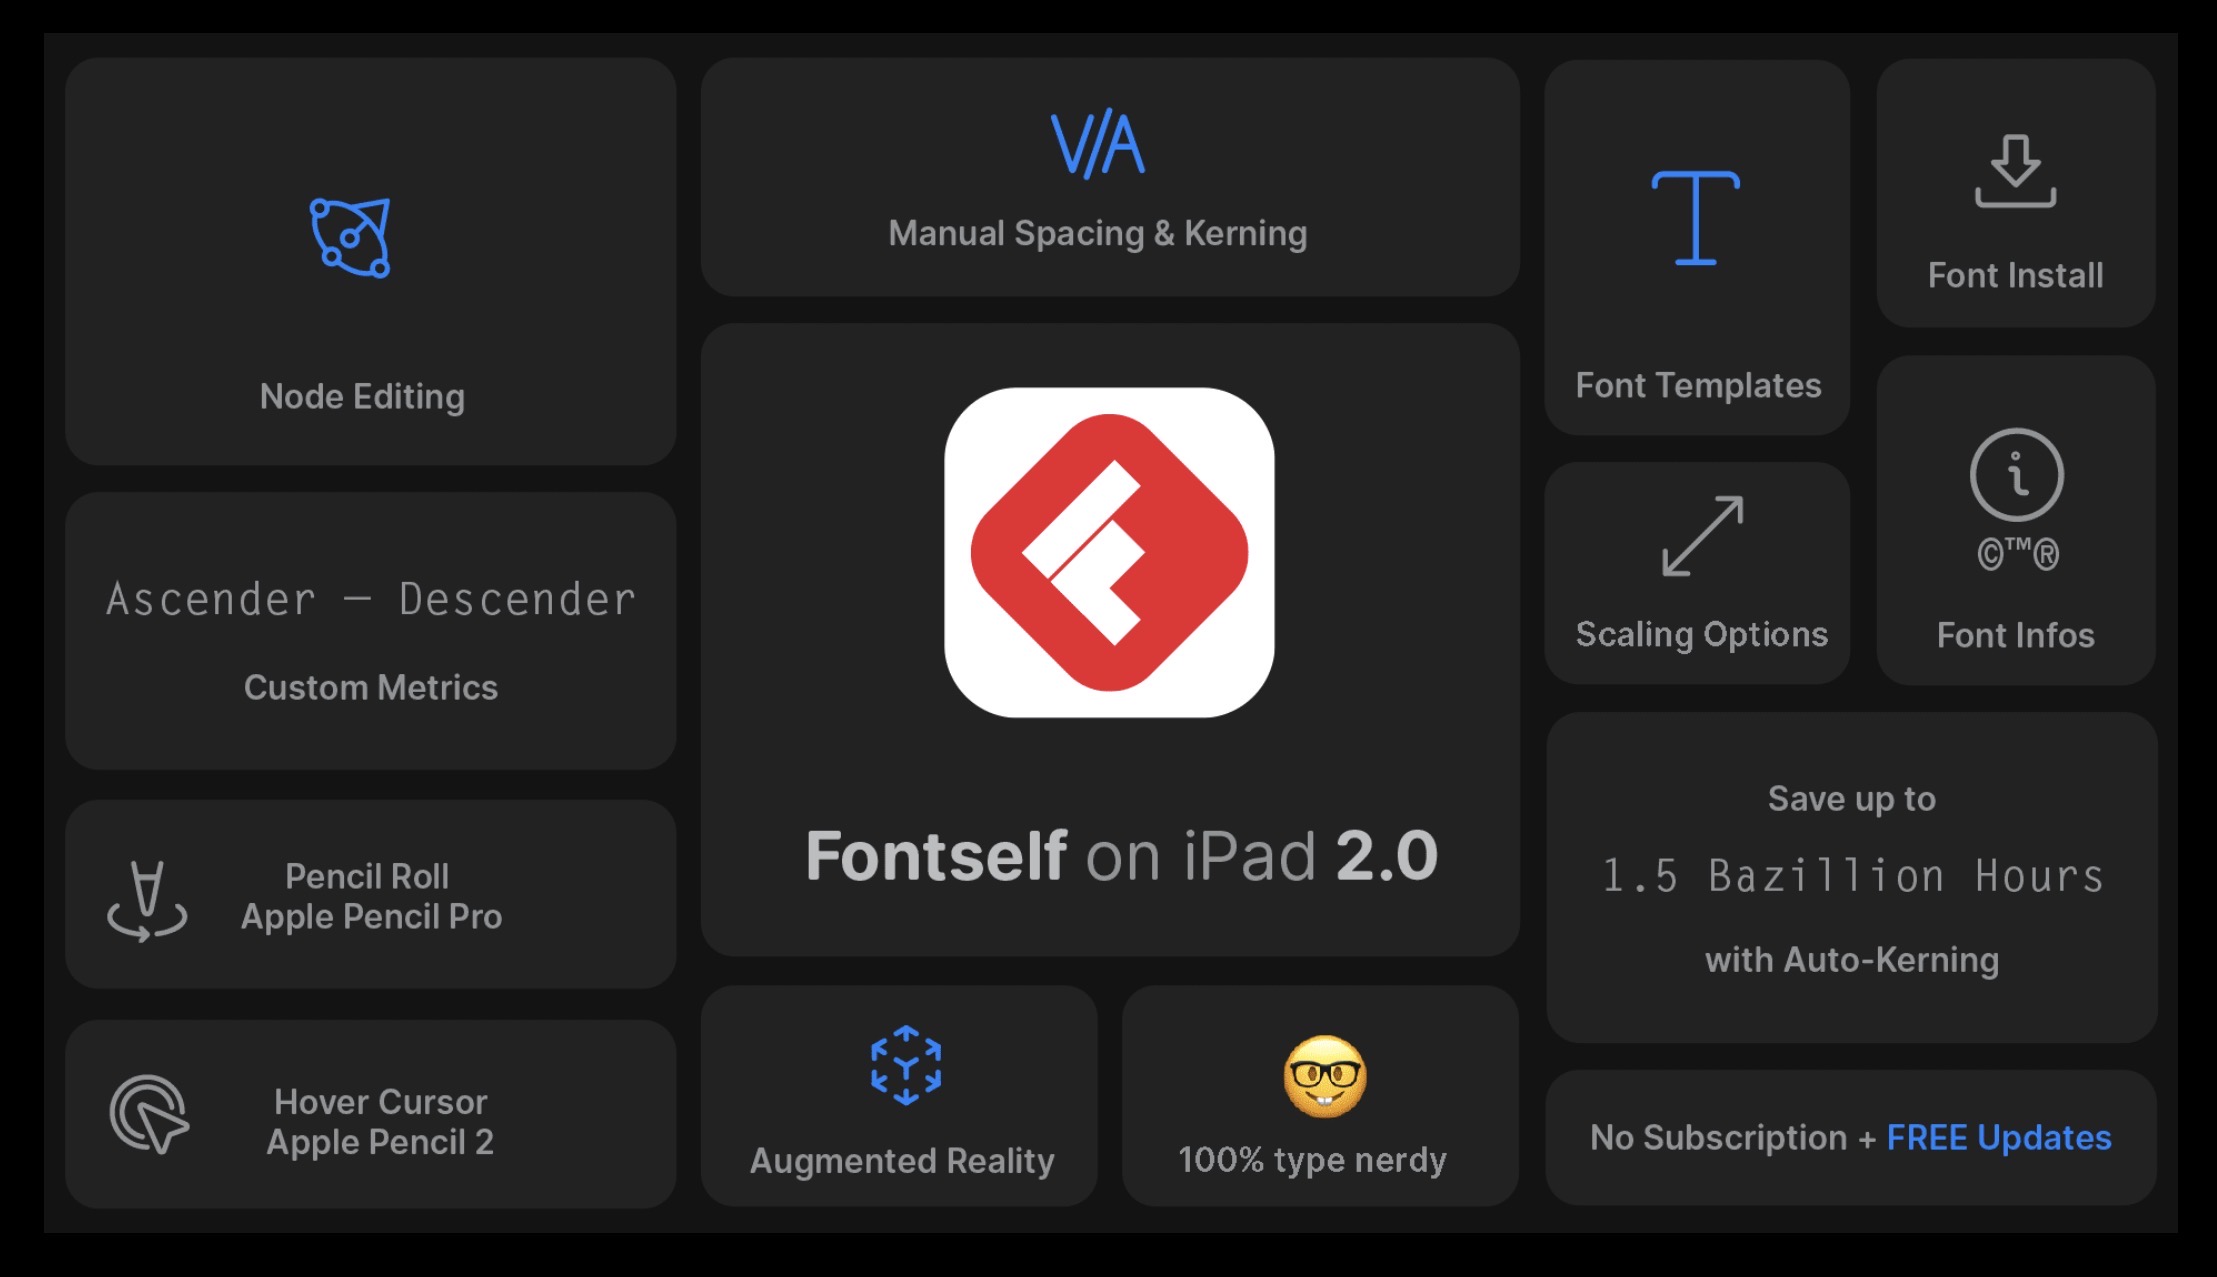
Fonts Fontself for iPad Review – vol2
 Art discussion
 The future of Art (or why AI won’t take over)
 Colored Pencils
 My 5 top High End Artist Grade Colored Pencils
 Acrylic Markers
 Ohuhu Acrylic Markers Review
 Colored Pencils
 Woomer Art Colored Pencils Review
 Graphite