
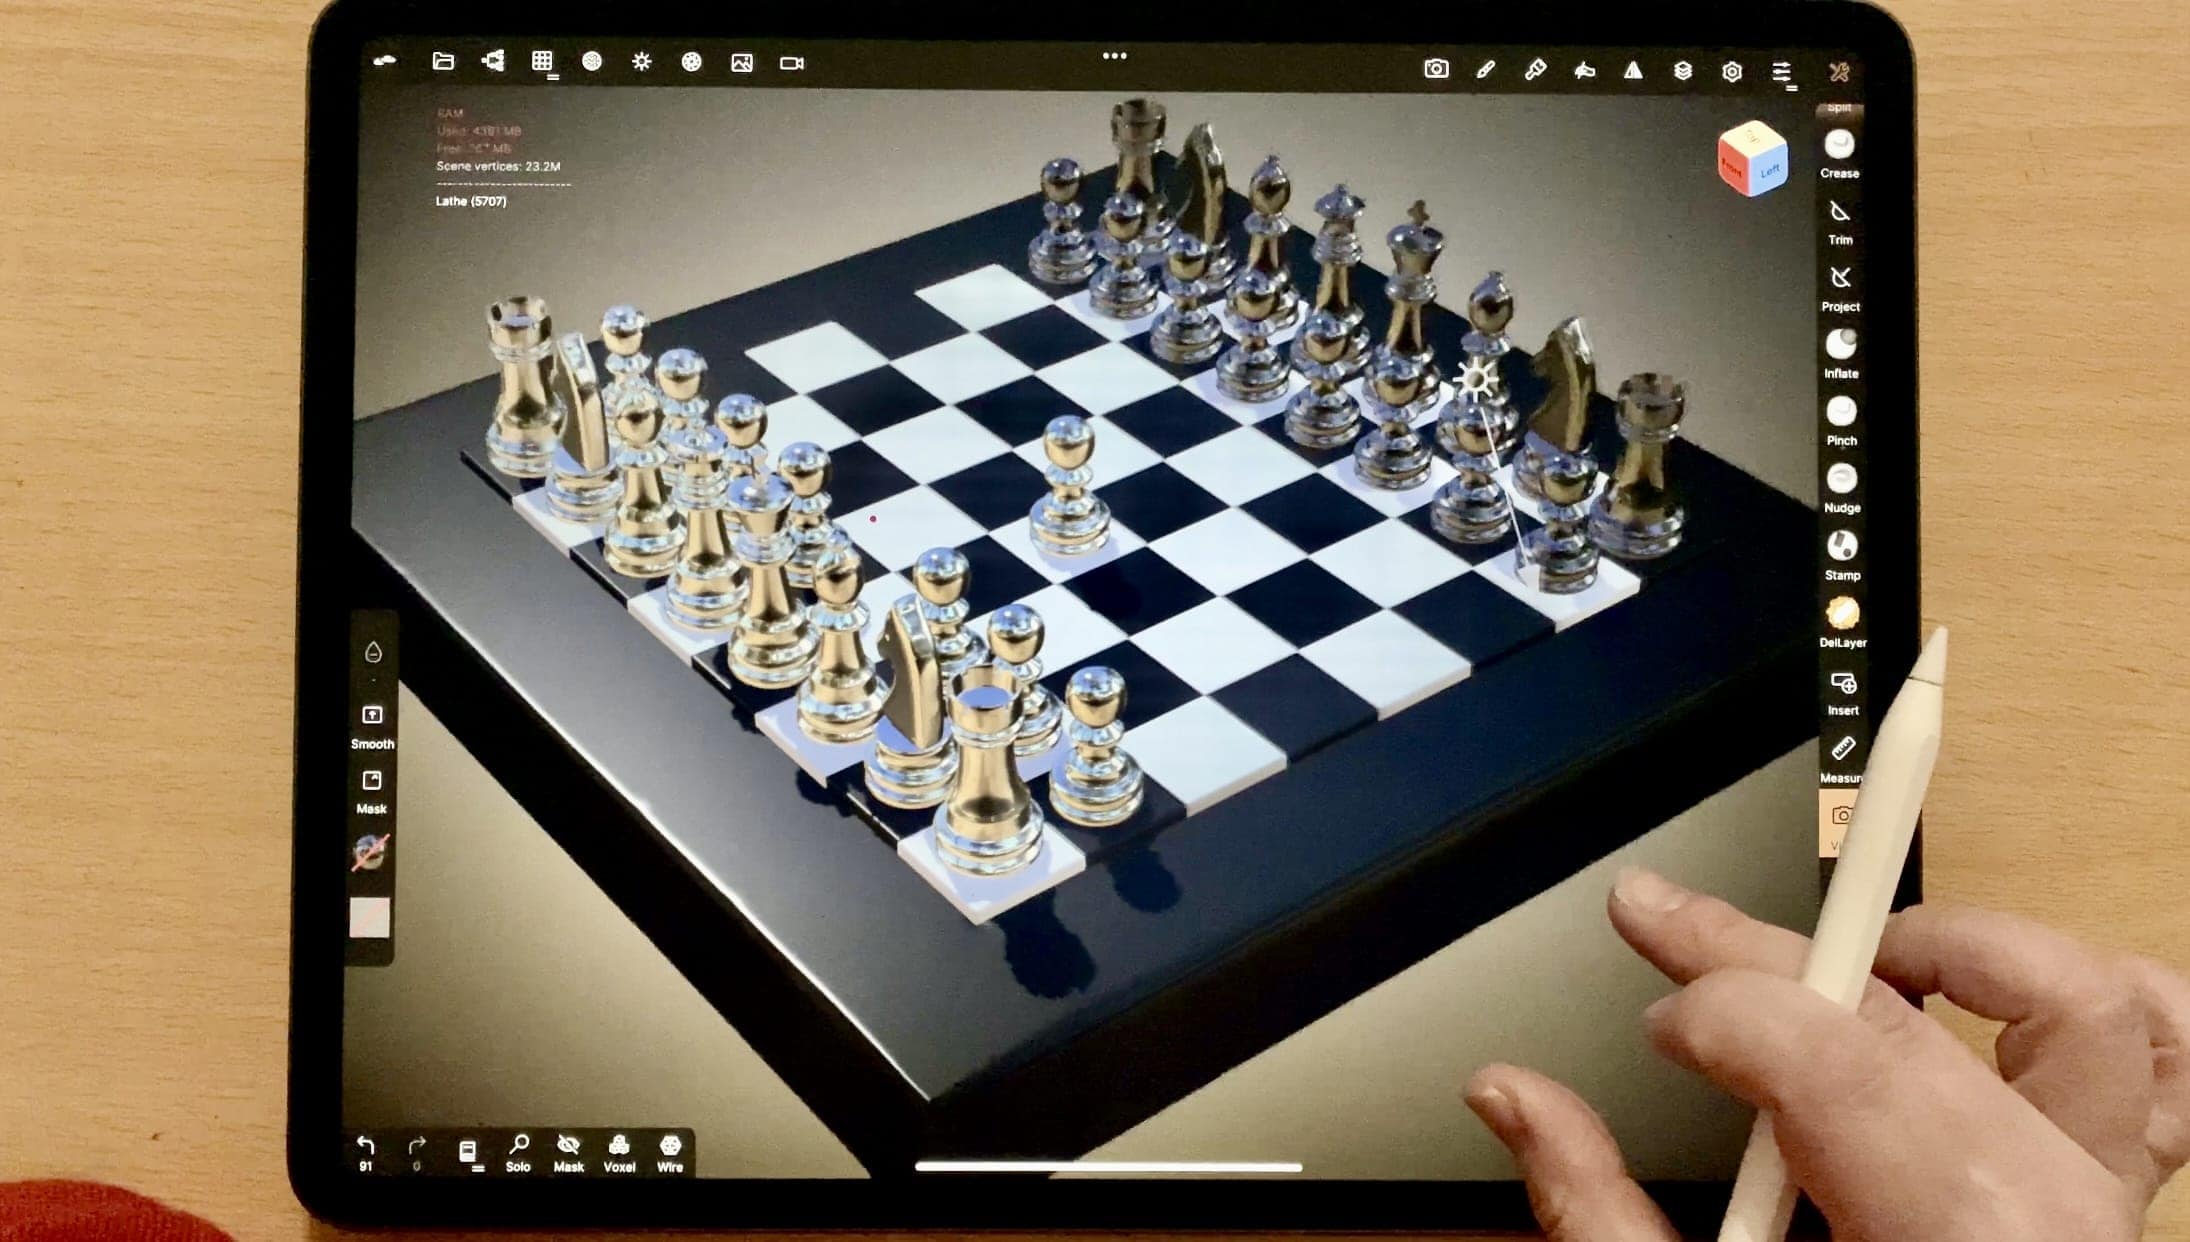
Day 30 today of my 30 day 3d challenge.
If you’ve been reading my blog, you might have noticed days 27, 28 and 29 are missing. Why? Because sometimes life happens, and sometimes it is nasty. But even thought I kinda messed up just before the finale, here I am today to finish the challenge.
With a tutorial too! Many of you have been asking for nomad sculpt tutorials, which left me both humbled and speechless. So, here is a beginner friendly tutorial. Although I try to be as thorough as I can, some nomad sculpt functions are not explained in depth. If there is something you don’t quite understand, please let me know!
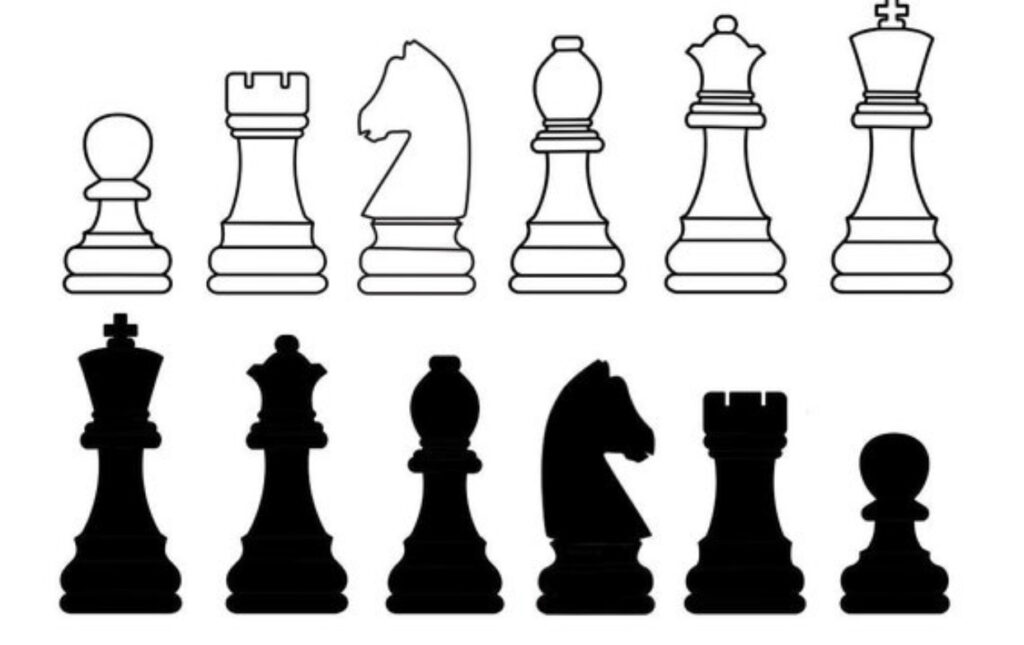
Because I want the pieces to be consistent, to look like they belong to the same set, I am using a reference of my own design, which you can see below.
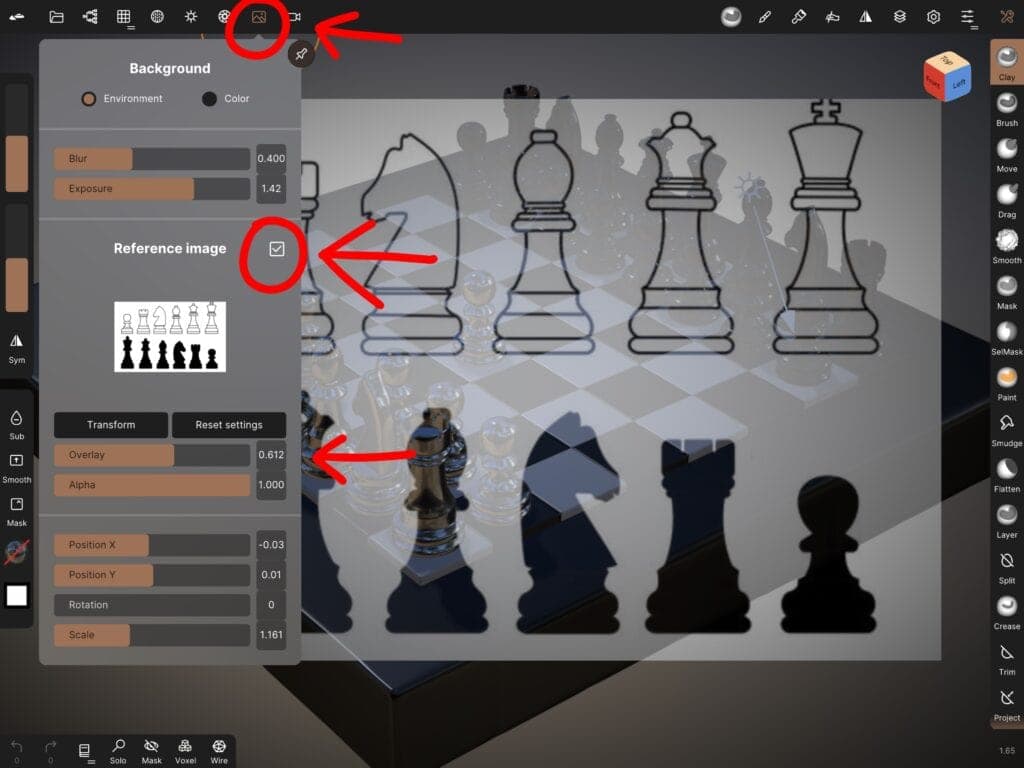
To load it in Nomad Sculpt, tap on the image tab, and click on reference.
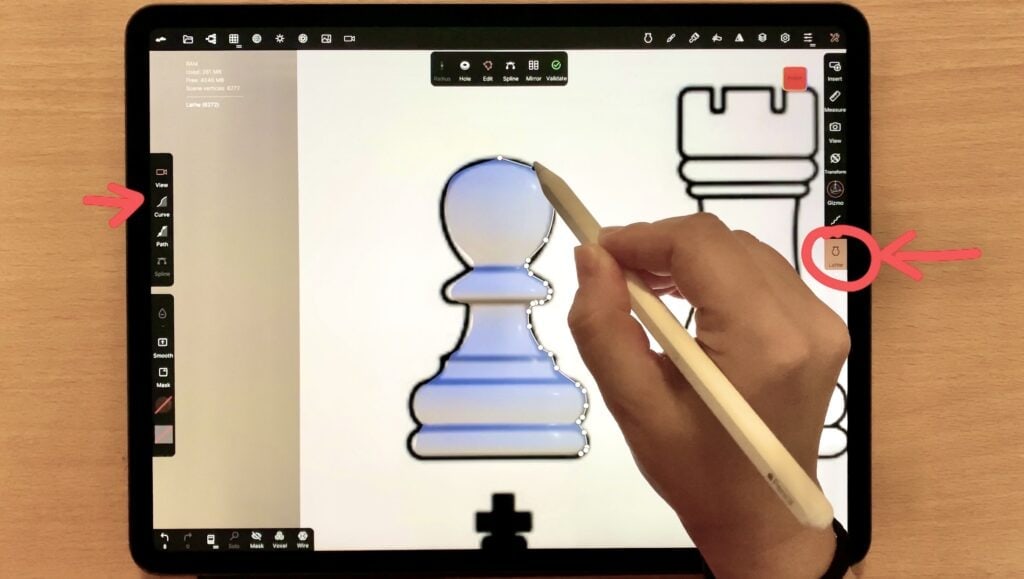
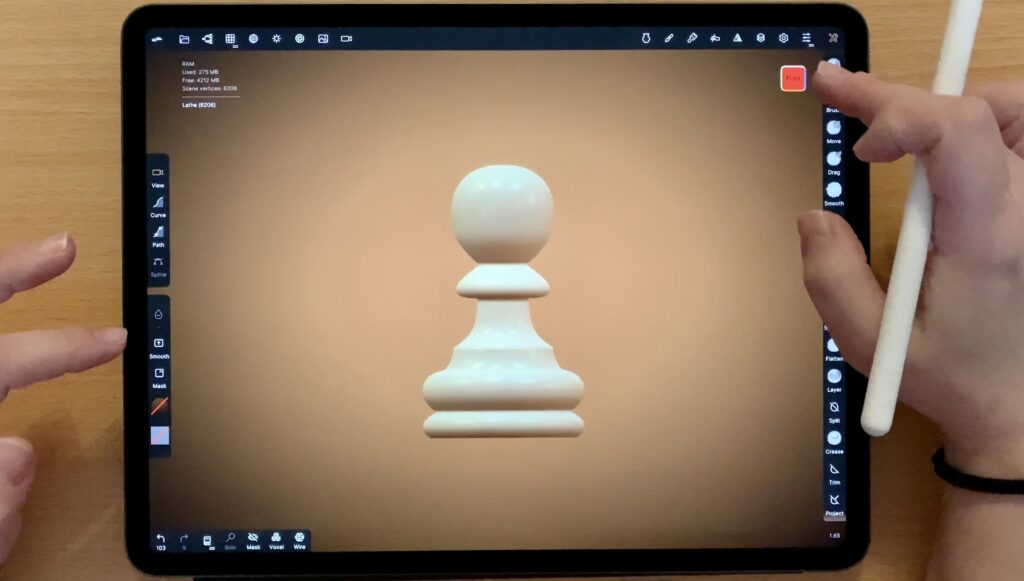
Pawn
There’s this fantastic tool in Nomad Sculpt, the “lathe” tool and basically what it does is create a symmetrical object around an axis. Well, guess what! Most chess pieces are symmetrical to the y-axis! The pawn piece in particular is totally symmetrical, no “flaws” whatsoever. So what I am doing, is take the lathe tool and trace the right (or left if you prefer) side of the object. Tada! It’s done! Could you think of something easier?
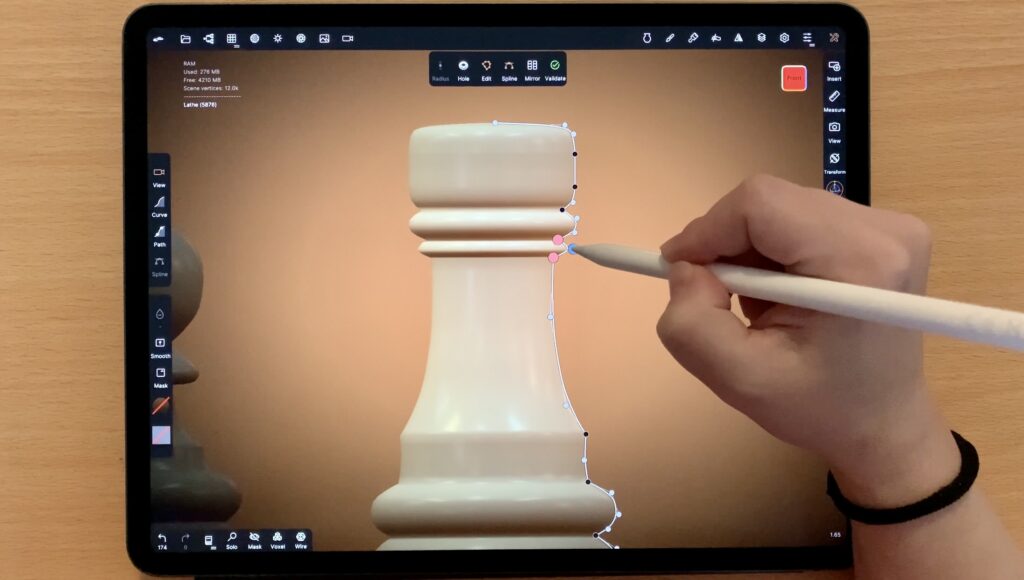
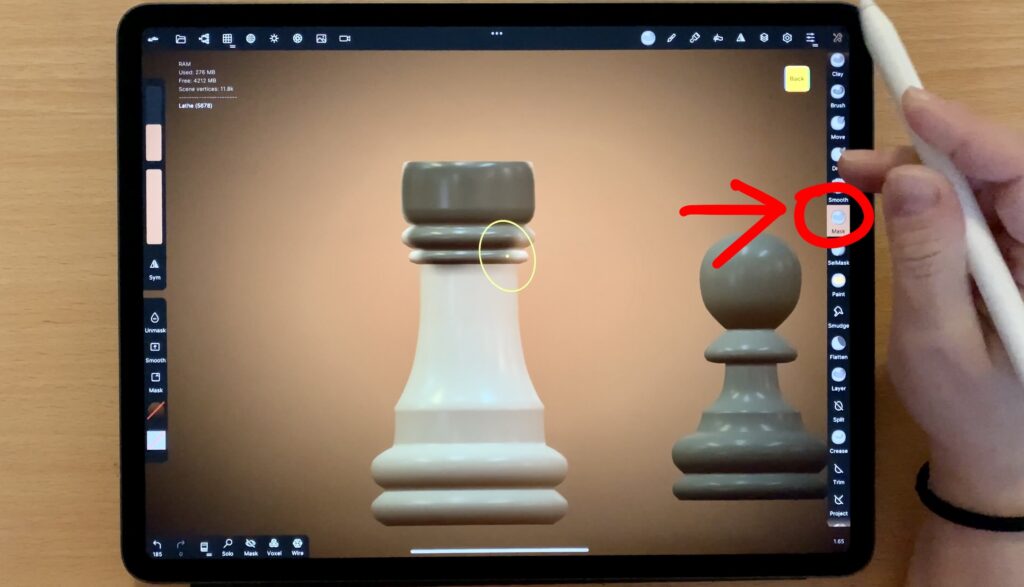
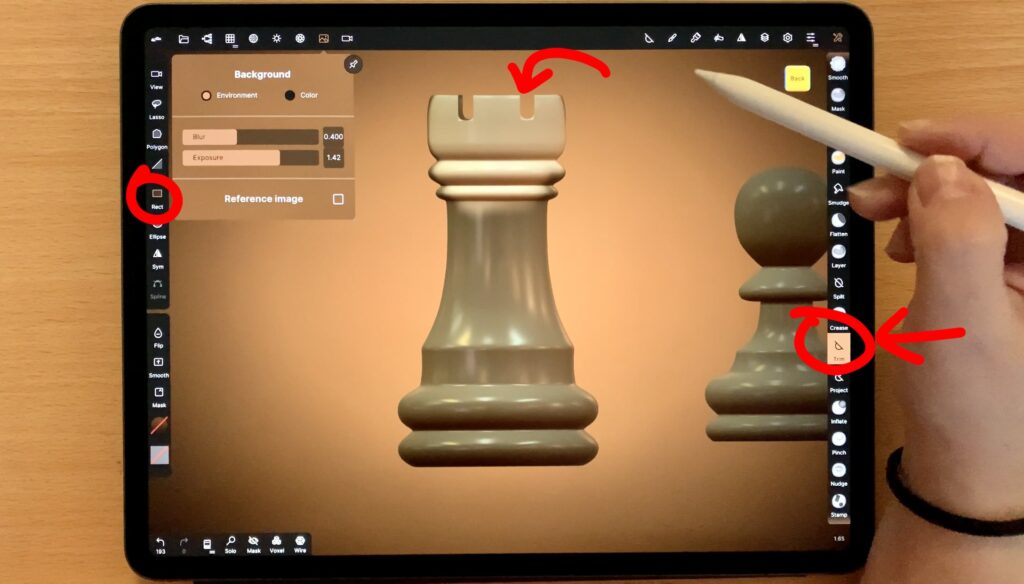
Rook
It is pretty much the same with the Rook but here I want to create some dents, as seen in “Image 1”. Firstly I create the outline with the lathe tool. Then I’ll grab the trim tool to create the dents. The thing with the trim tool, is that it affects the whole object, not just the front part, but also everything that is within AND behind the trimming outline. In order to protect the parts I do not wish to trim, I will use the mask tool which does exactly this. It protects the masked parts from being sculpted, dragged or manipulated in any way. After the applying the mask, I go on and create dents as desired.
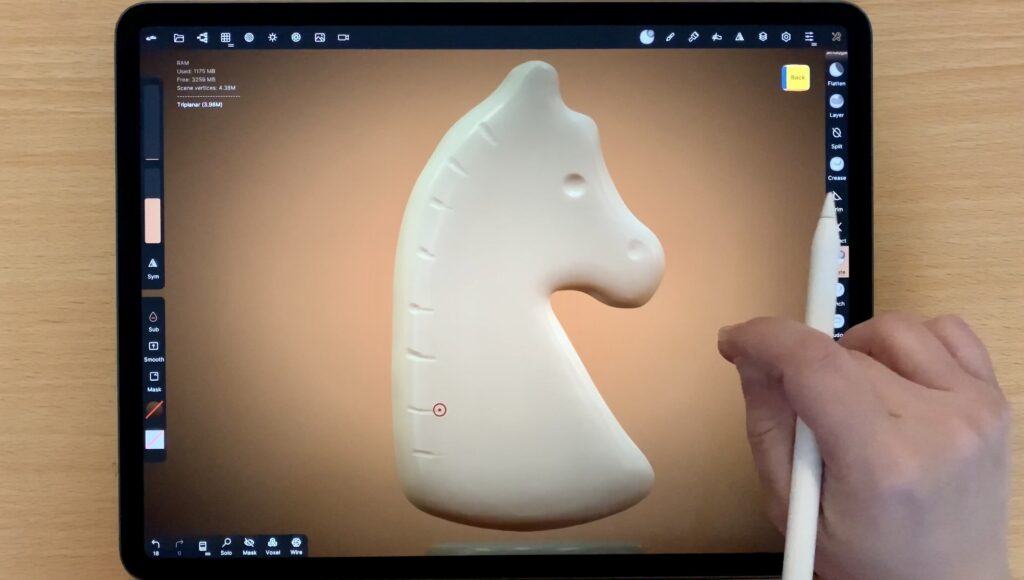
Knight
Here things are a little bit more complicated because the Knight, for the most part, is not symmetrical to an axis. So, yeah, we can’t avoid a bit of sculpting here. Firstly I will make the horse body with triplanar. With triplanar what you basically do is create a 3D shape by defining the trace of the object on each of the three planes, x, y and z. It might take a while to familiarize yourself with triplanar. Here, I trace the shape of the knight.
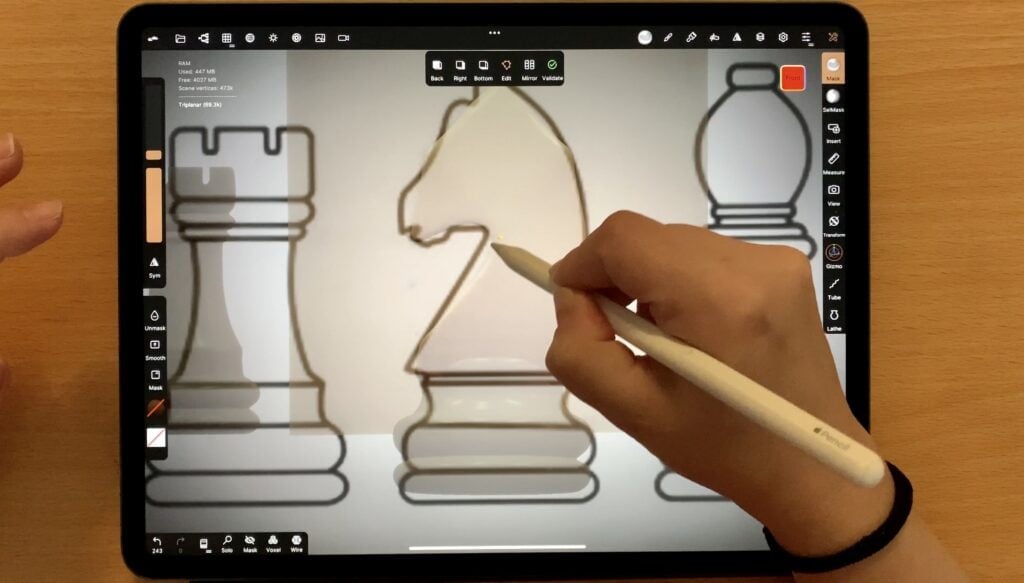
The object I get is quite basic, but you can leave it as is, if you are a total beginner. Personally I will go on and trim the edges (with the trim tool) and smooth it out. You can watch the video at the end of this post to get an idea.
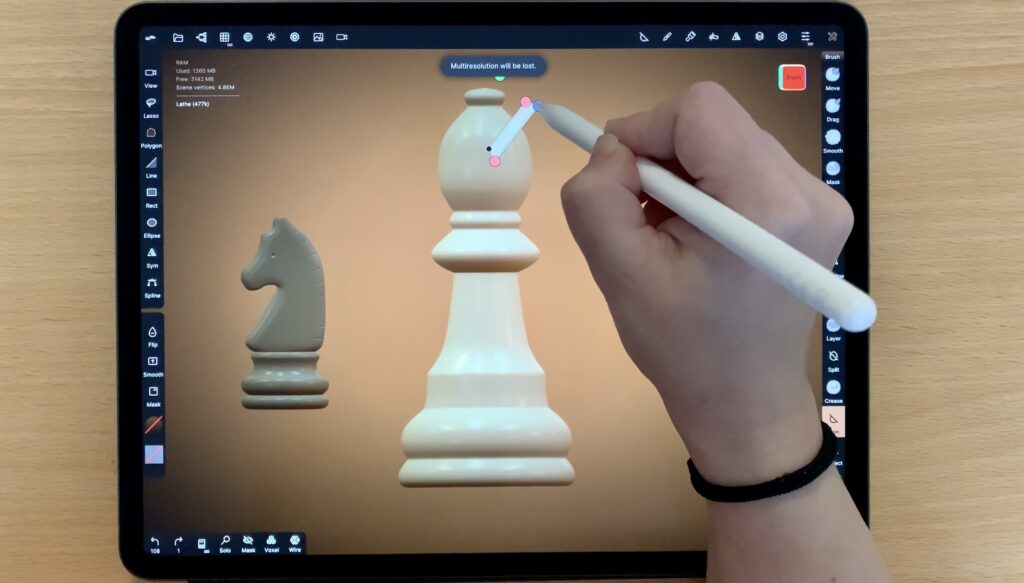
Bishop
Well, Bishop was my first ever 3D model I created in nomad sculpt, back when I knew nothing about my tools and what they do. (I remember I had such a feeling of accomplishment!) All you need to do is create the outline with the lathe tool, and then make a slanted dent. No need to use a mask either!
Queen
I am repeating what I did with the Knight. Firstly I am using the lathe tool to trace the outline. Then I alternate the mask tool and the trim tool to create the dents. Because these dents are slightly different than those of the Rook, I make the cuts while in top view.


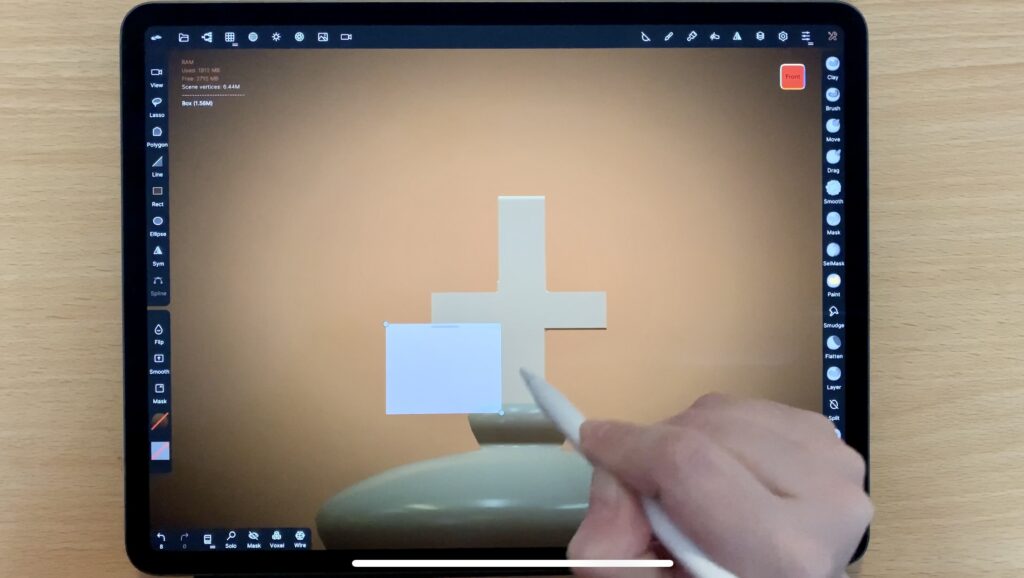
King
And last but not least we have come to our King. Apart from the cross, everything is symmetrical to the y axis, so I am taking the lathe tool once again to trace the outline. For the cross, I am gonna add a rectangle and then use the trim tool to cut out rectangular pieces at the four vertices and turn the shape into a cross.
And that’s all! Personally I went a step further, and created a chessboard as well. And like a total @#^% that I am, I left this bit out of the video. But hey, you just created the chess pieces, I guess you won’t be having a problem with a plain chessboard! However, please let me know if you’d like help and/or advice!

 Colored Pencils
 My 5 top High End Artist Grade Colored Pencils
 Acrylic Markers
 Ohuhu Acrylic Markers Review
 Colored Pencils
 Woomer Art Colored Pencils Review
 Graphite
 Staedtler Mars Lumograph Black Review
 Arrtx
Arrtx Arrtx 60-piece Regular and Anime Acrylic Markers Review
 Art discussion
One Response
Good writeup! I am intrigued by the triplanar tool and it’s cool to see how it can be used.