
A bit of shameless self-promotion today. Which is my least favorite thing to be honest, I hate to say “go buy my stuff and you’ll be awesome, blah, blah, blah…” But many people have been asking about my process lately, so this mini-tutorial is the least I can do.
My art journey began with graphite. For a long time, humble pencils was the only material I used. Even nowadays that I do not draw traditionally any more, graphite is my favorite medium.
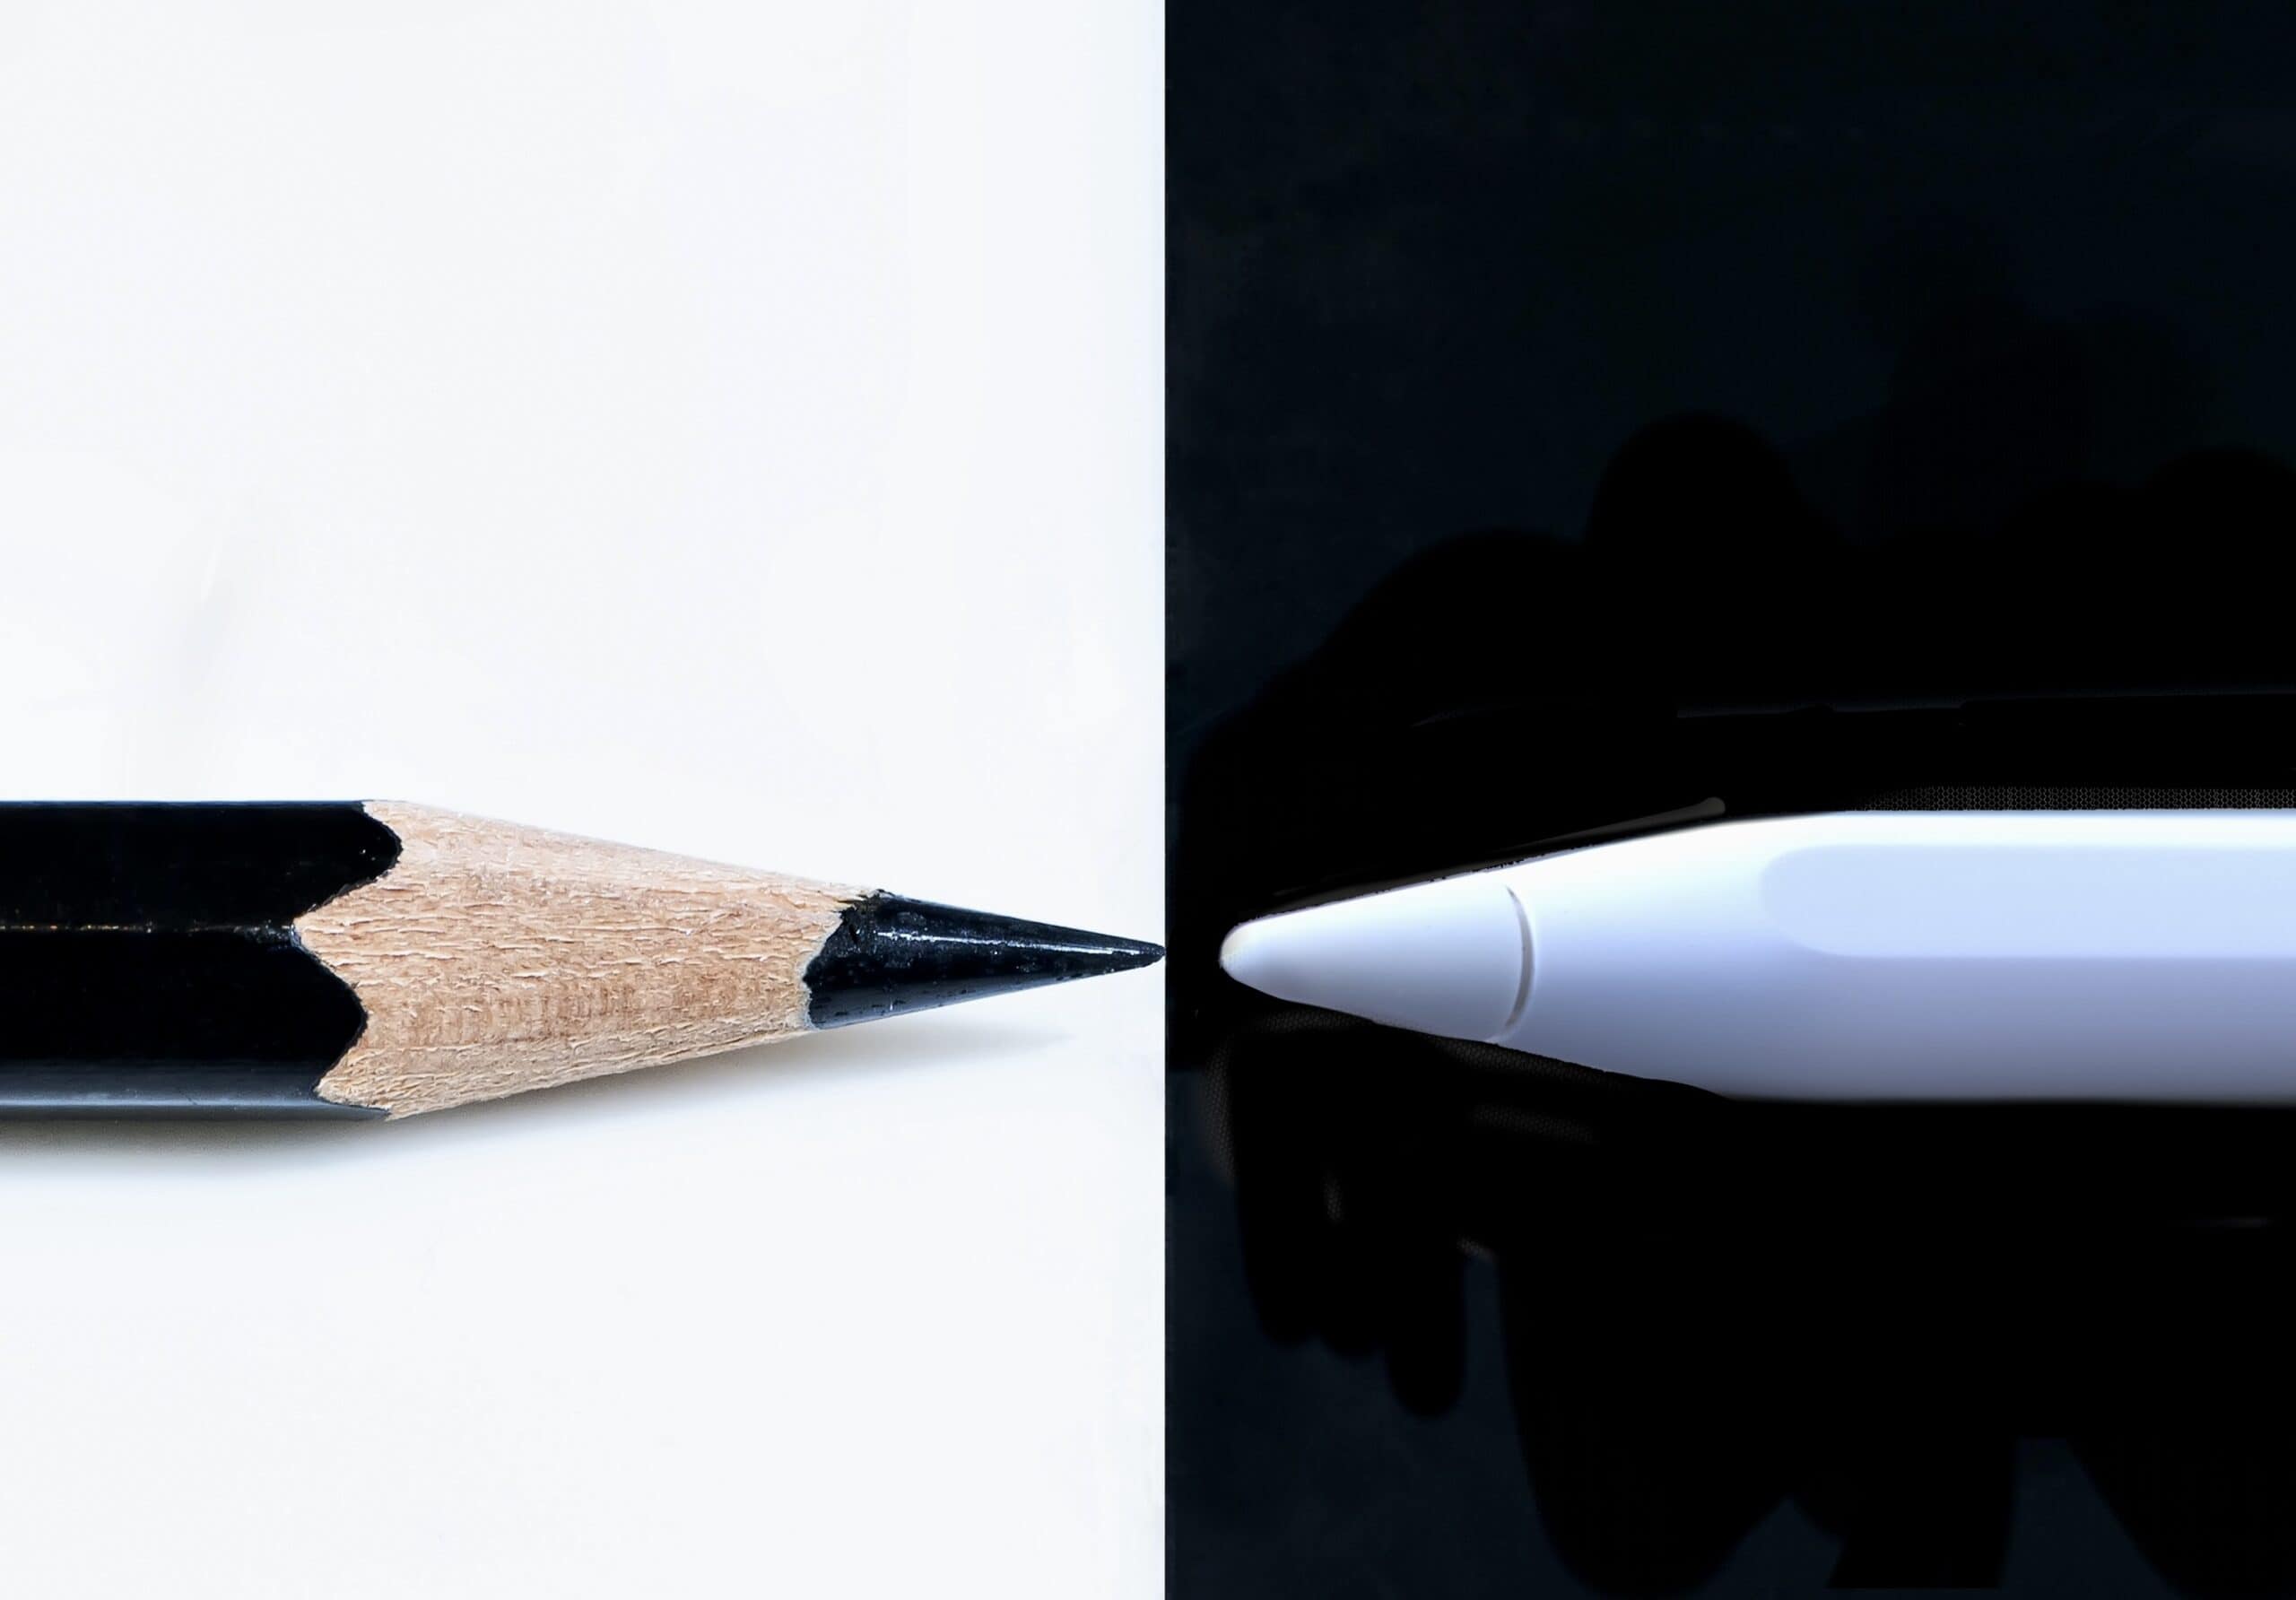
I love the pencil effect on paper, that organic, gritty quality that is unique and unlike any overly “plastic” effect that digital artists tend to favor. When I switched to digital painting, I wanted to create the same gritty, almost traditional quality. So, over the years I developed my own brushes and my ultimate goal is to achieve the perfect pencil effect digitally!
Before we begin a little DISCLAIMER: This is not a tutorial for total beginners, I do not explain eg. how to draw a nose. I am simply discussing how to achieve a traditional effect digitally.
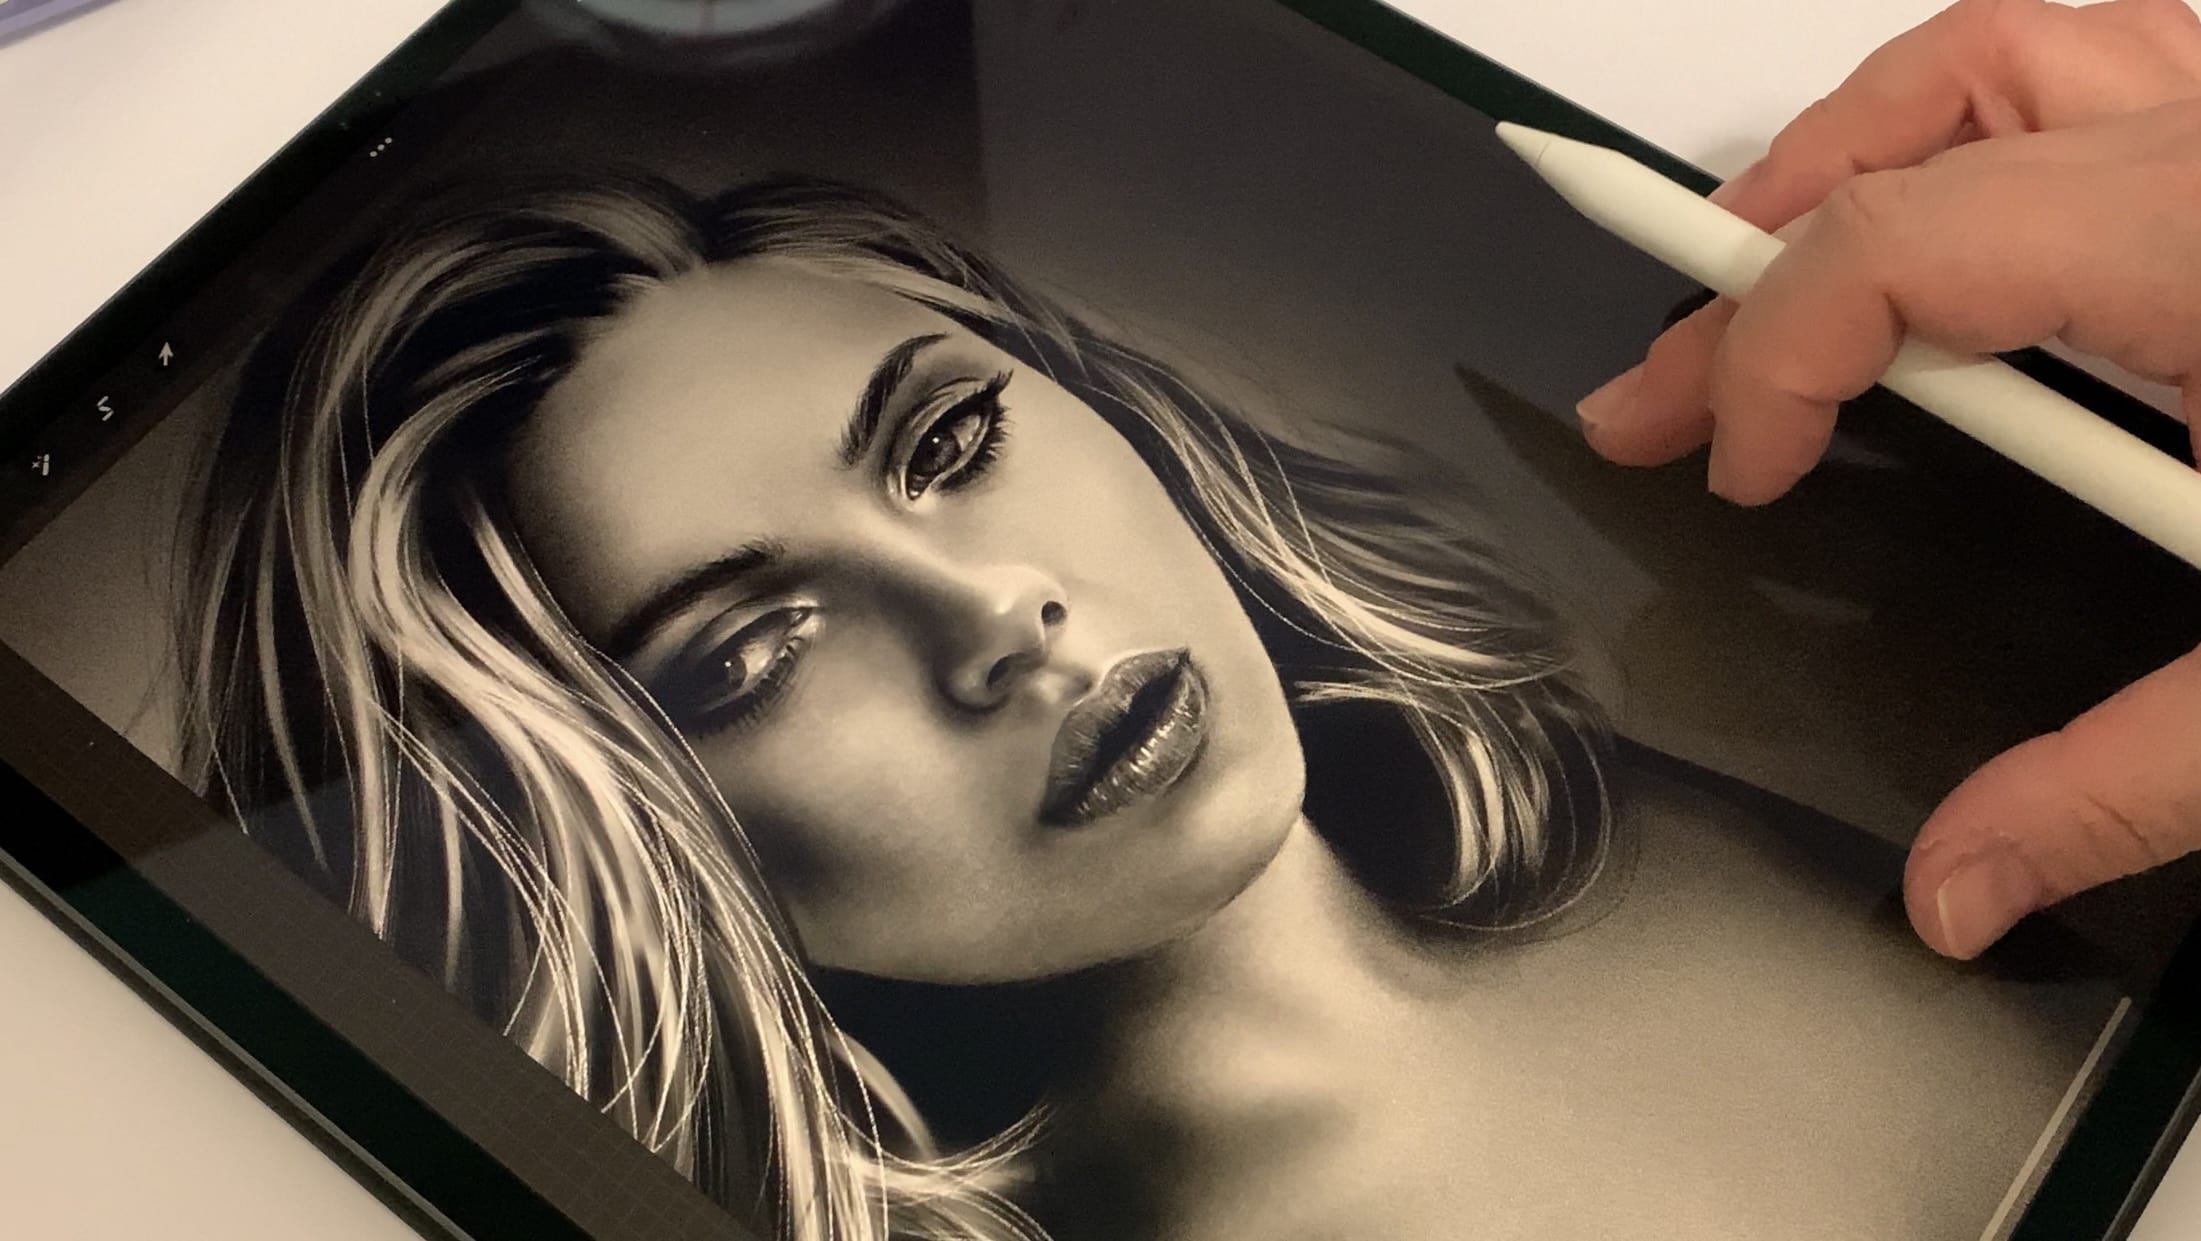
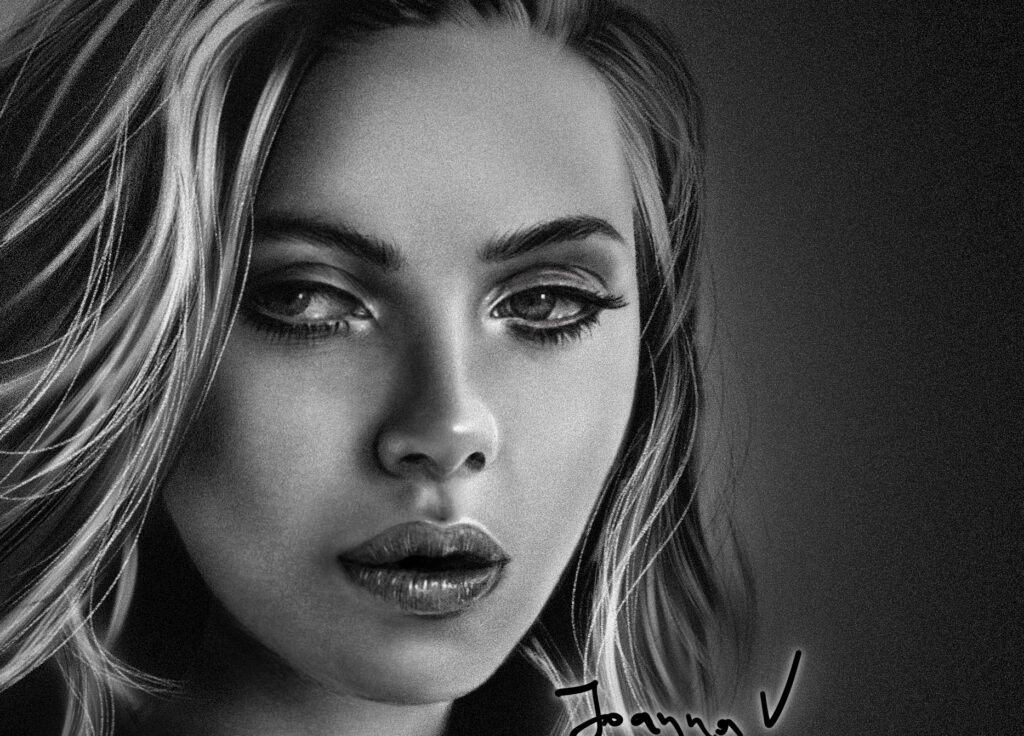
Anyways, here I will be showing my process of drawing Scarlett Johansson digitally on the iPad, in procreate app. I used two of my brush sets, Realistic Pencil Brushes and Skin and Hair Brushes. The pencil brushes for details and the skin&hair brushes for the … well, hair and for shading larges areas.
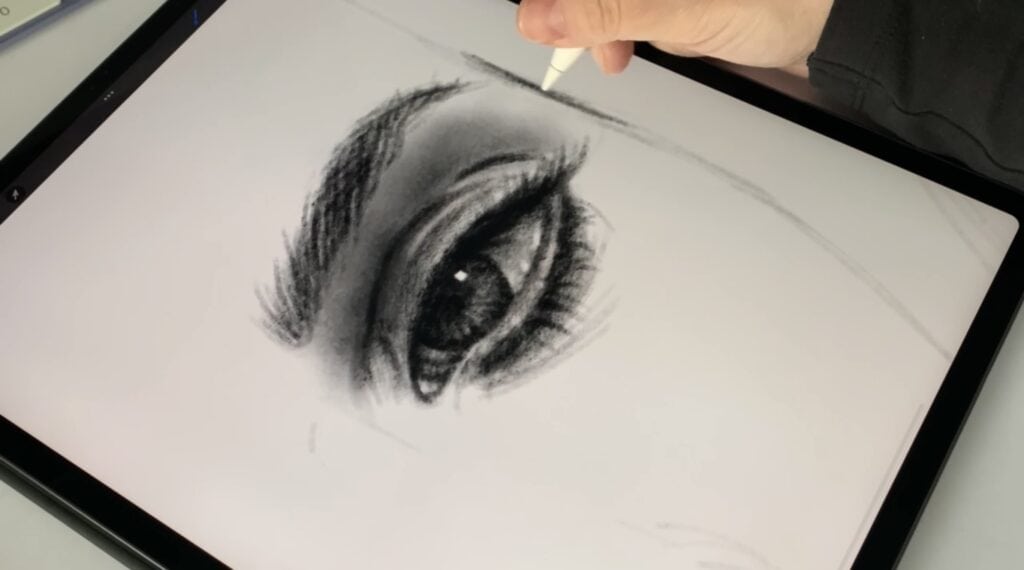
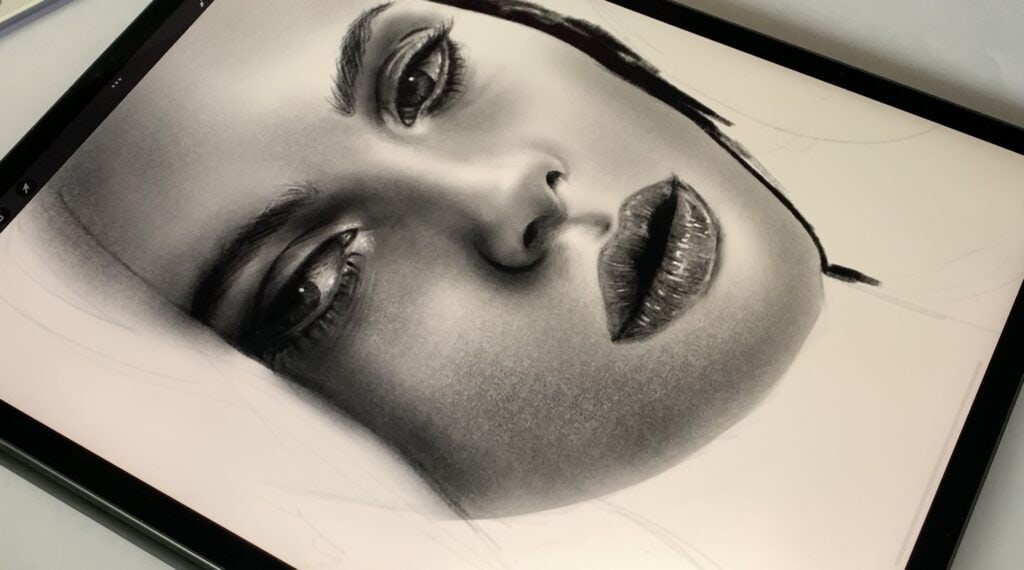
After constructing the guidelines and the sketch (check out this and this post where I explain how you can get the proportions right), I begin with the eyes. Using the 4B pencil (pencil brushset) I shade as uniform as I can. Detail is super important here, so I love shading with the (almost) pixel precision of a pencil. For slightly larger areas, like the brow bone I use a heavy texture brush (skin texture 2 – skin&hair brushes), but generally everything else is done with the pencil brushes.
For the skin what I basically do is take a heavy texture brush and shade as smooth as I can, but at the same time I go heavy on darker areas. That will do for now. When everything else is getting drawn, I will go back to the skin and add details with the pencil brushes.
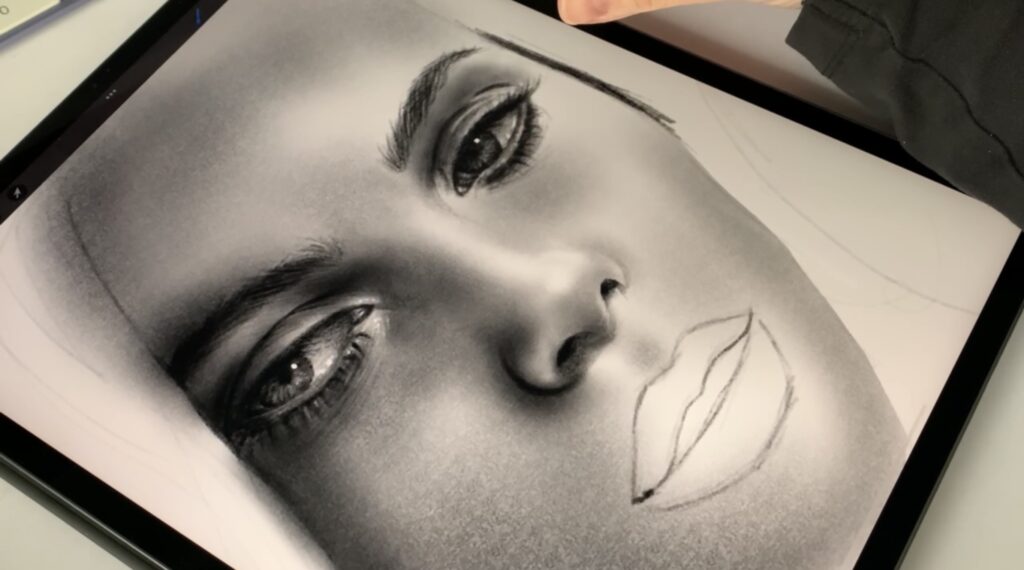
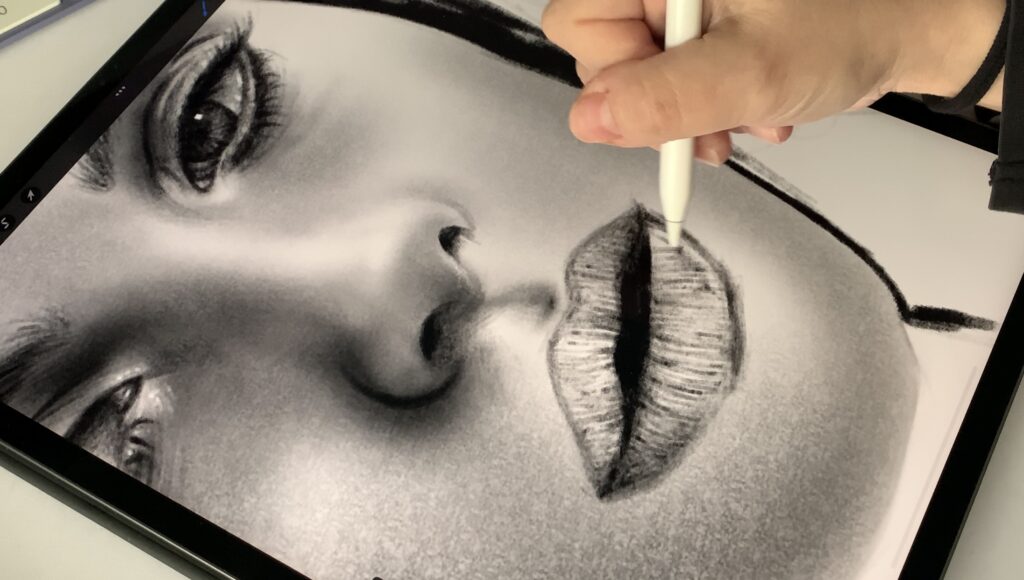
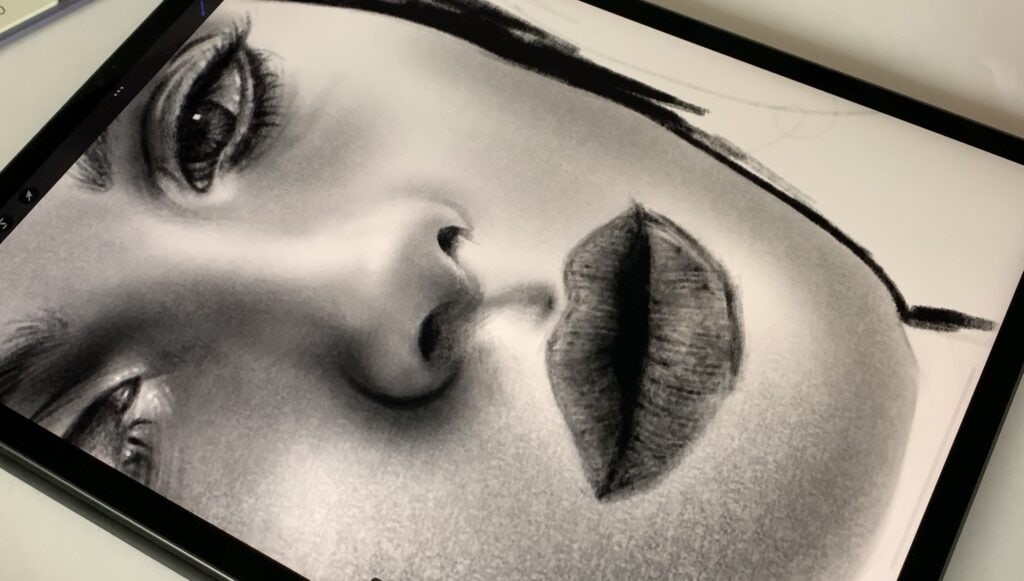
The lips are done in three stages. 1) Firstly I create random vertical lines (pencil brushes again) to mimic the natural lines of our lips. 2) Then I fill the whole area with a texture brush (skin brushes) and finally 3) I go back to my pencil brushes to add again random vertical lines, with a white color this time.
Hair is another story. (It always is, in real life too!) Firstly I fill the whole area with a black color. This is the darkest shade of the hair, upon which I will build the highlights. Then I add white individual hairs, using both pencil and skin&hair brushes, depending how light I want the hair to be.
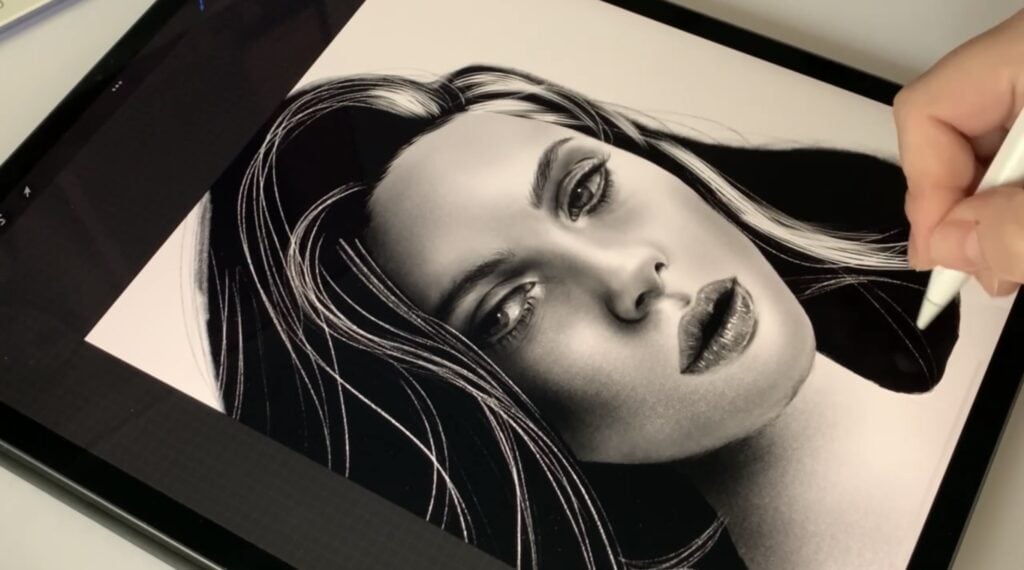
FYI here I used 4b pencil (pencil brushset) to do stray hairs, and bunch of hairs 2 (skin&hair brushset) for dense clusters of hair.
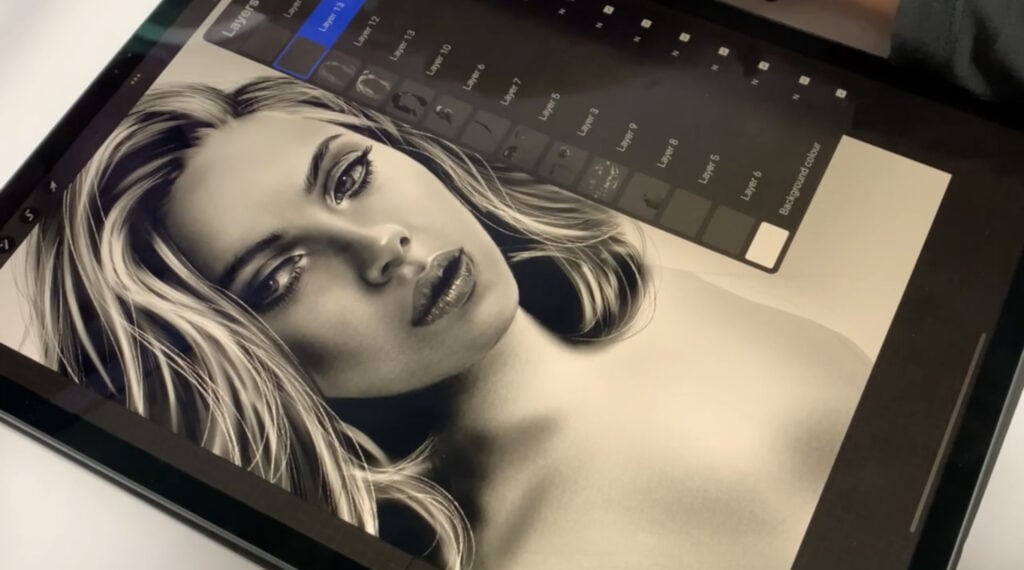
Tip: I normally use too many layers, sometimes 40, even more. (Here I didn’t go crazy with layers, no idea why… Sometimes it just happens!) Generally when I do something different I add a new layer. For example, here stray hairs and bunches of hair are on individual layers. When you have all your elements on individual layers, you can manipulate features without being destructive on the whole drawing/painting.
At this point the artwork looks ok-ish. However, it stills feels quasi-plastic for my taste. I want moar texture! So here’s what I do. I export the artwork as a .jpg file and save it in my photo album. Then I insert this exported image in the same procreate file, and place it above all layers. So now we have two images overlayed, one flattened and one as individual layers.
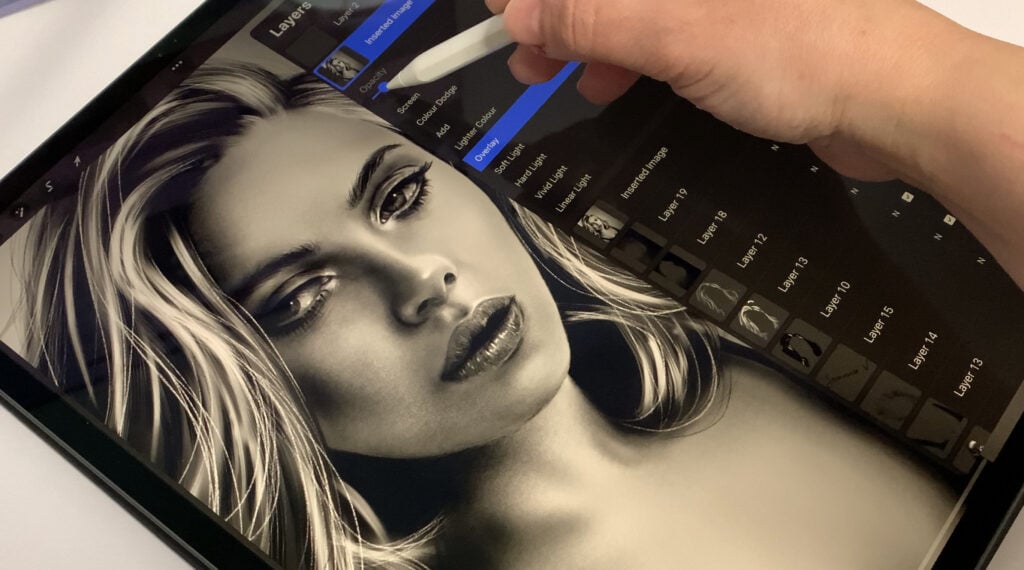
I go to my flattened image and play with layer modes, as well as with the opacity. Then I add noise (adjustments->noise) to add even more texture. (Here I am talking in depth about adding noise to your digital paintings)
And that’s all! For more … details (pun intended!) check out the real time video below. And let me know your thoughts, do you like it when digital art looks traditional?
 Colored Pencils
 My 5 top High End Artist Grade Colored Pencils
 Acrylic Markers
 Ohuhu Acrylic Markers Review
 Colored Pencils
 Woomer Art Colored Pencils Review
 Graphite
 Staedtler Mars Lumograph Black Review
 Arrtx
Arrtx Arrtx 60-piece Regular and Anime Acrylic Markers Review
 Art discussion