
Tutorial day today! We’ll be making a pencil in Nomad Sculpt. Cause there’s nothing more beautiful and more elegant than a humble pencil. (This is coming from a pencil artist, oh well, I’m biased!)
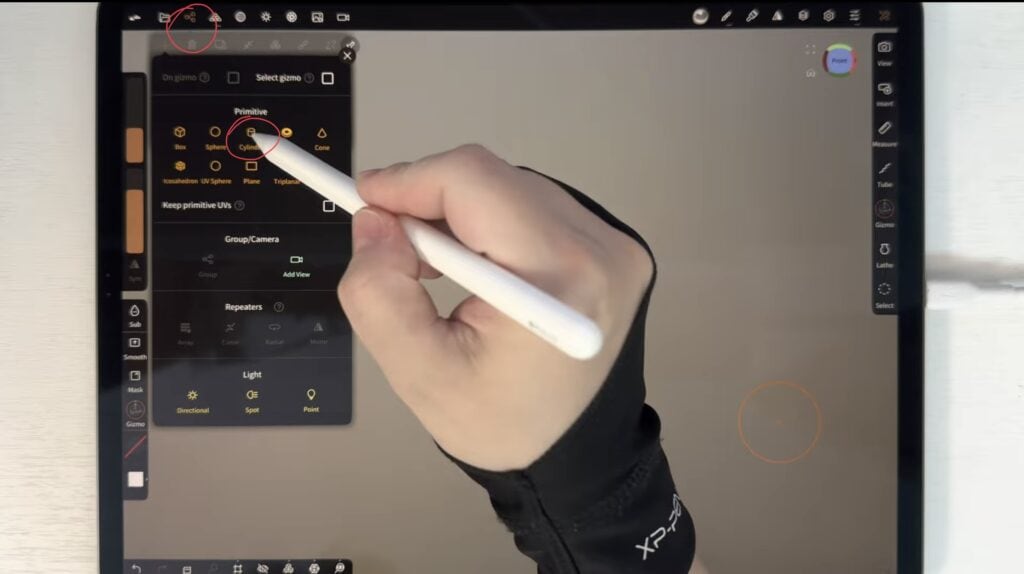
Start off by deleting the default sphere. Then add a cylinder from the primitive tab.
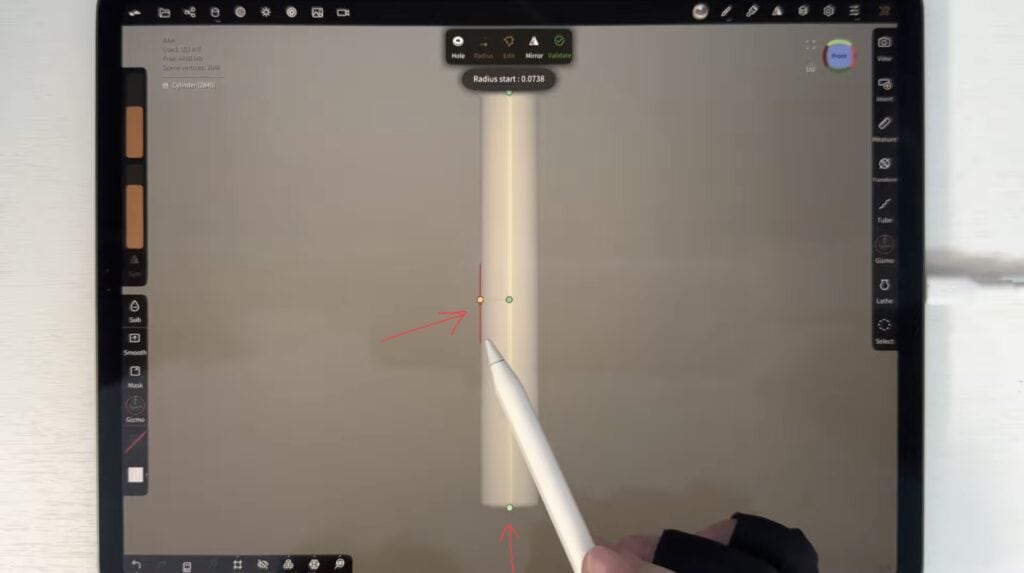
Adjust the cylinder so that it is long and slim (it is going to be the body of the pencil).
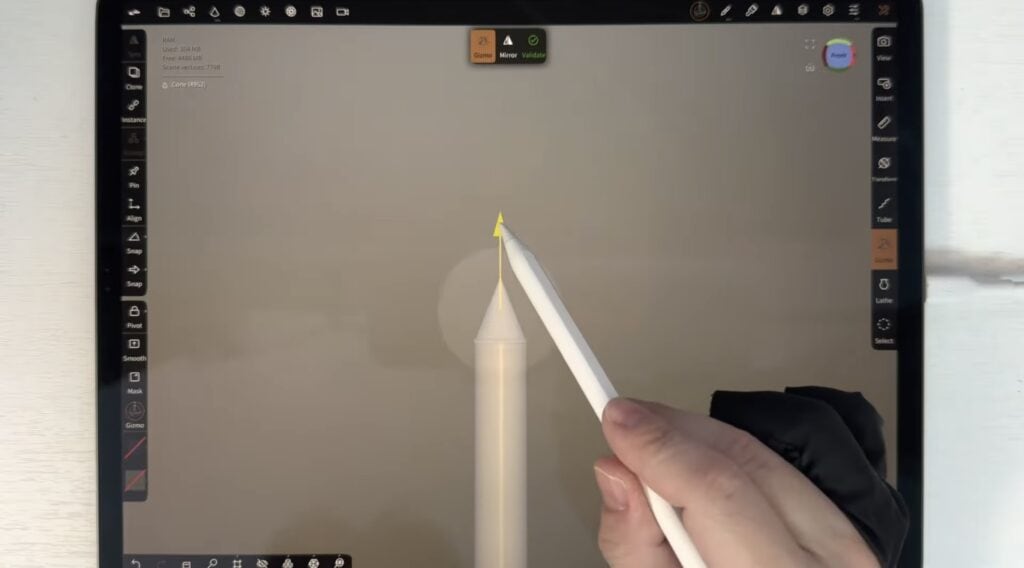
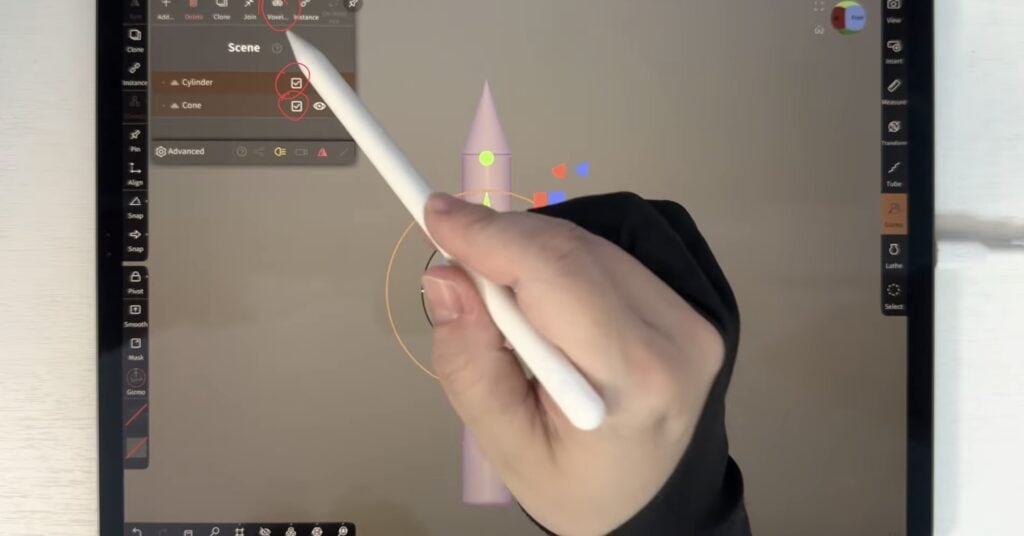
Then, add a cone. Adjust the base so that it is the same size as that of the cylinder, and edit the height to your liking. Then place the cone on top of the cylinder, as shown below.
Select both primitives from the Scene menu, then tap “voxel” to voxel merge. You might need to edit the resolution by trial and error, to achieve a flawless merge. Just practice.
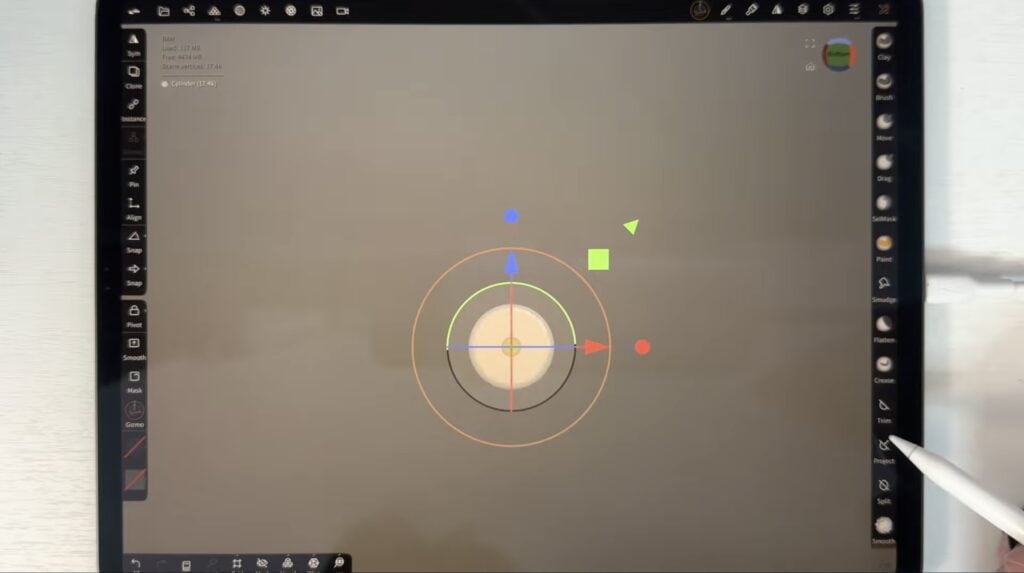
We will now trim the pencil to give it its characteristic hexagonal shape. Go to “bottom” view.
Select Radial Y symmetry from the symmetry menu and type in “6”. Then cut a slice with the rectangular trim tool, as shown.
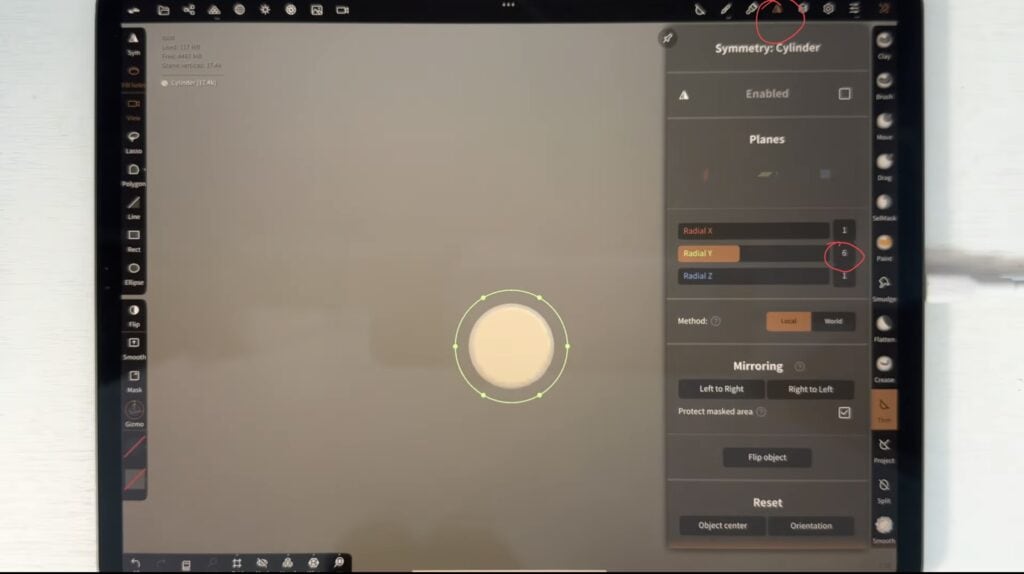
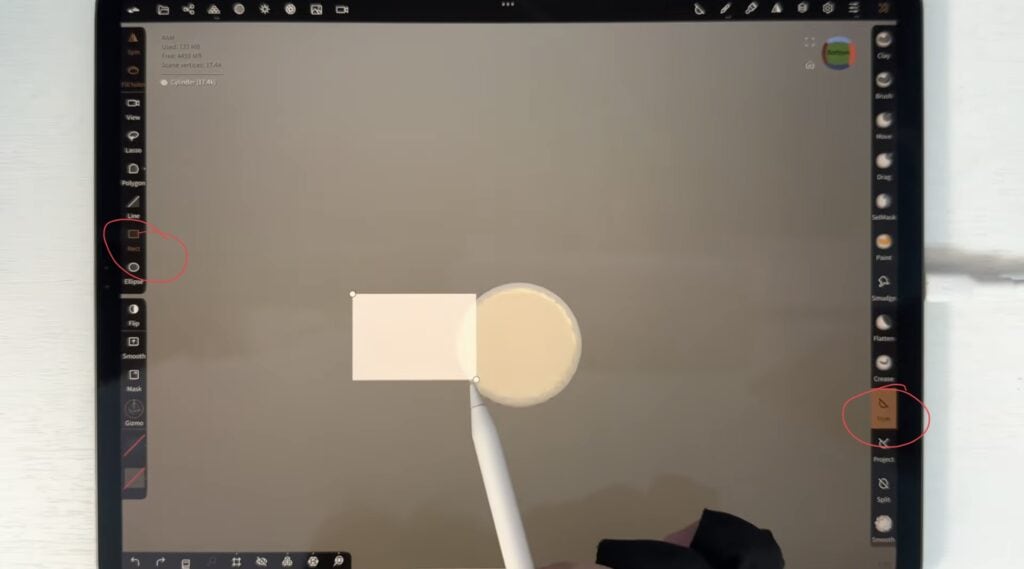
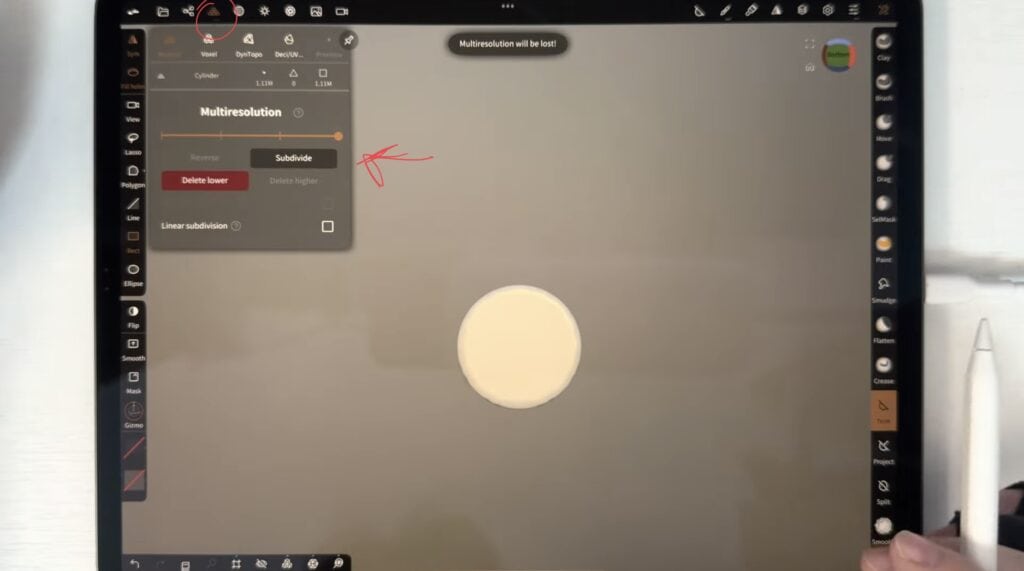
Depending on how sharp you would like the cuts to be, you might wanna subdivide a few times before using the “trim” tool.
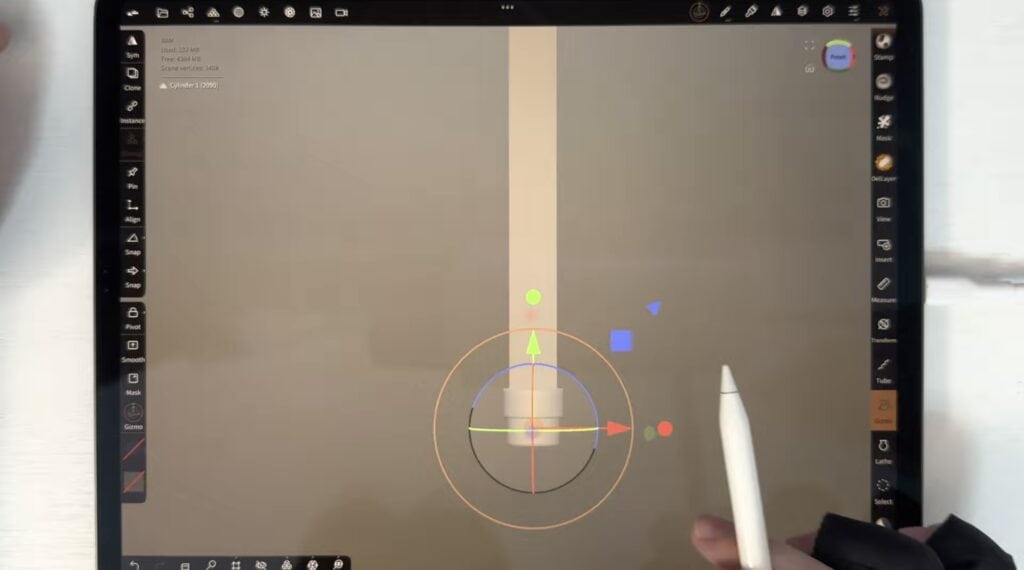
Add two cylinders to make the eraser at the end of the pencil. Adjust the sizes and place them as shown.
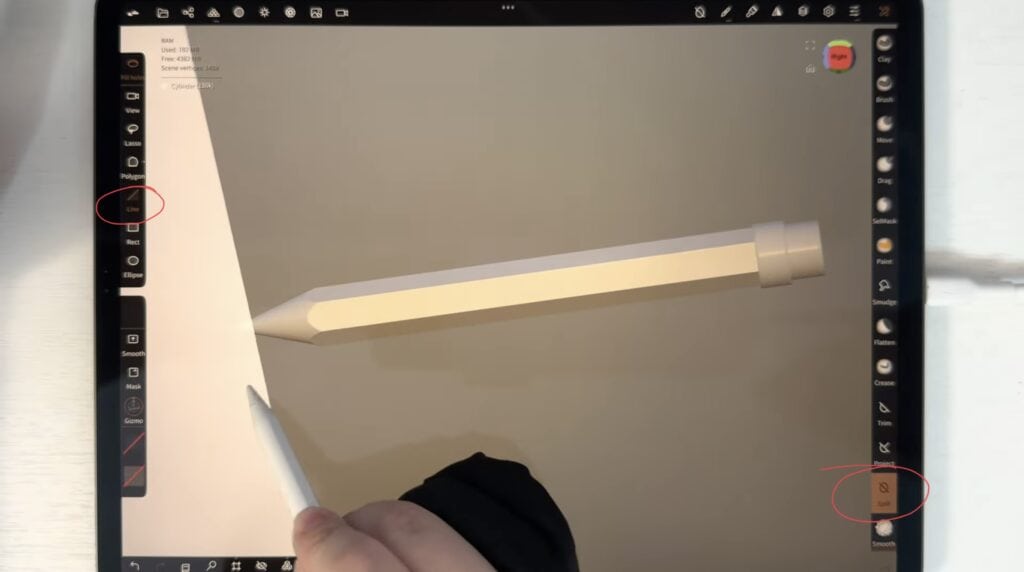
Finally with the line trim tool, make a cut to the “lead” of the pencil.
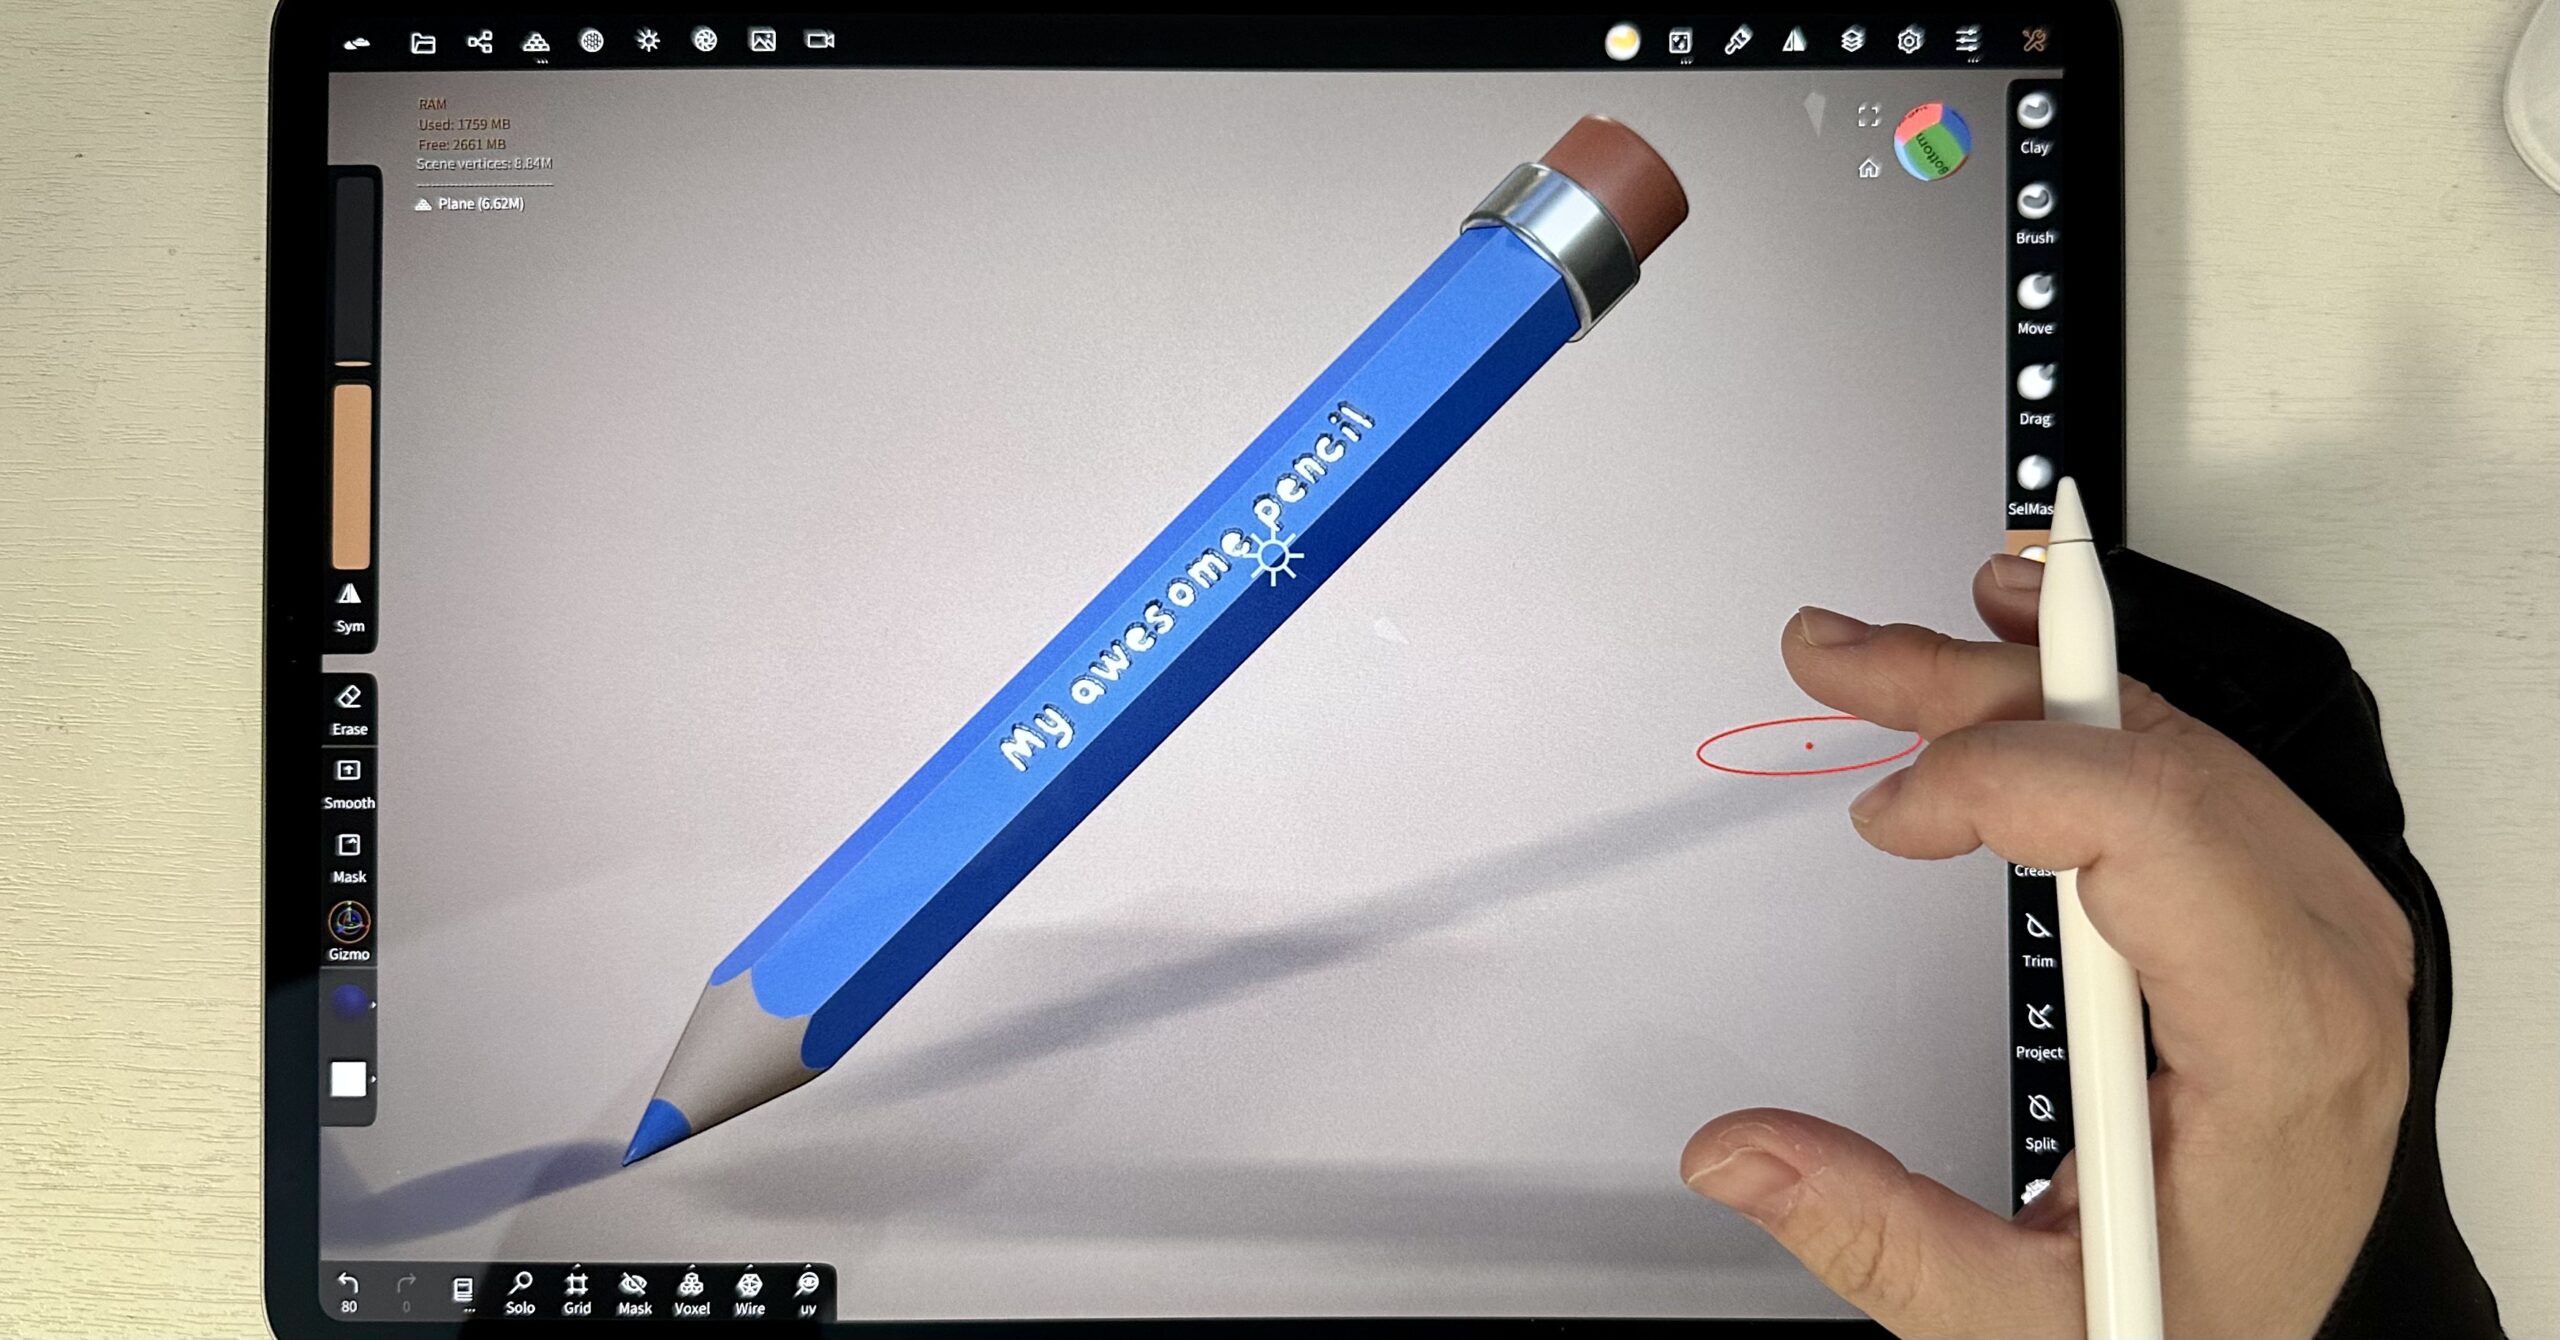
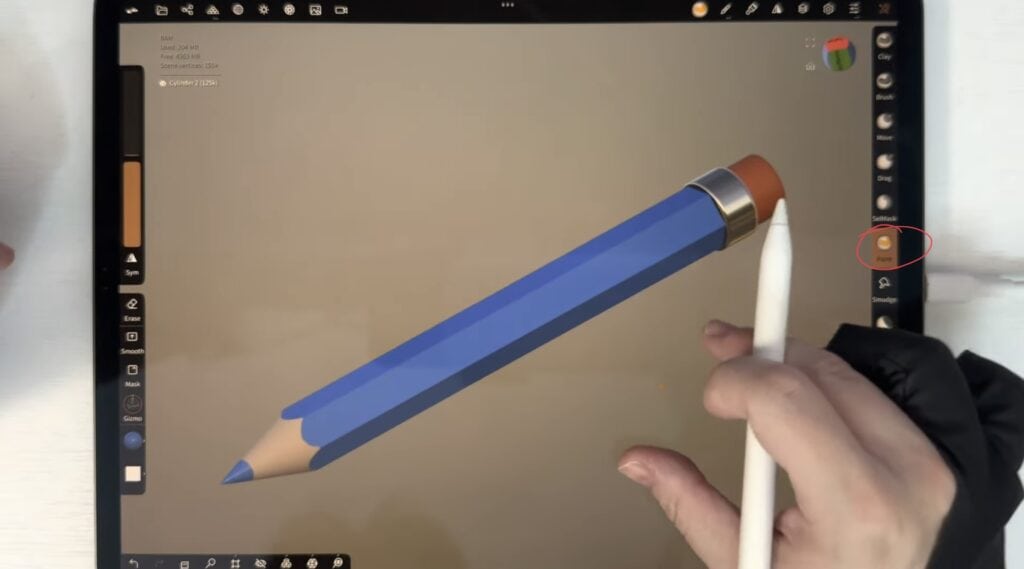
Paint the pencil as you wish, and voila! The basic shape is done!
Optionally you can add an engraving at the side of the pencil, to mimic the brand. With the stamp tool, engrave the logo/quote of your choice. For this step, the object should be as high-res as possible, so go to the resolution tab and subdivide a few times.
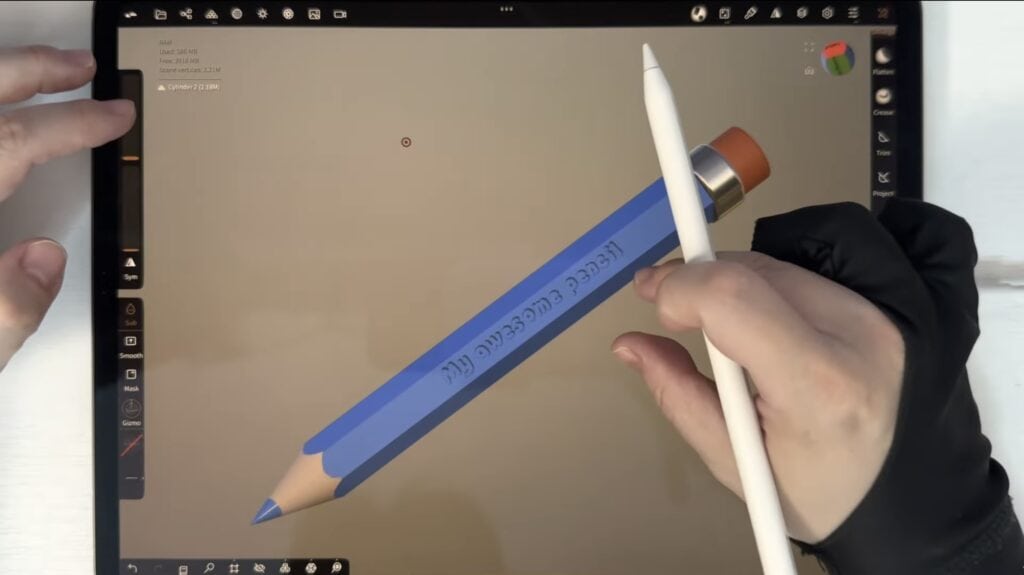
I personally paint on the engraving as well.
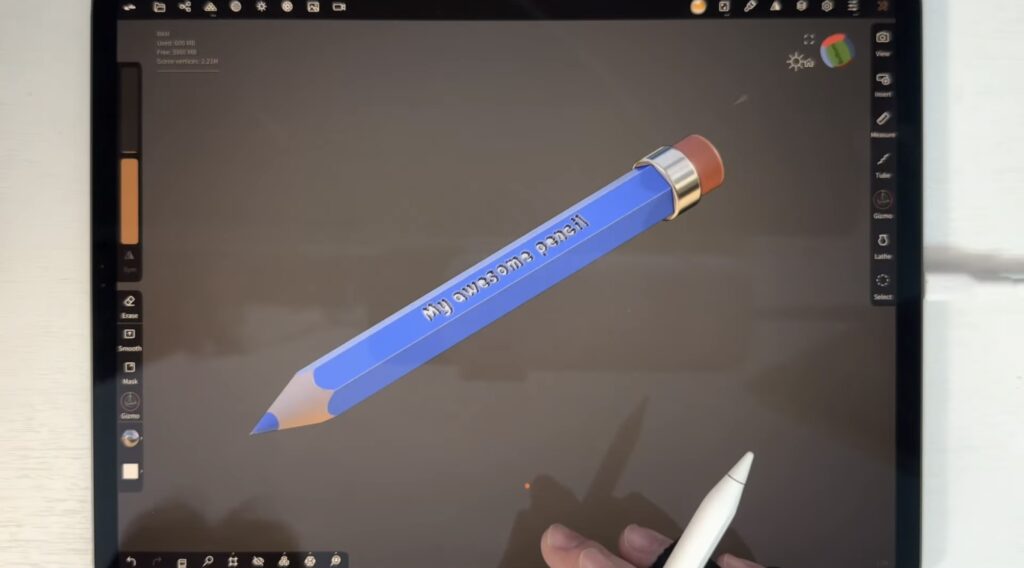
That’s all! You can add a plane, to mimic a sheet of paper, a bit of post-processing and your awesome pencil is done! Check out the video tutorial as well, and let me know what you think if you give it a try. Happy sculpting!
PS: Random useless bit of information: The images look fuzzy and I’m sorry about that. My iphone 14, I film with, although superb at taking photos and videos, is not as automatic as I would have liked. Sometimes I forget to manually adjust the focus, as my artistic self cares for nothing but the art itself… it’s a curse…
 Art discussion
 The future of Art (or why AI won’t take over)
 Colored Pencils
 My 5 top High End Artist Grade Colored Pencils
 Acrylic Markers
 Ohuhu Acrylic Markers Review
 Colored Pencils
 Woomer Art Colored Pencils Review
 Graphite
 Staedtler Mars Lumograph Black Review
 Arrtx
Arrtx