
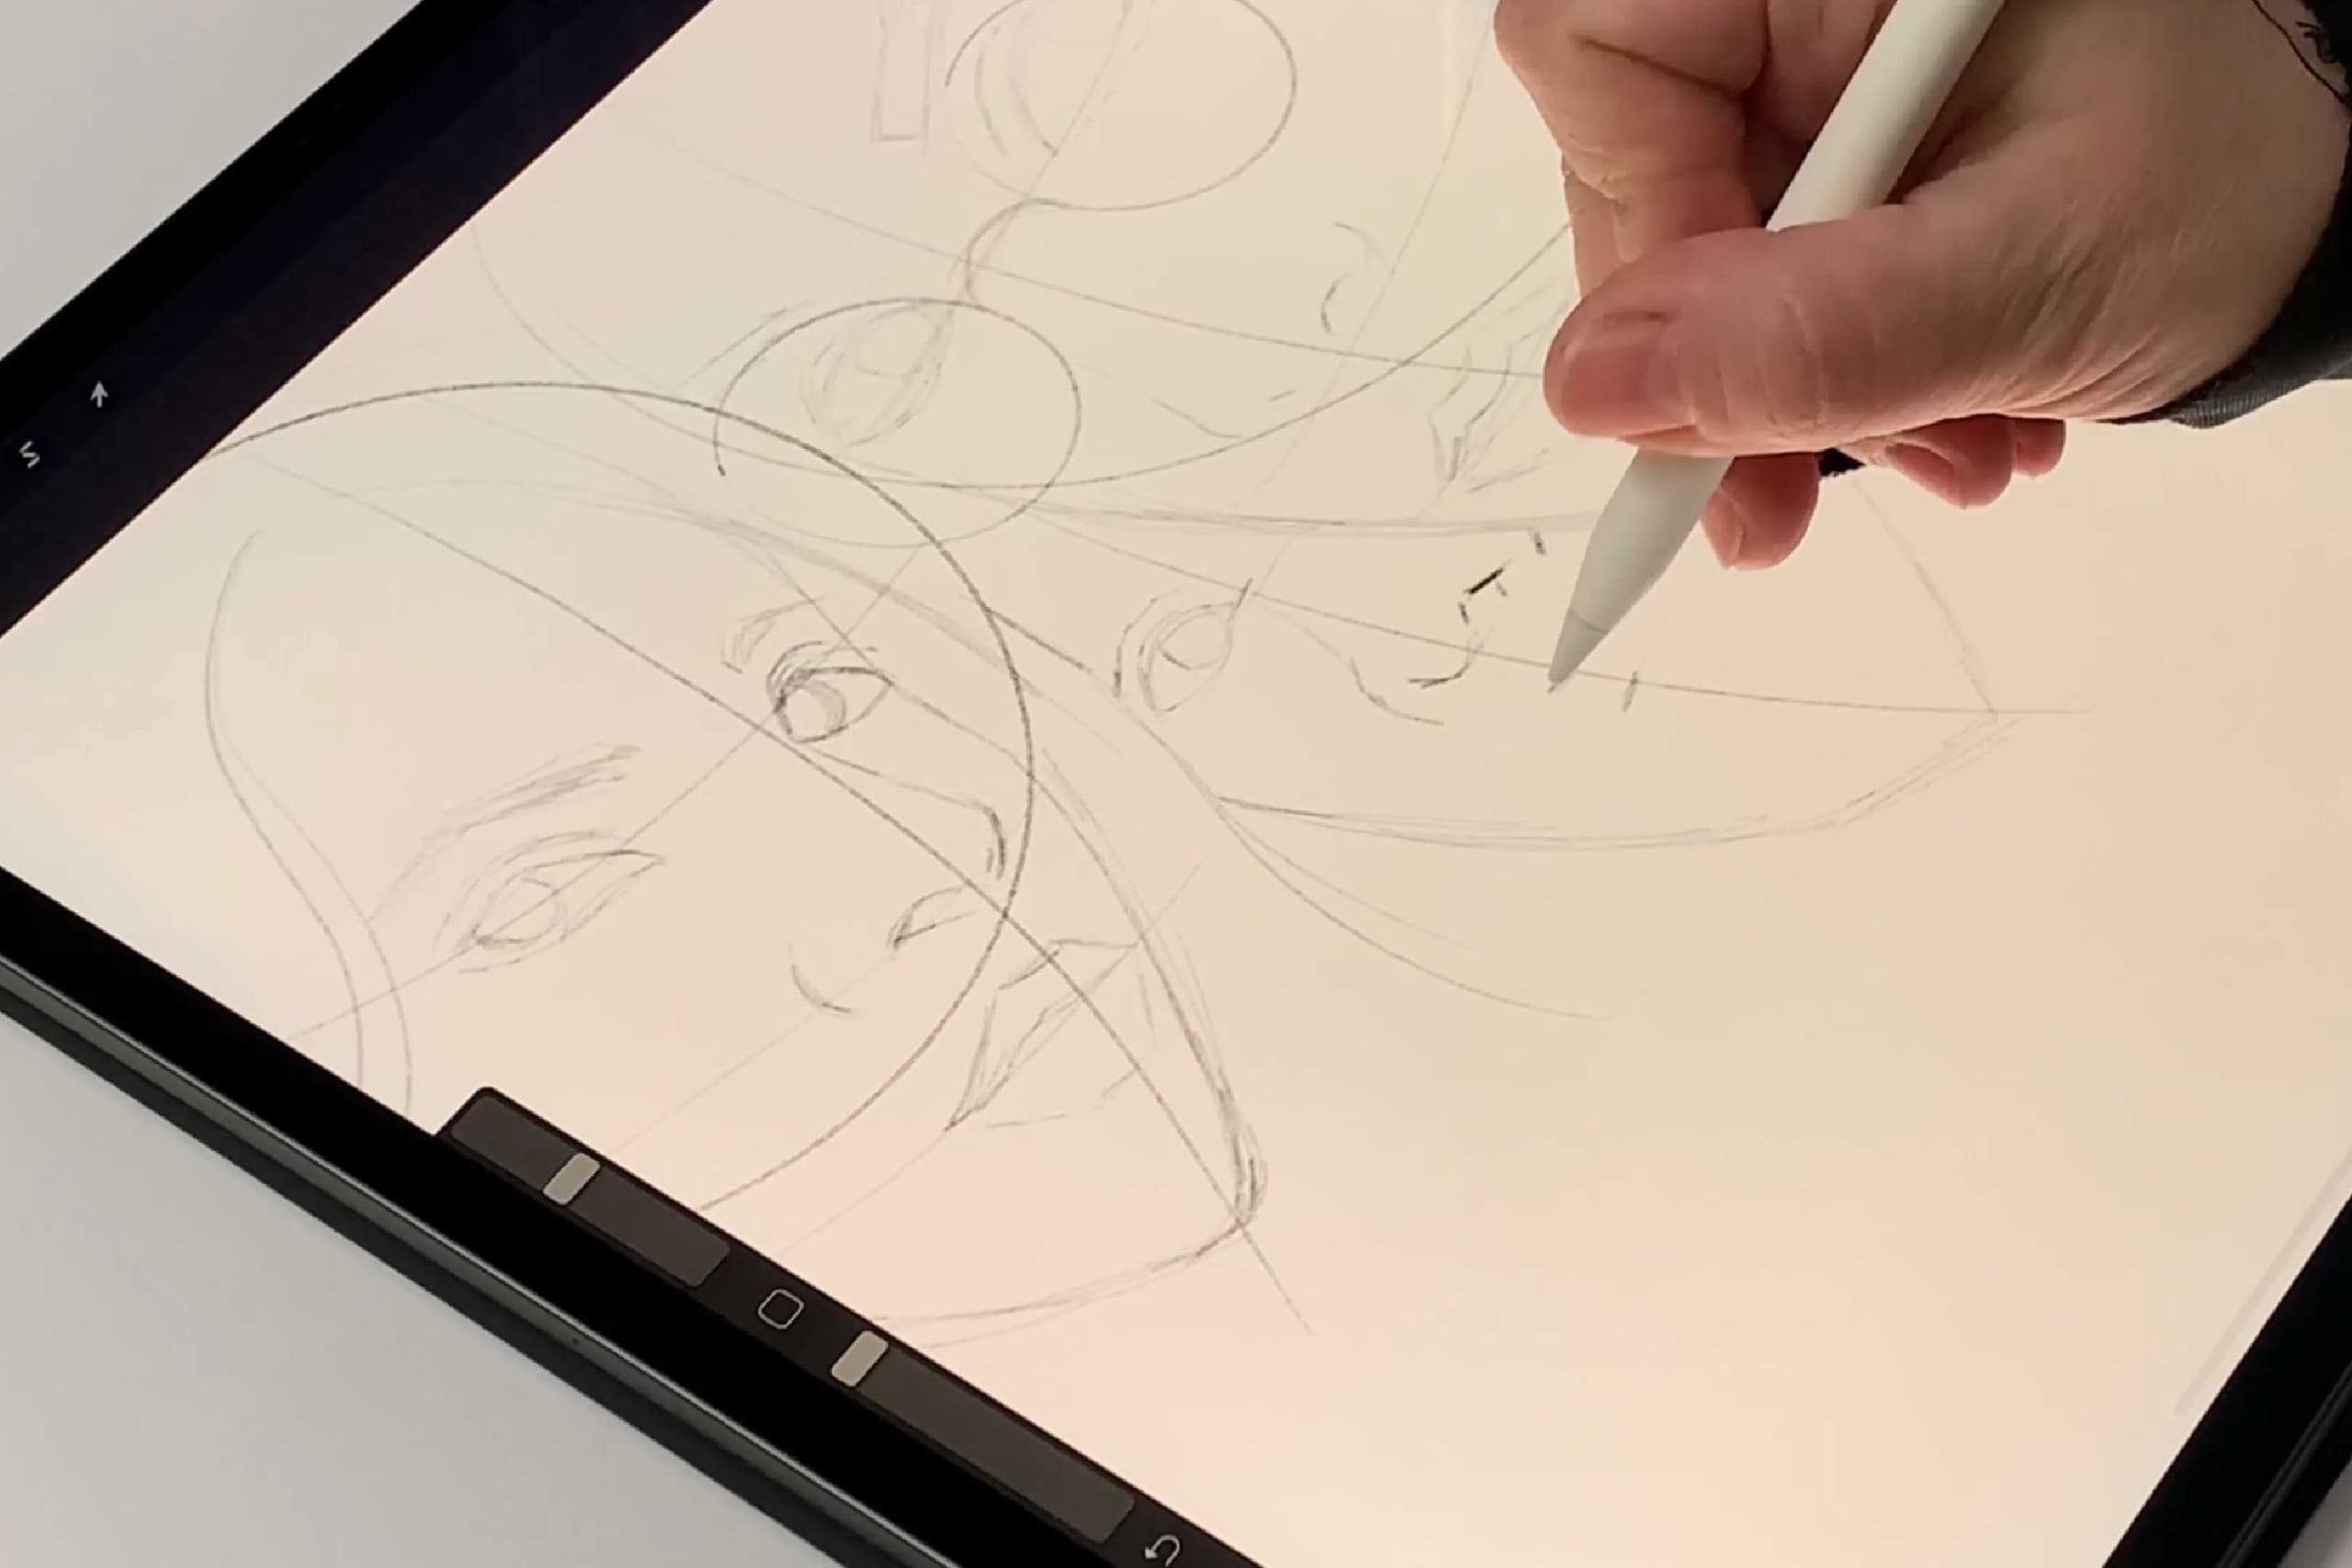
Well, the other day I posted a video tutorial on YouTube, on how to get perfect proportions, and like a total dork that I am… I forgot to update my blog! So, here is the written version. Better late than never, right?!
How to get “perfect” proportions is a question I get asked every single day. To be completely honest, it is quite intuitive for me, but I did my research (so that you don’t have to!) and below I will give you my best tips on how to get (almost) perfect proportions.
Please remember that this is mostly a beginner’s tutorial. For those of you who want to take it seriously… bad news. You need to start with the fundamentals. How the face or body (or any physical object in general) is constructed, how to approximate any complicated shape with simpler geometrical shapes, and how these shapes are distributed into space.

Don’t worry, fortunately Andrew Loomis did the research for us. And he is not the only one, but he is my top recommendation (and I am usually very very reluctant to recommend something on the internet) because he IS the real deal and because his books are free to download in digital format here. He really provides a solid base on how to conceive and ultimately create forms and shapes.
However, (because the studying process can be intimidating sometimes) if you are a beginner who would like to dive straight in the deep, there are a few shortcuts. Hooray!
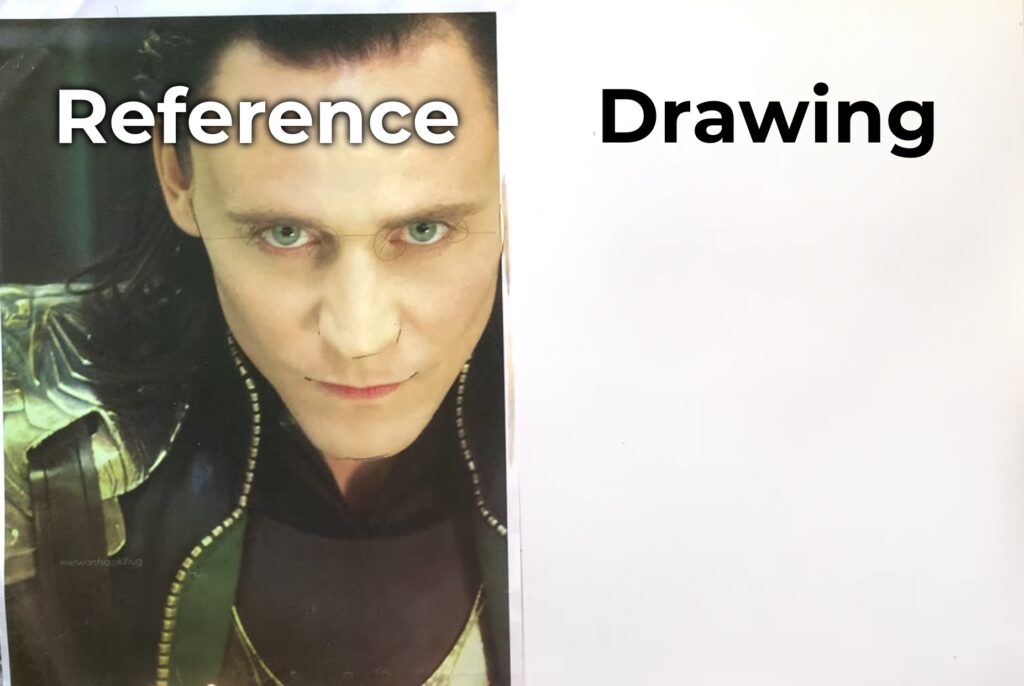
So, what I basically do when I want to quickly and effortlessly achieve “perfect” proportions, is this: I firstly print my reference photo at the same size that I want my drawing to be.
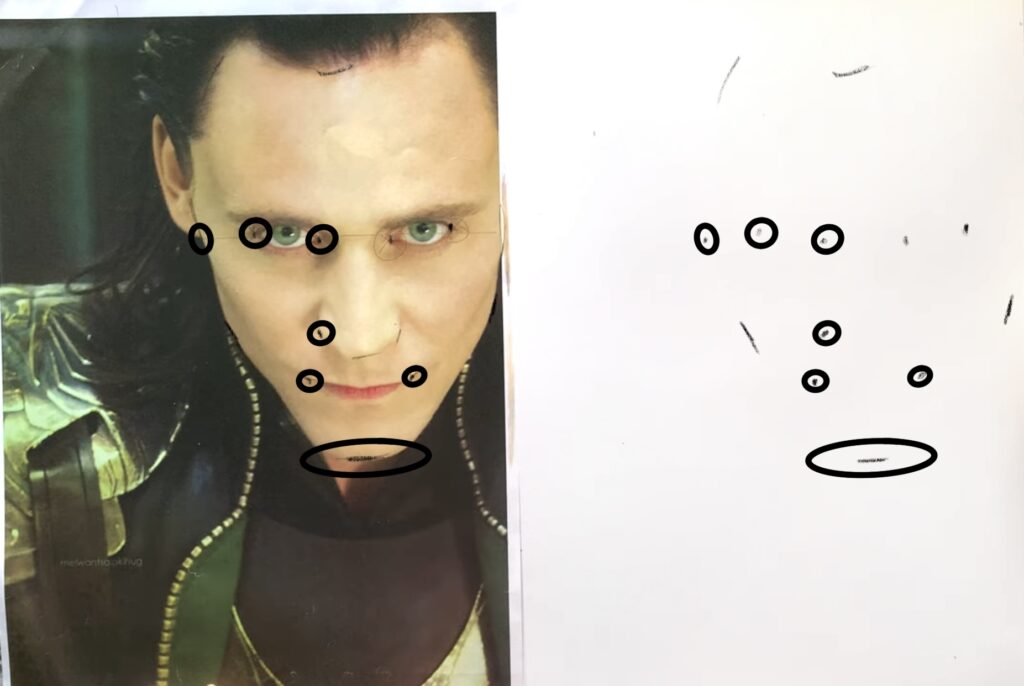
Now what I want to do is find the “key points” of my reference photo and place them at exactly the same spots on my drawing paper. Although there is no specific definition of what exactly the key points are, I consider them to be the “borders” of important elements. For example, for a face, key points are the edges of the eyes, lips, nostrils, jawline, hairline etc. So, after I pinpoint these spots, I measure them (sometimes with a ruler, sometimes just observing) and place them on my drawing paper.
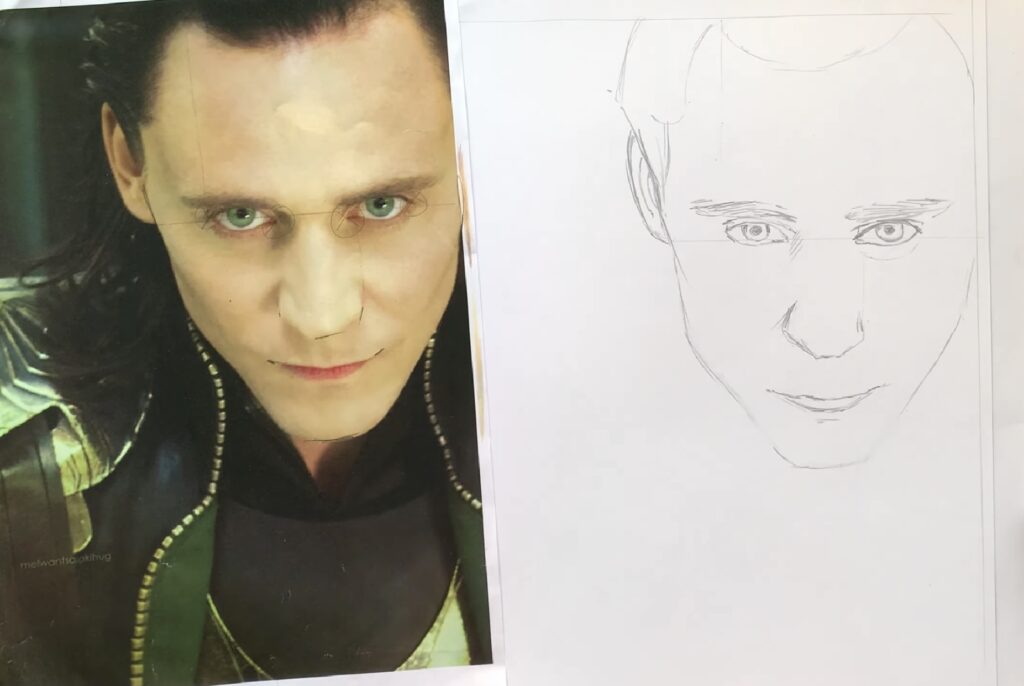
Once I have these points down, I fill in the shapes freehandedly. By securing that all crucial edges are placed at the right place, you secure that the distribution of the drawing will be even, even if you make minor mistakes. And that’s all!
Just remember that this is a beginner trick. If you are serious about drawing, sorry but you need to study form sooner or later…
 Art discussion
 The future of Art (or why AI won’t take over)
 Colored Pencils
 My 5 top High End Artist Grade Colored Pencils
 Acrylic Markers
 Ohuhu Acrylic Markers Review
 Colored Pencils
 Woomer Art Colored Pencils Review
 Graphite
 Staedtler Mars Lumograph Black Review
 Arrtx
Arrtx