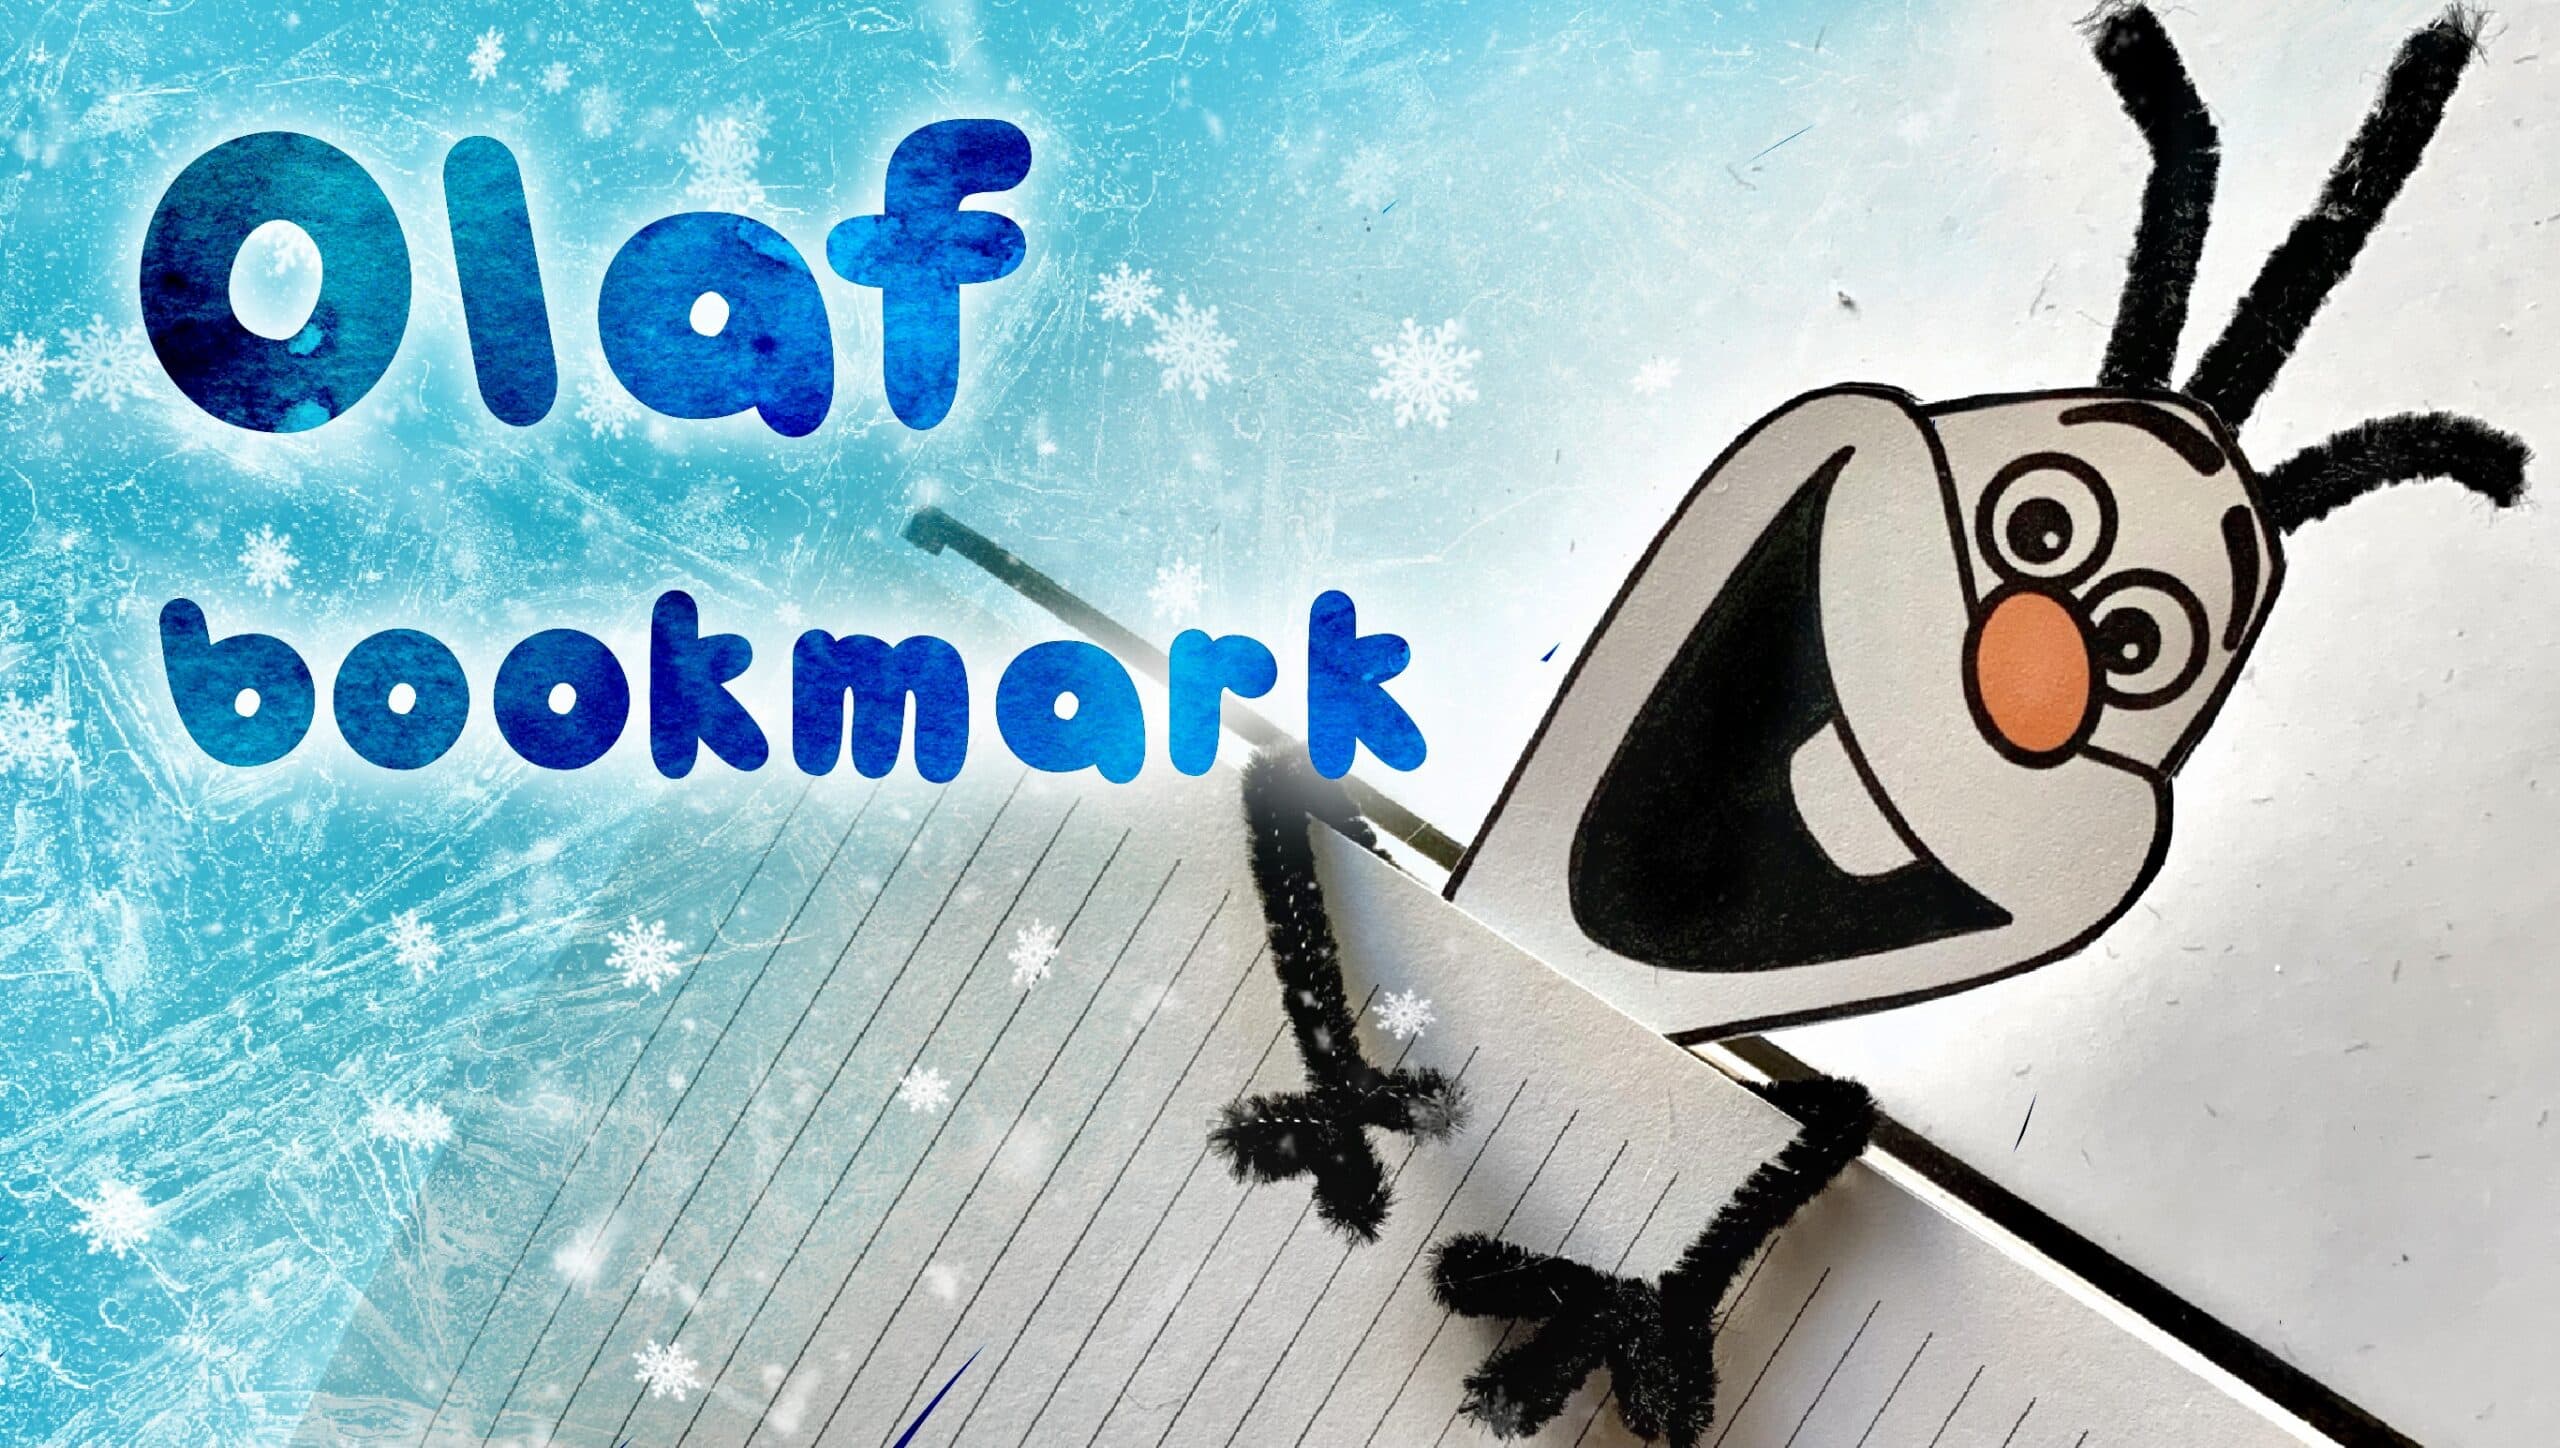
Today, I have another funny craft for you, to do with your kids. Or alone for that matter, I am a total sucker for kids crafts! I initially made a similar Olaf as a label for my son’s schoolbag. (There’s his name on the back side, I guess it’s greek to you! 😉)
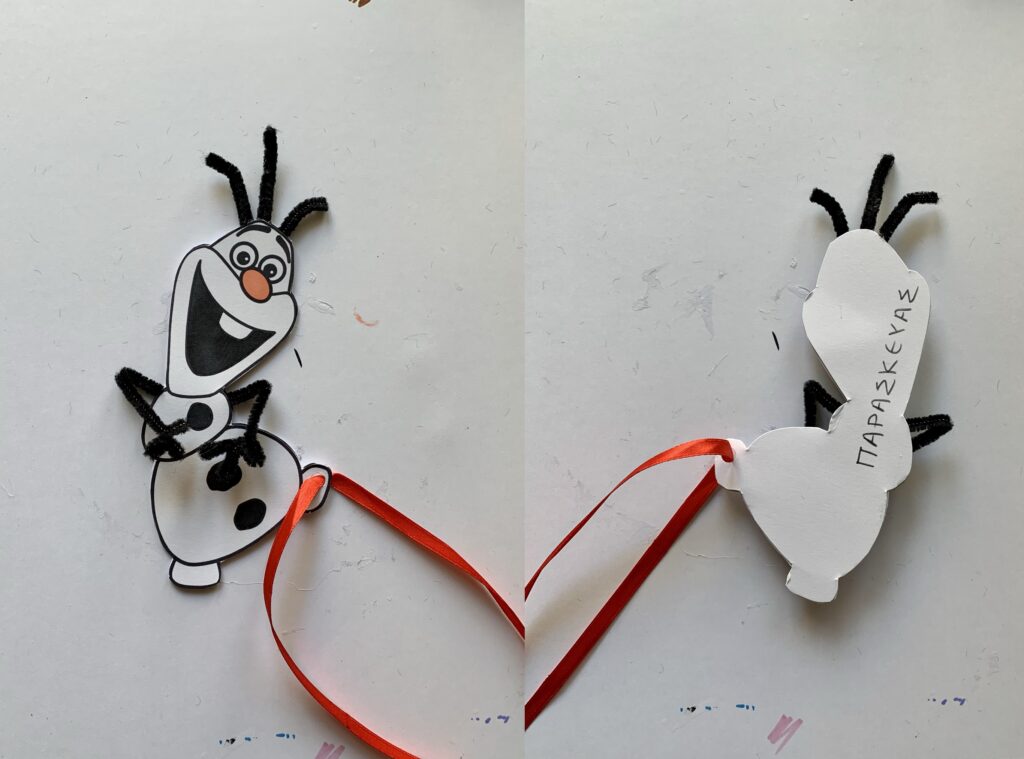
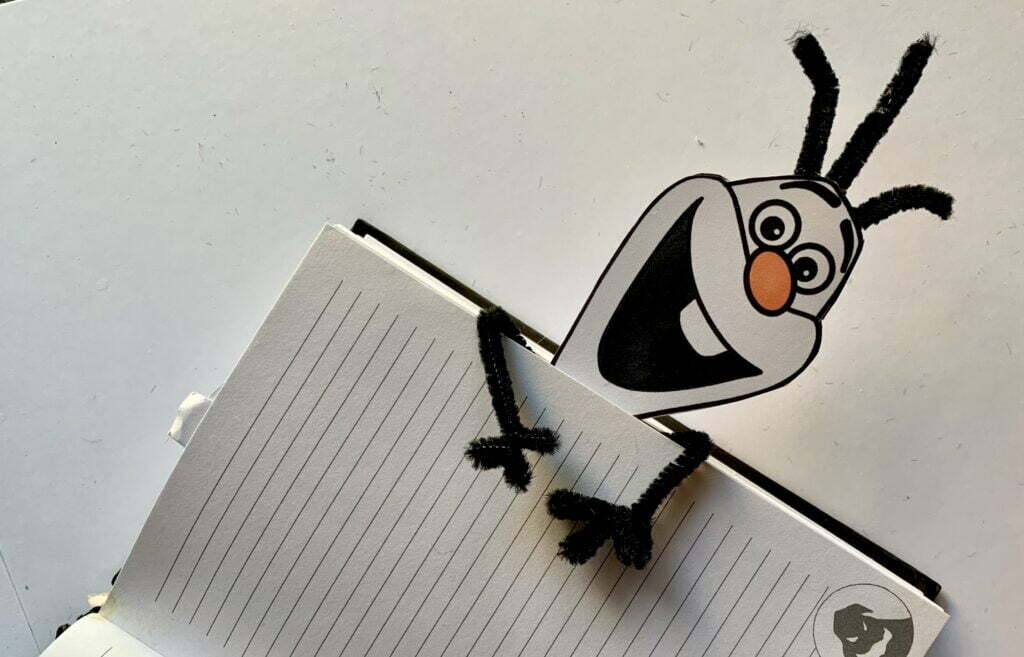
But I think it makes an awesome bookmark as well. So grab your tools and let’s get started!
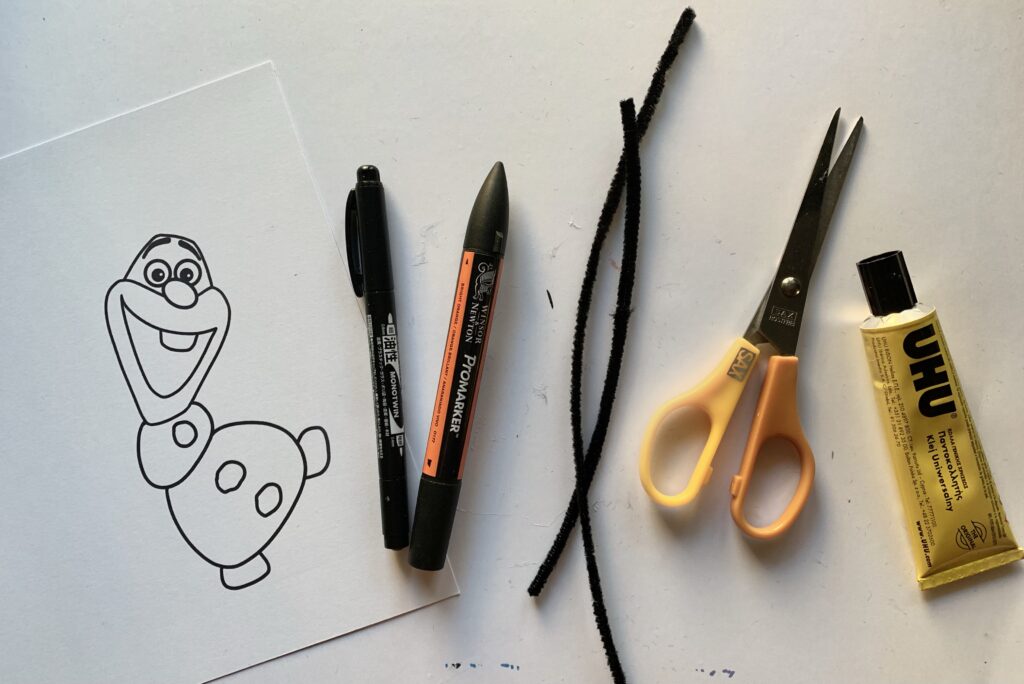
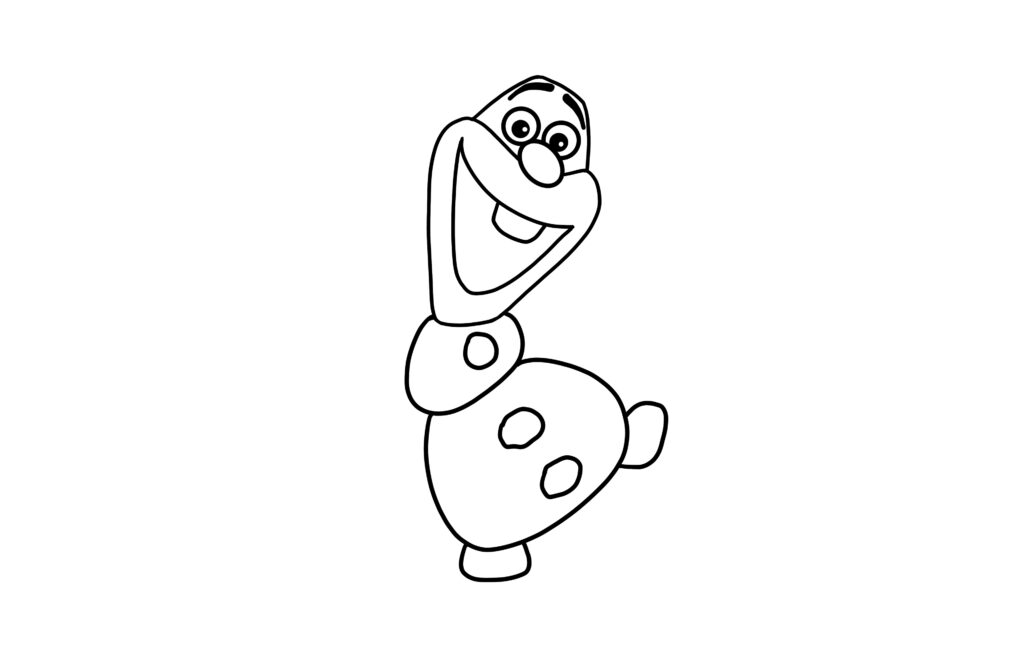
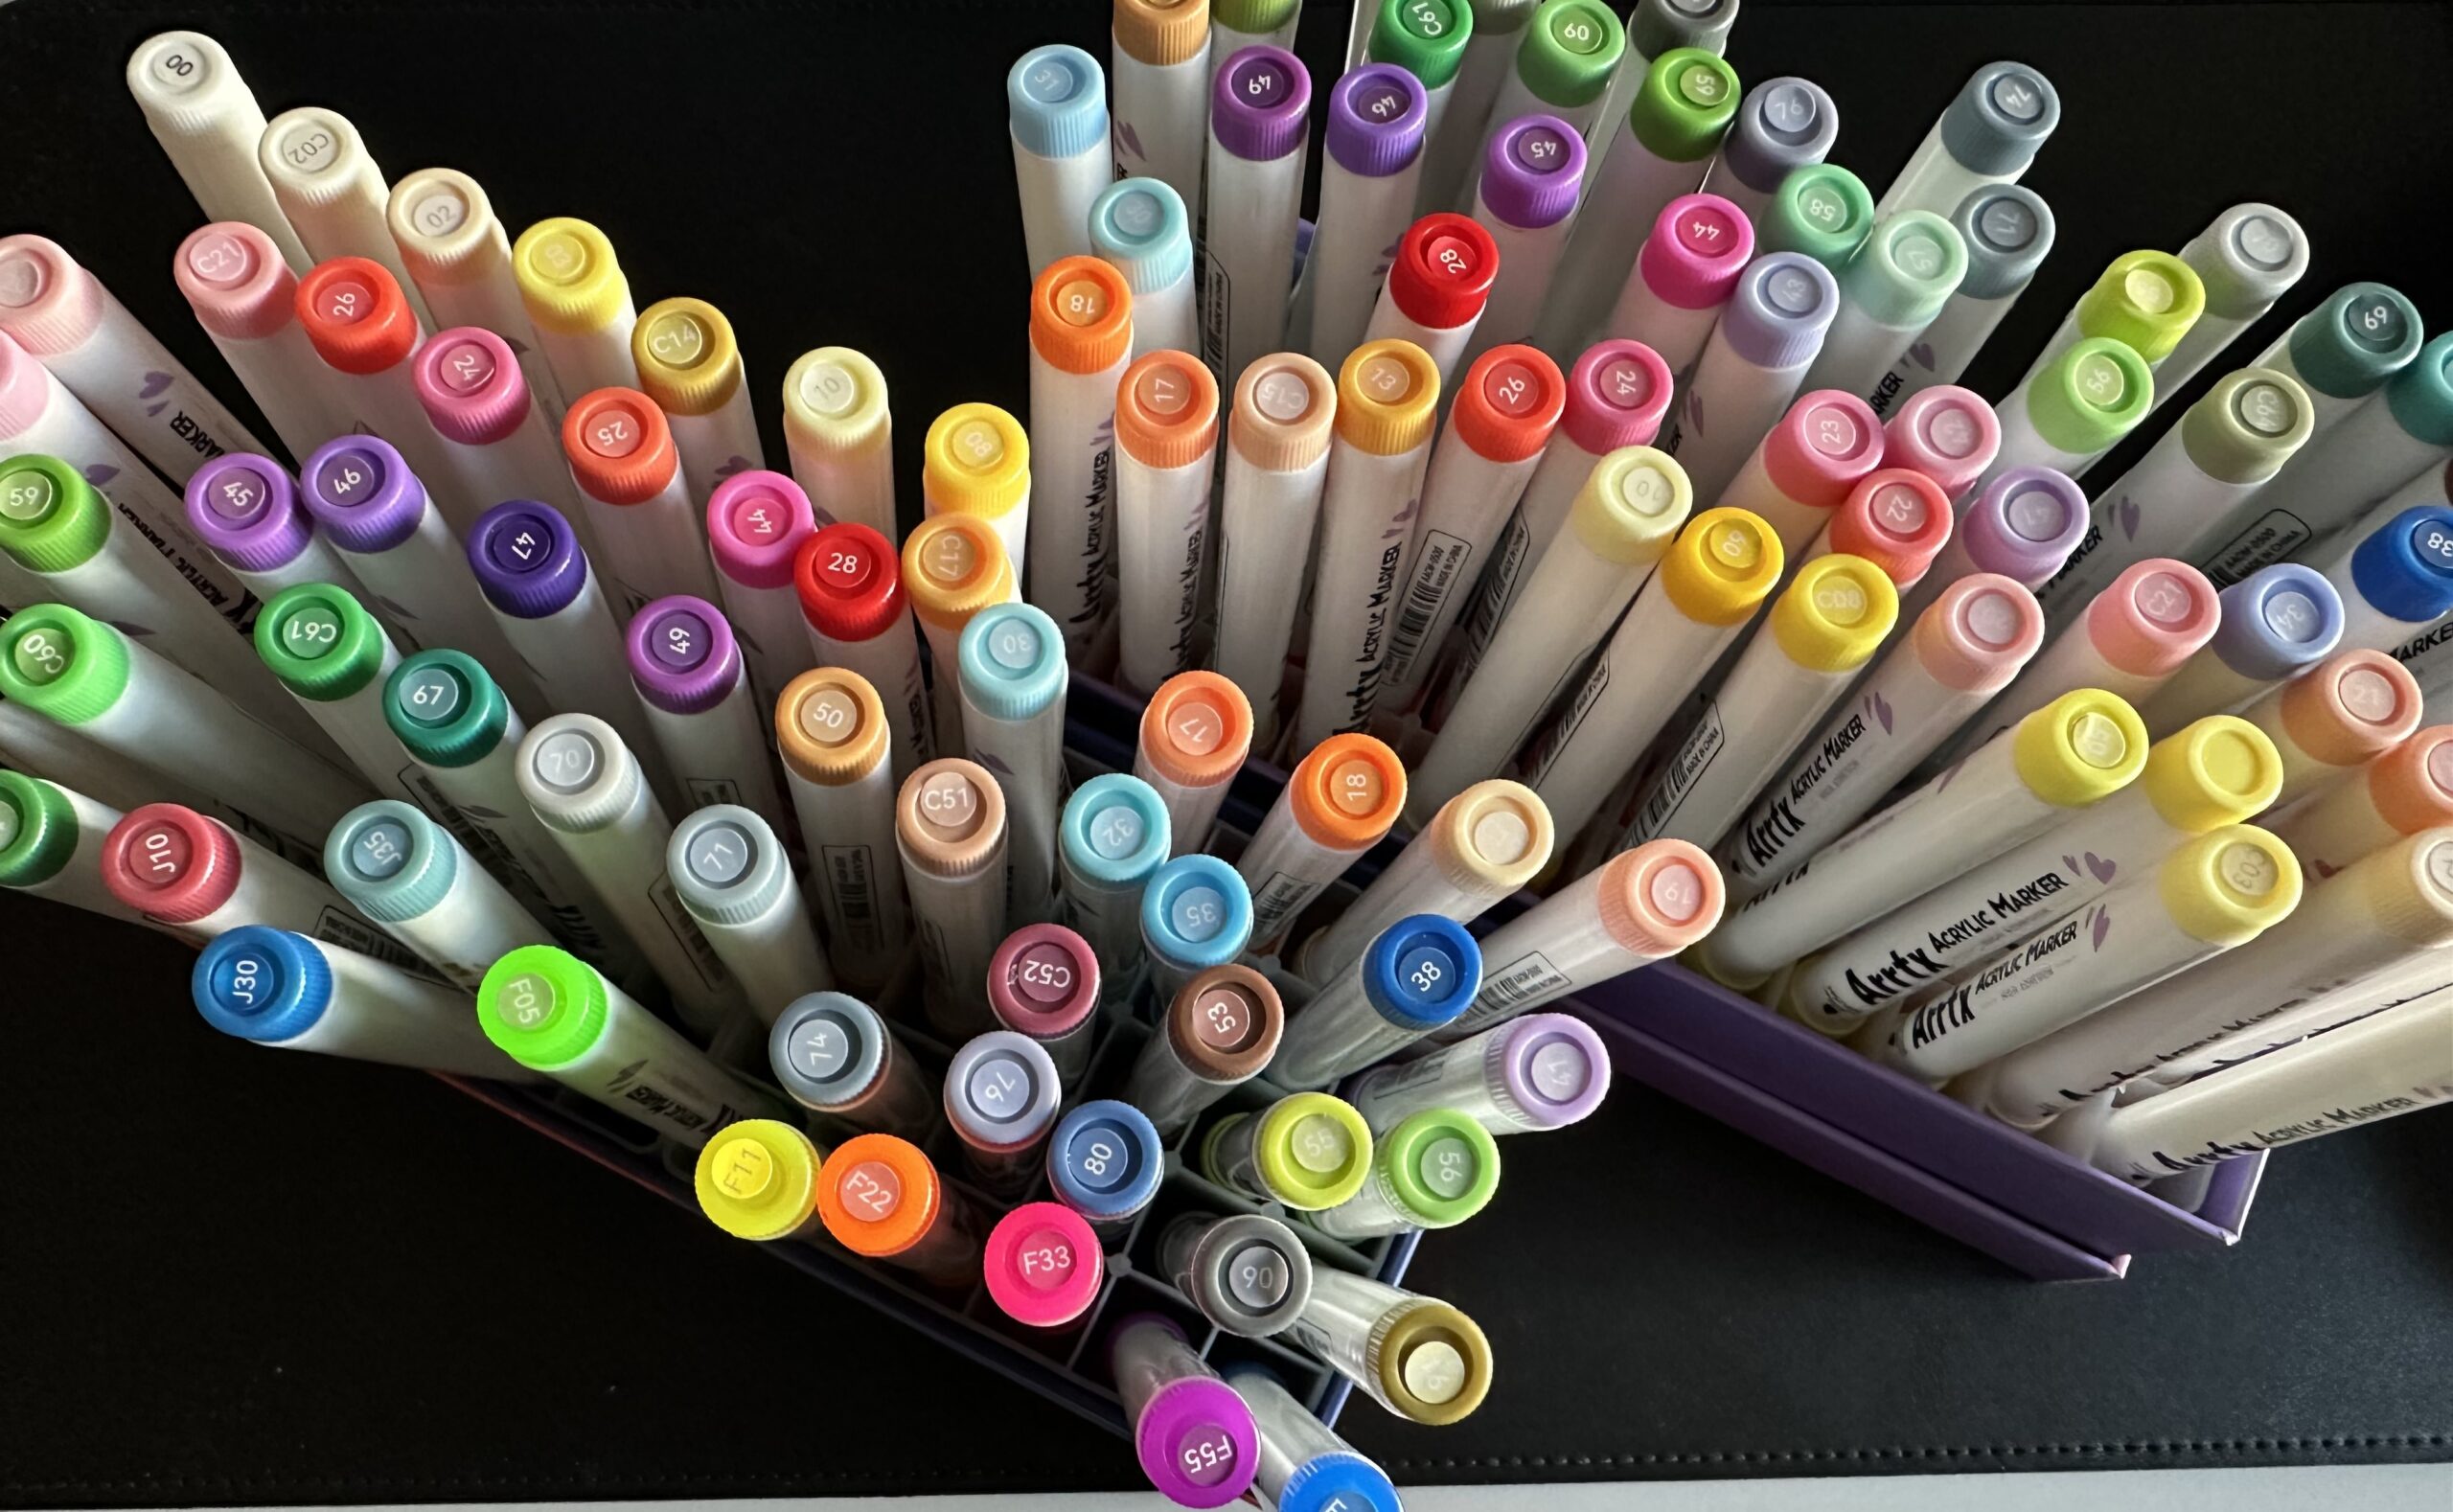
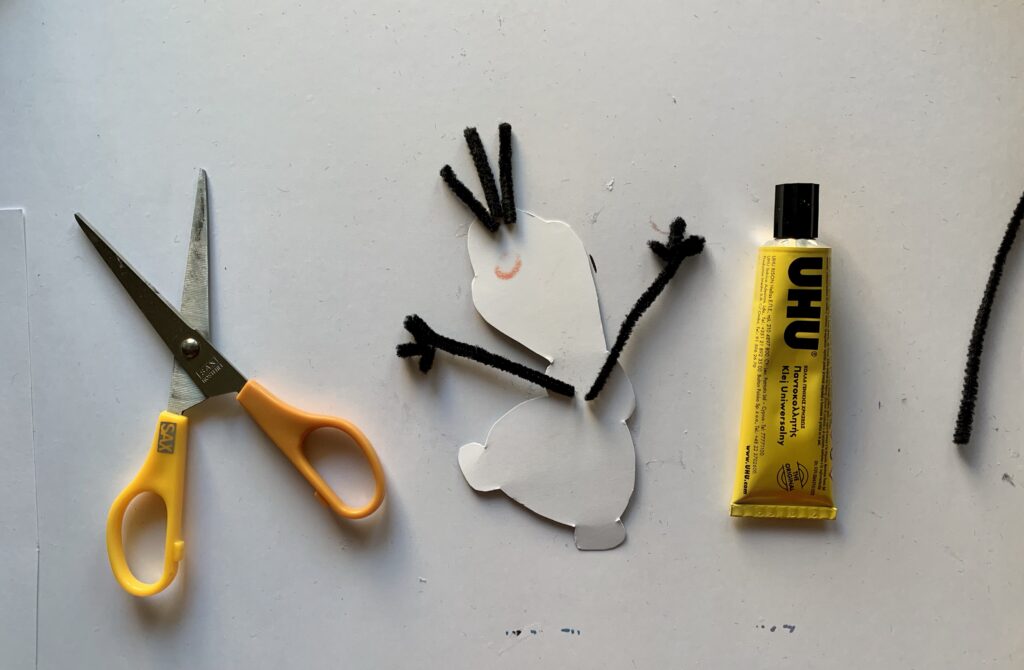
This is everything we’re gonna be using. Some markers for coloring, a pair of scissors, glue and wire. I am using this furry kids-craft wire which I got from the local bookstore, but you can use plain wire if you prefer. Oh, we also need an Olaf drawing. Which you can do yourself, or you can download the template at the end of this page. Just make sure you print it on heavy paper, so that it won’t crumple or budge.
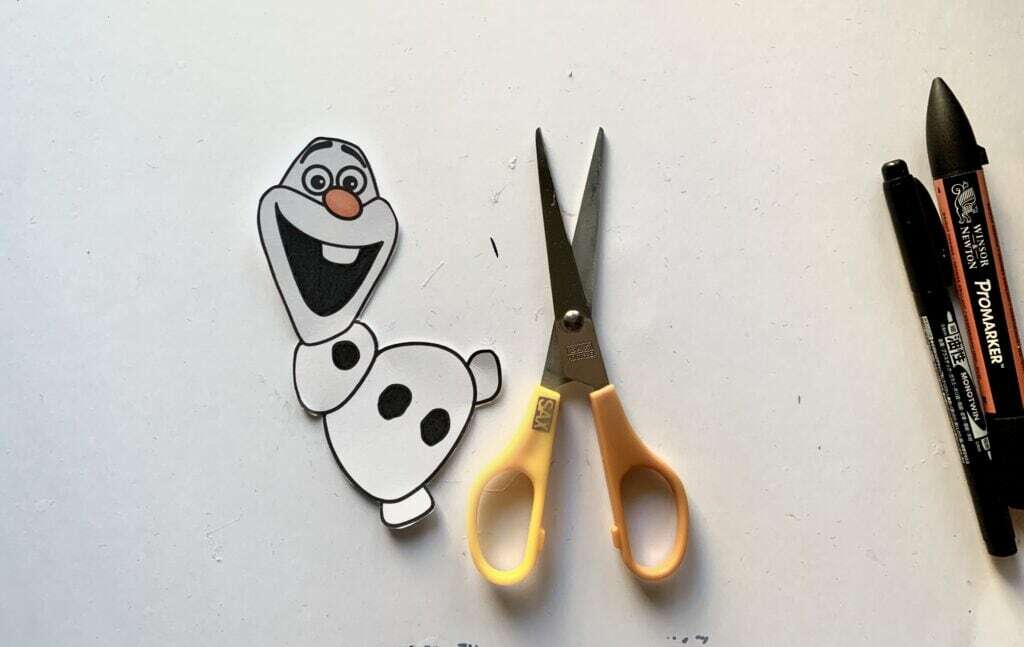
1. Color and cut Olaf
You can go crazy here. Personally I tried to be ”serious” (but only for the sake of this blog!) and colored Olaf as neatly as I could. But of course you can do whatever you want, you can create a rainbow Olaf, add glitter, or leave it blank, you name it!
2. Shape the wire
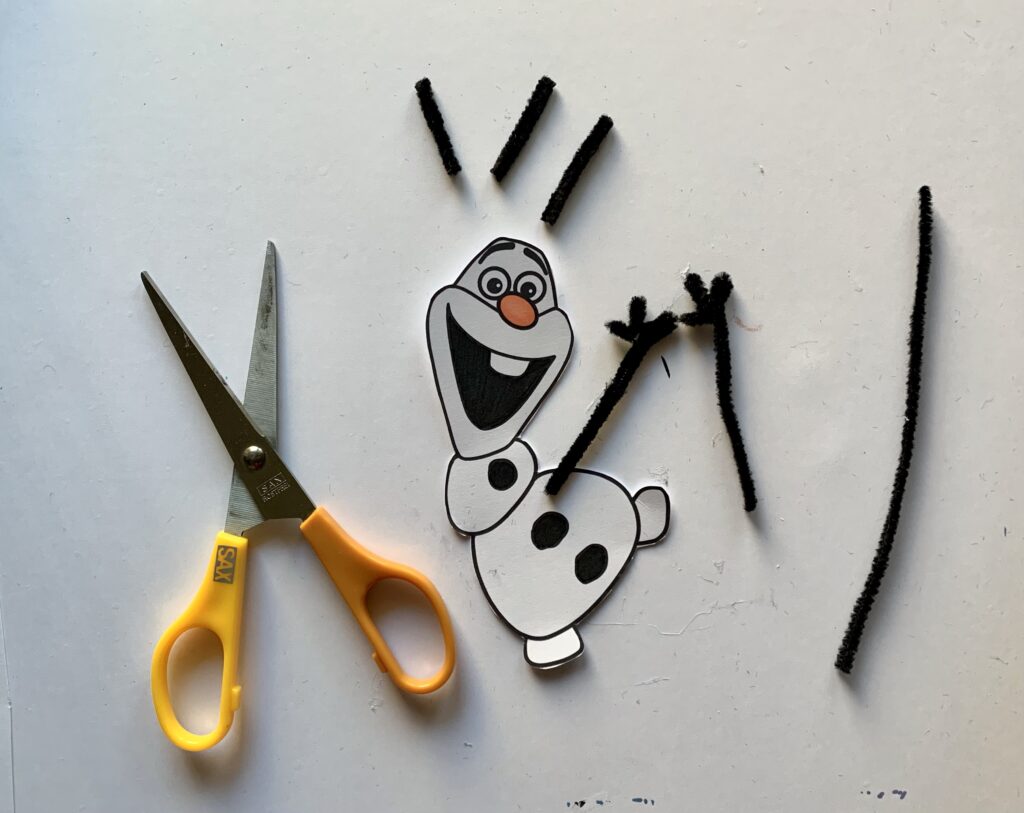
This is my favorite part! I always loved working with wire. (I will update this page, when I find my old wire projects. So far, even though I rummaged my old files … nothing.) It is such a unique but under-appreciated artistic medium. The only downfall is that wire is not kind to your hands, but personally I don’t care too much. If you have following me for a while, you might have noticed that my hands are not the most (ahem) feminine ones. Anyways back to the topic, what I do here is cut five pieces of wire. Three very small for the head and two bigger ones that I shape like his hands.
3. Glue the pieces together
Then I glue the pieces of wire on the back side of Olaf. Optionally, when the glue is dry, I take another same Olaf-shape and glue it on top.
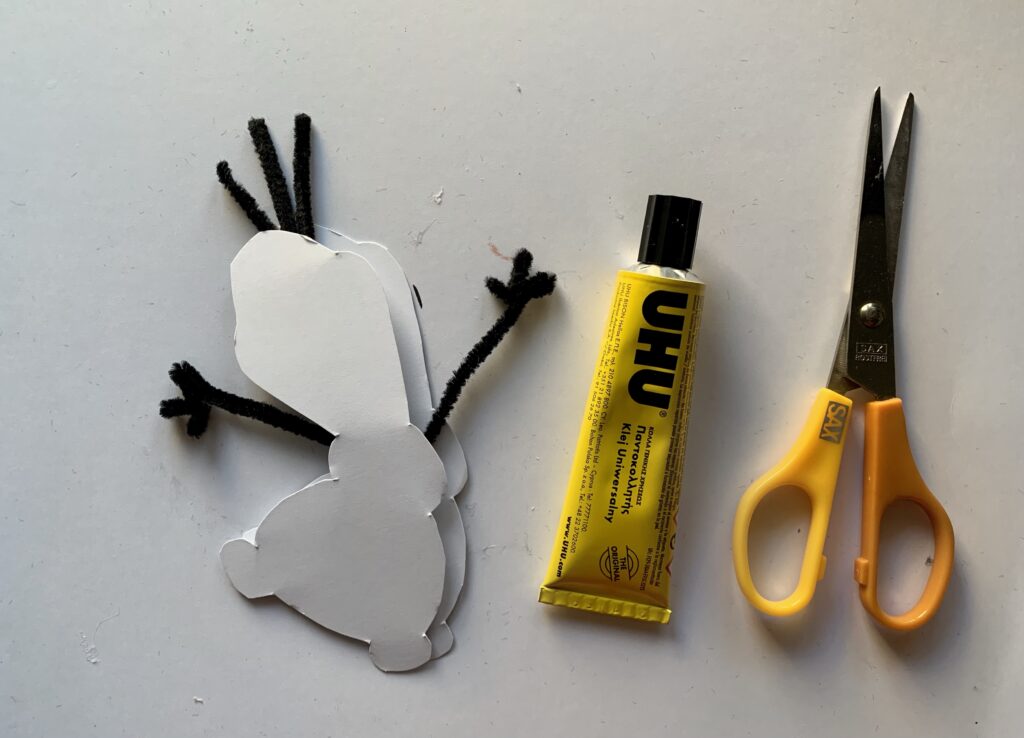
And that’s it! You have your awesome, funny, unique Olaf bookmark! (And by the way I REALLY need a new camera! 🤣) Happy crafting! 🙂
Did you like this article? Share it!

Ioanna Ladopoulou
I am a designer and illustrator and I love everthing creative!
You should know that I cannot live without coffee. So, if you enjoy this blog, consider fueling me!

