

Today I will be explaining how I use “Alpha Lock” and “Direct Select” in procreate, two features that are indispensable if you are serious about drawing/designing in procreate. They can make a great difference, allow you to work faster, and are super easy to use!
So, what is “Alpha Lock”?
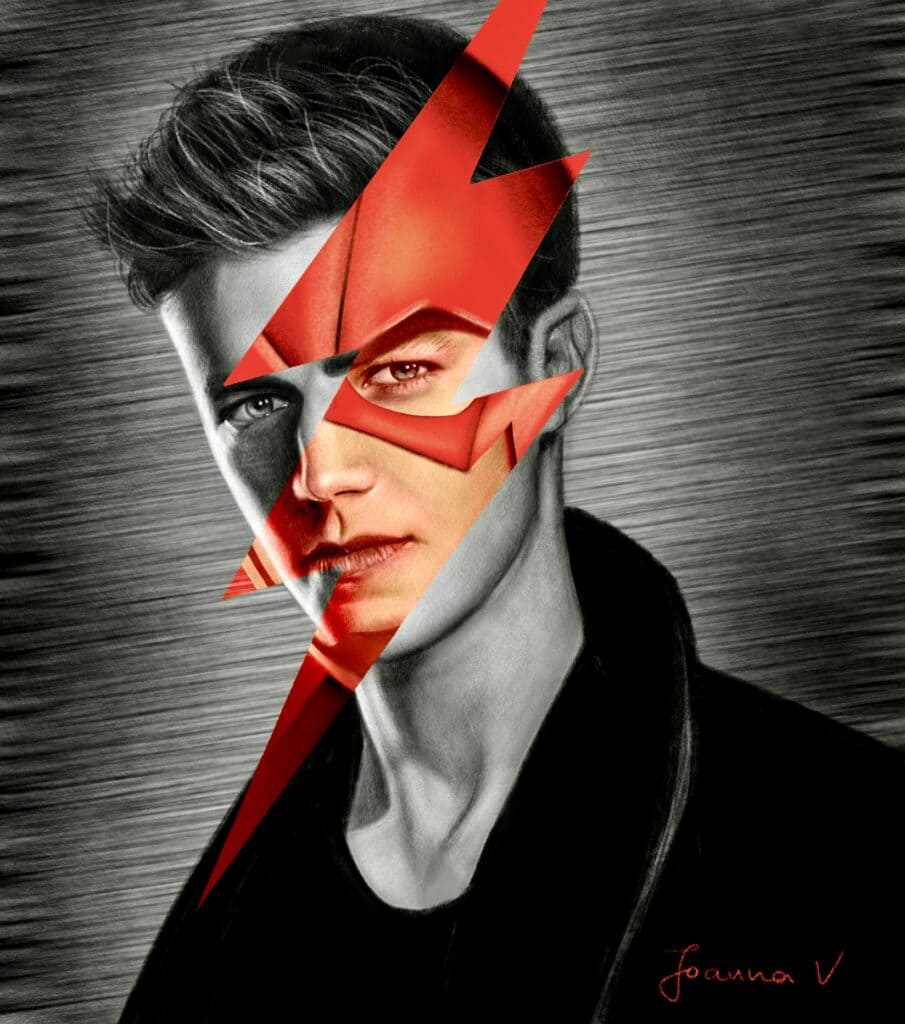
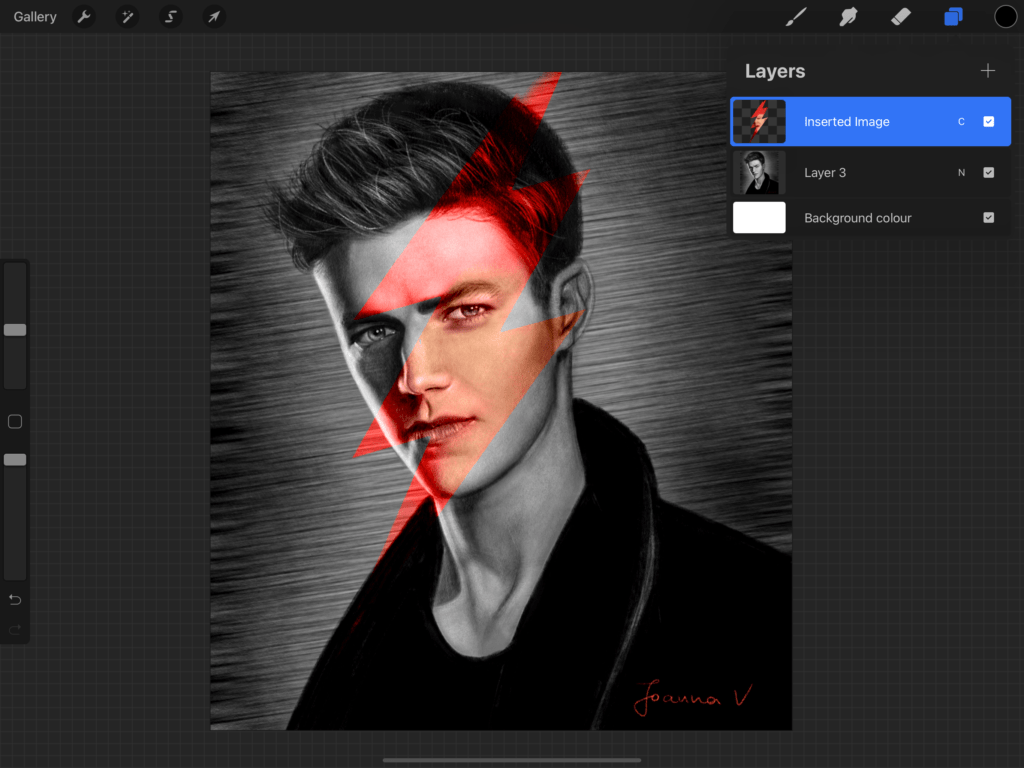
I love to explain things with actual examples, so, here is my latest drawing in procreate. It is actor Grant Gustin as Barry Allen / Flash. Firstly, I painted Grant in black and white, and then I added Flash into the lightning shape. Let’s break down the steps.
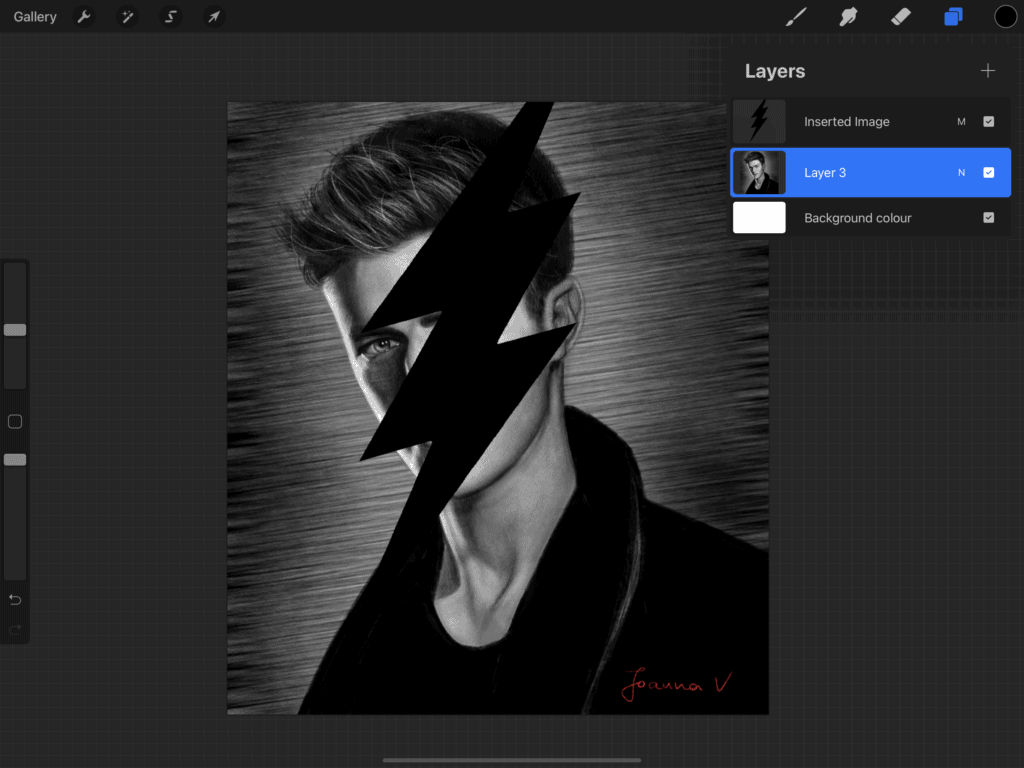
I start off with the black and white image of Grant. Firstly I manipulate the lightning shape (which I designed on a different layer), in order to get it to the “right” place. I want to have a colored image of “Flash” inside the borders of the lightning shape, and leave everything else as is.
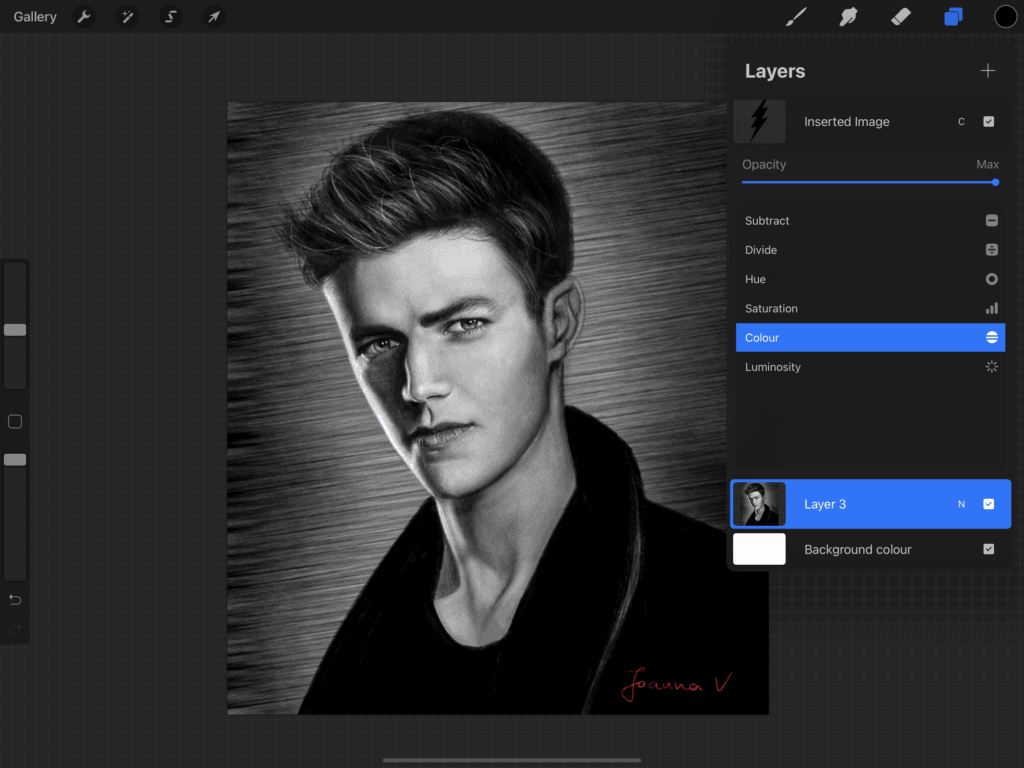
So, I tap the layer and set layer mode to “color” (I won’t be getting into details here on how to color a black&white image, but you can check out this post for the detailed tutorial) By setting layer mode to “color”, I am basically able to … well … color (😆) my image! Just to color it, without disturbing the shapes, outlines etc. When I change layer mode, I have something like the image below. The contents look “transparent” because they are black and white, ready to get colored.
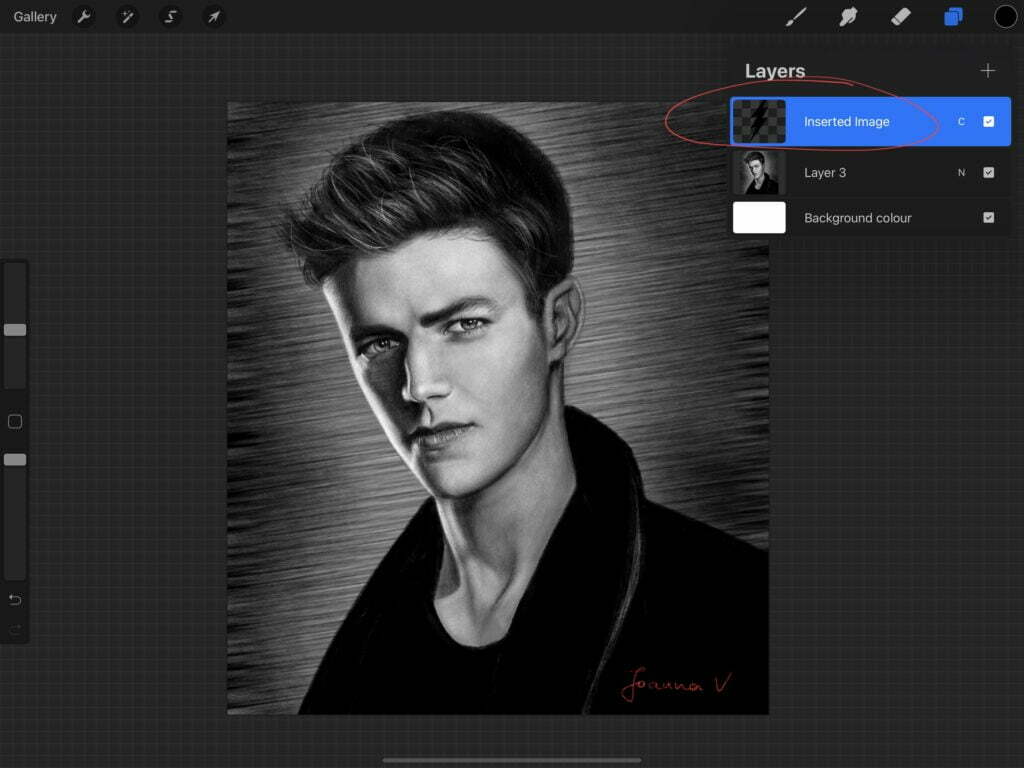
And now comes Alpha Lock. I want to use my lightning shape as a mask, to be able to draw only within the borders of the shape. I go on and “alpha lock” the layer, which does exactly this. It “locks” the pixels, the contents of the layer, so that you can only alter these and these only. In order to “alpha lock” a layer, you need to slide two fingers across the thumbnail of the layer, from left to right. The thumbnail looks patterned like the image below.
I go on and paint on my layer, until I have something like this:
Now I want to create another layer, to draw Flash’s Helmet. I cannot paint it on the same layer, because I want to create something opaque. And generally, most artists use A LOT of layers when the paint digitally. (I think my record is around 60, and I never use an extra layer when I can avoid it!) In this case “alpha lock” isn’t helpful because it only works on a single layer. But you can direct select any shape on any layer, and this way you can alter ONLY the selection on ANY other layer. Sounds complicated? Well, I got dizzy myself, but it is simple actually!
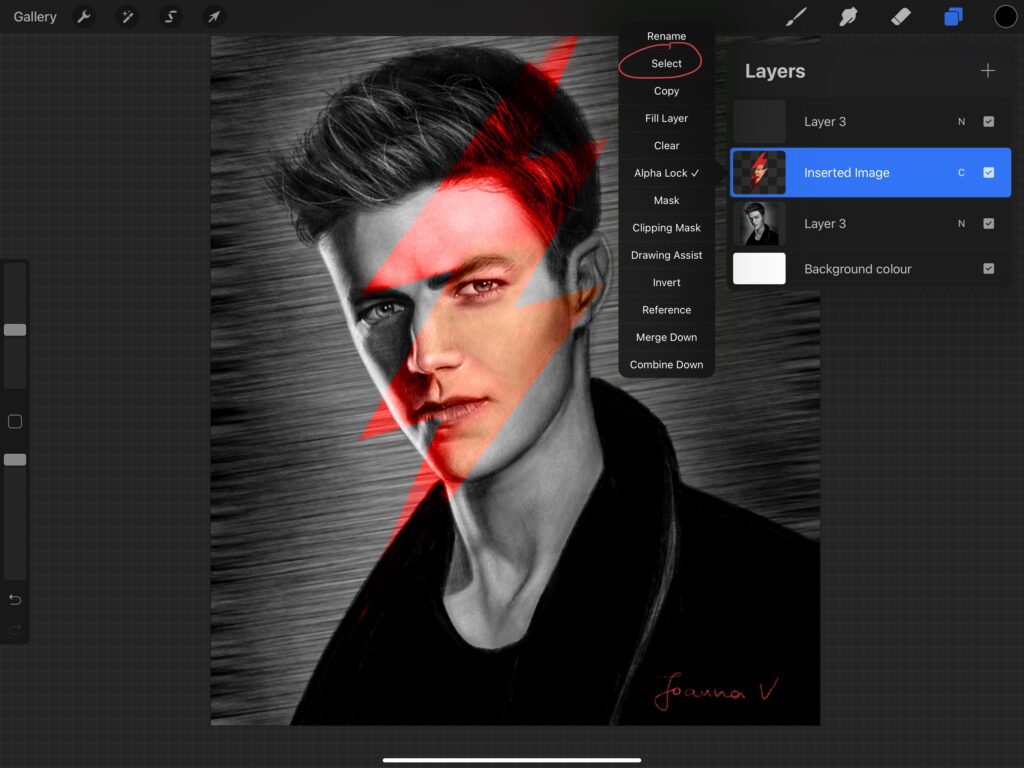
All you need is to create a new layer, then go to the “alpha locked” layer and select the contents by tapping the layer then tap “select”. This time when you paint on any other layer, you can only alter the selection.
I paint on my new layer until I have something like the image below. Finished. Tada!

I use alpha lock and direct select all the time. I think they are the simplest functions that can have a huge impact on your artwork. What about you? (I also enjoy using clipping masks, but this is for another tutorial!) What about you? Do you use alpha lock and direct select?
 Art discussion
 The future of Art (or why AI won’t take over)
 Colored Pencils
 My 5 top High End Artist Grade Colored Pencils
 Acrylic Markers
 Ohuhu Acrylic Markers Review
 Colored Pencils
 Woomer Art Colored Pencils Review
 Graphite
 Staedtler Mars Lumograph Black Review
 Arrtx
Arrtx