

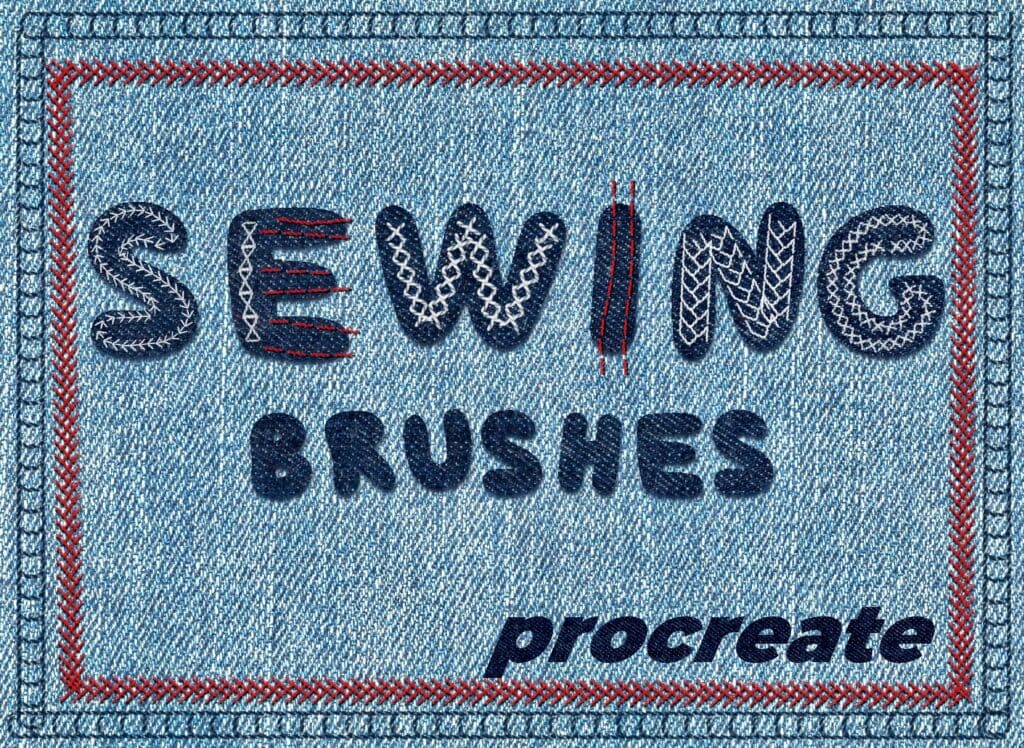
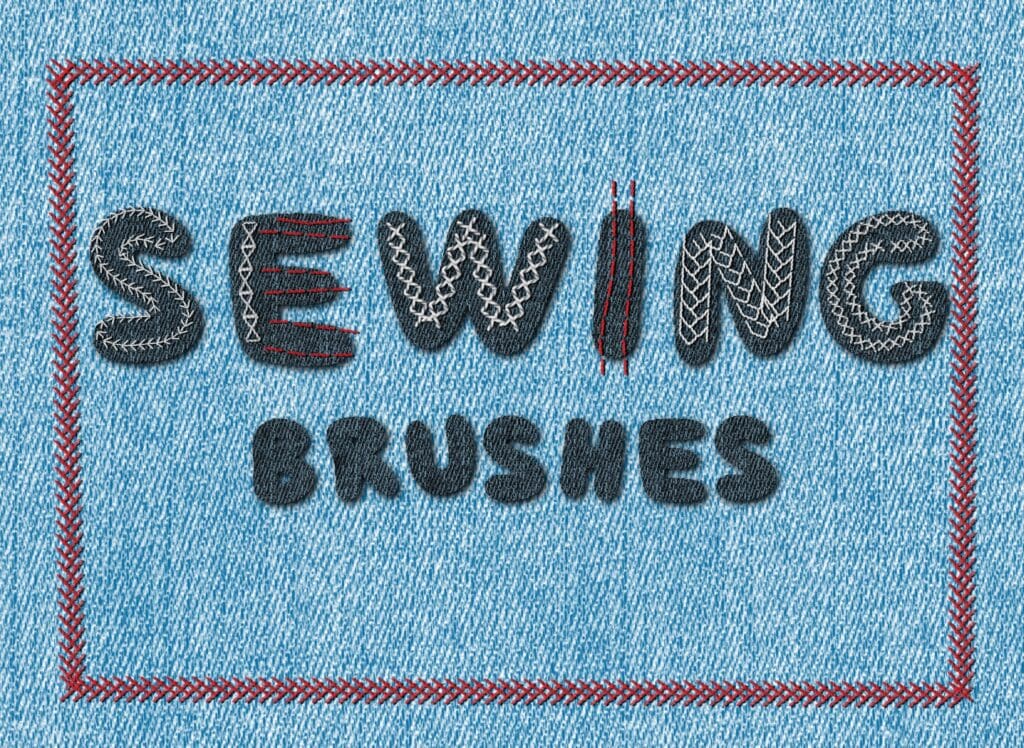
A bit of shameless self-promotion today. When I created my custom emboidery procreate brushes, I got many questions about the promo image. So, here is a tutorial today, where I will be showing how you can create a similar graphic in procreate.
Step 1: Background
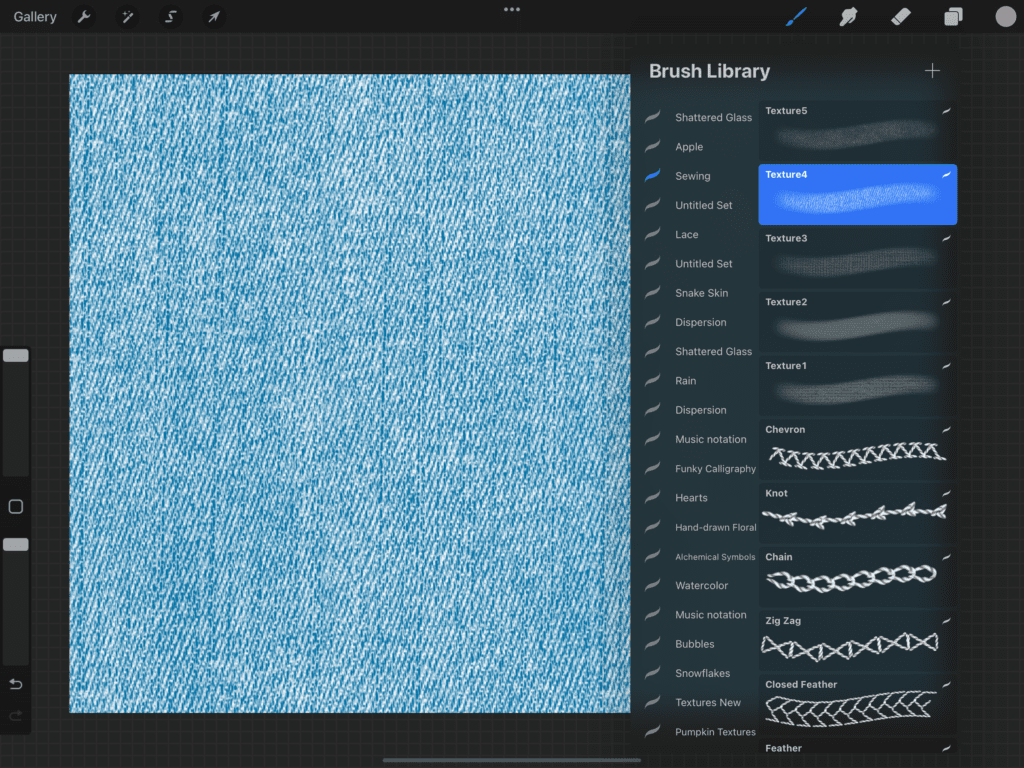
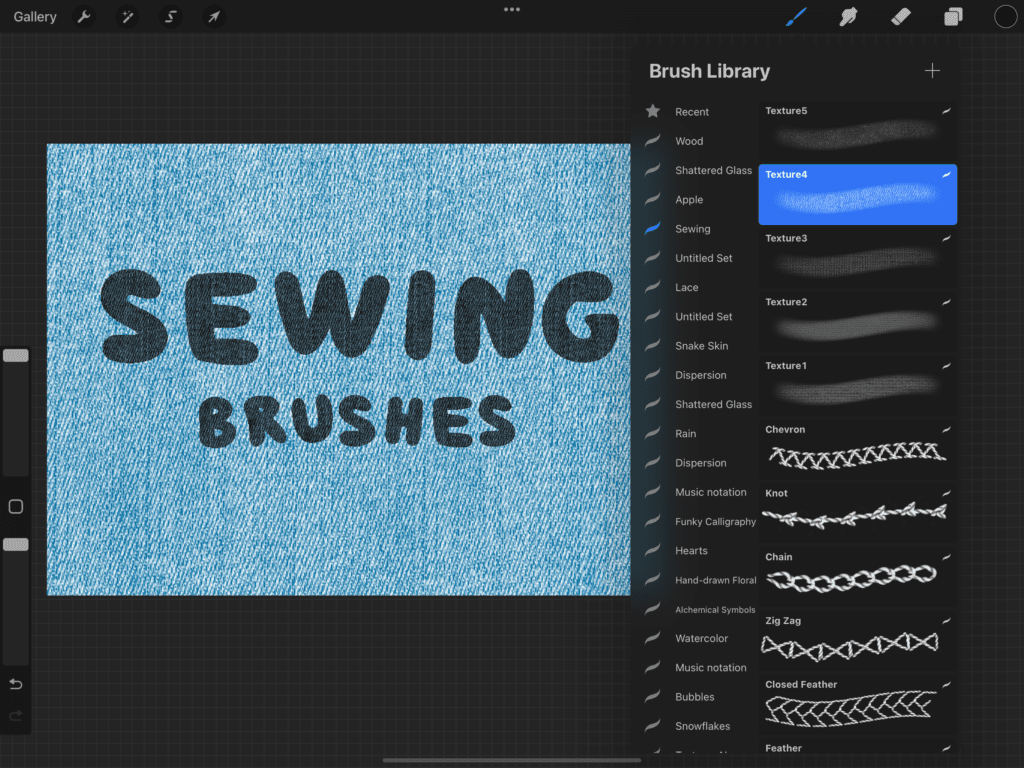
With the ”texture4” brush from my brush set, I am painting all over my canvas with a light blue color. Alternatively you can use a texture image of your choice. Here I list my favorite sites for free/paid stock images and textures.
Step 2: Title
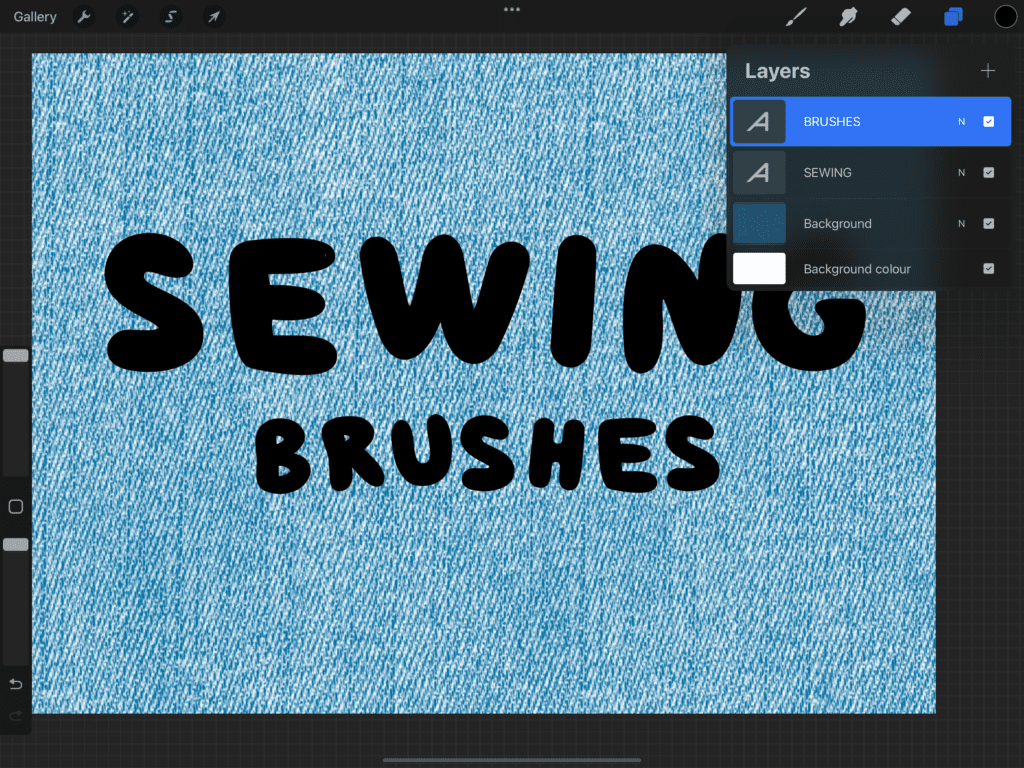
I am then adding my text with a bold, fat font. This is the one I used, but you can use any, as long as it’s considerably wide. (We will be adding a texture in the next step, so we want it to be visible)
Step 3: Title texture
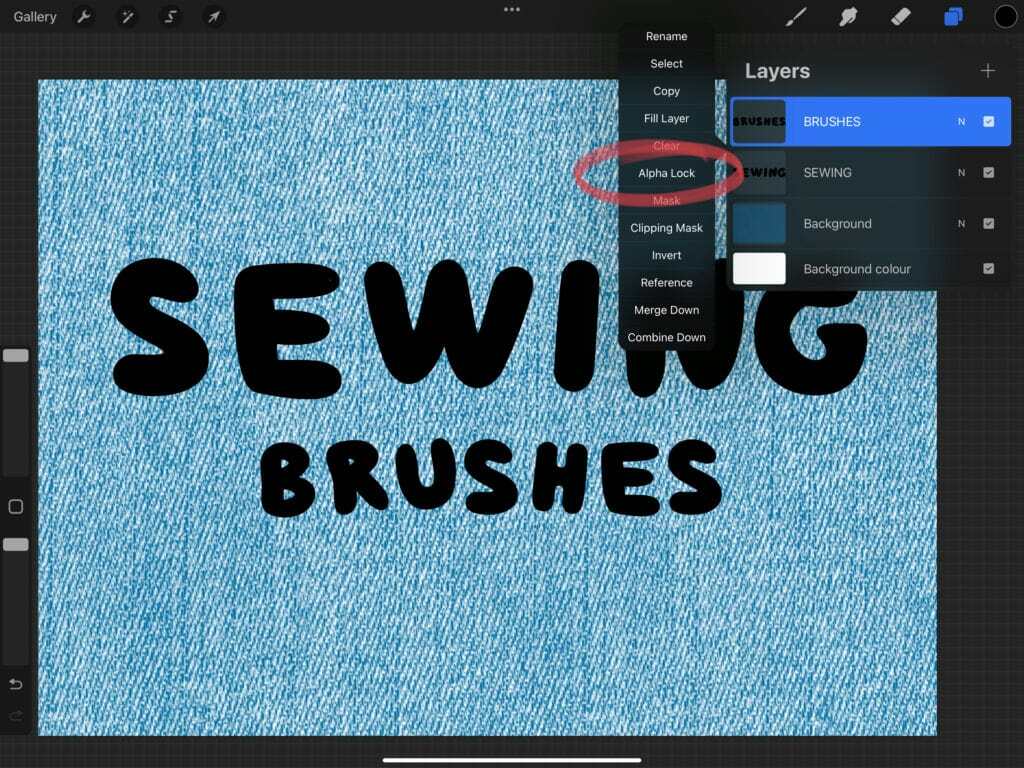
I firstly rasterise my text layer (layer -> tap -> rasterise), then I alpha lock it (layer -> two finger slide to the right). This way, anything I do stays within the outline. (Also, here I used two different texts so I am merging my two text layers at this point) I am choosing my ”texture4” brush again and paint on my alpha locked layer with a dark denim color.

Step 4: Text shadow
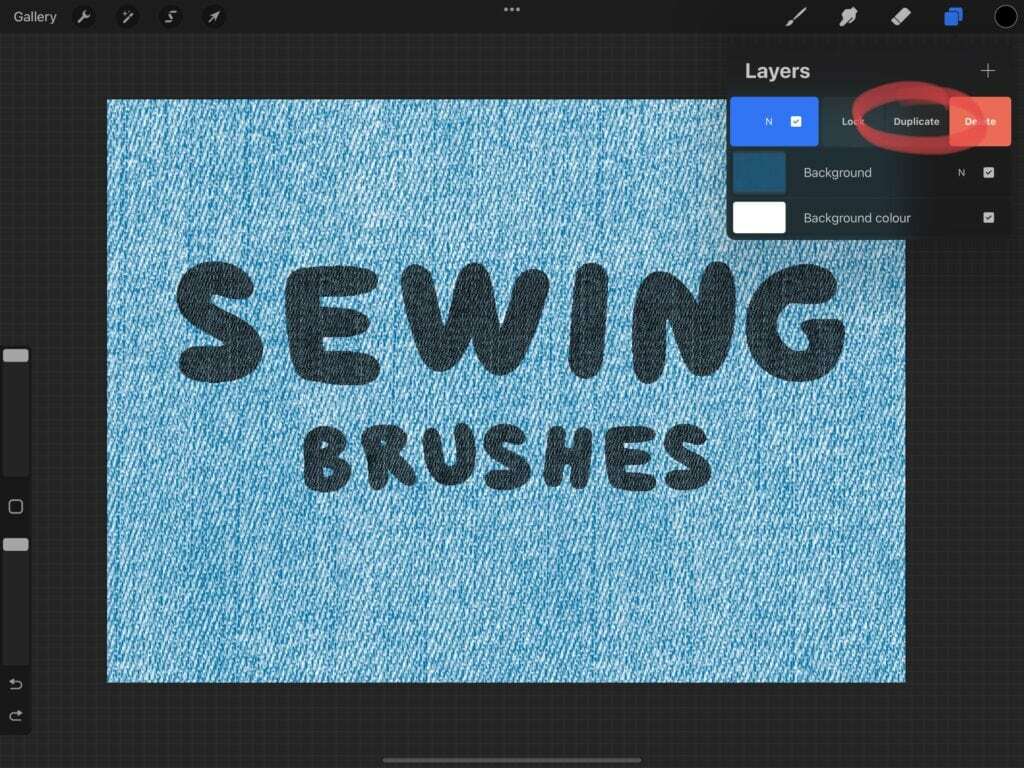
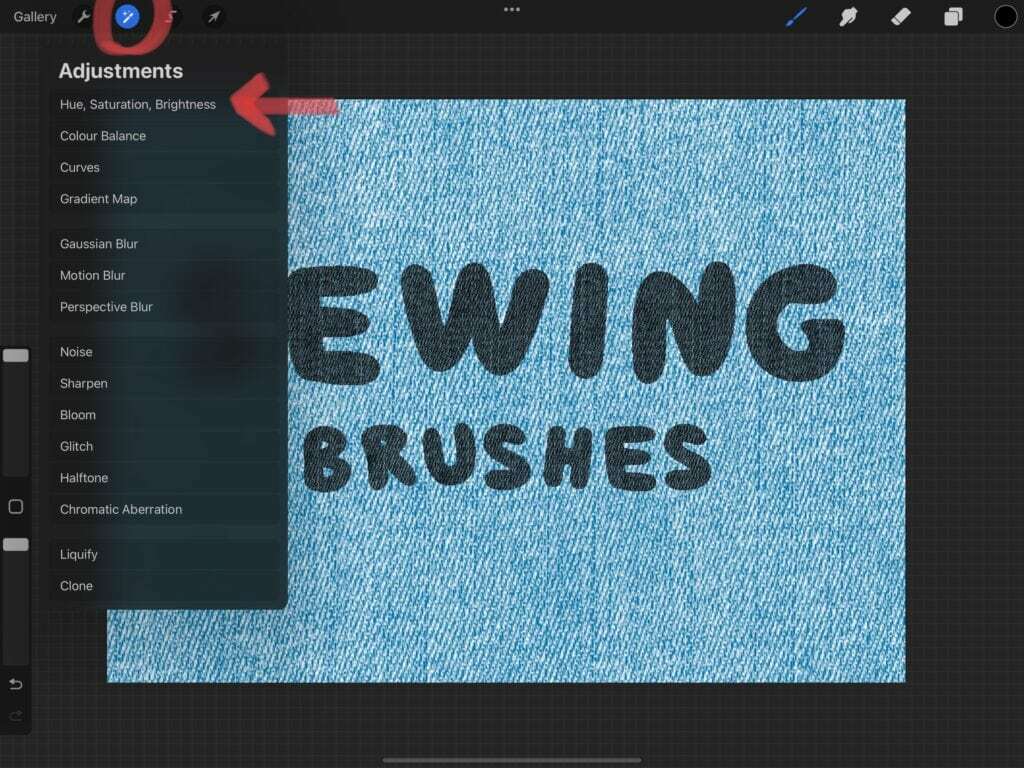
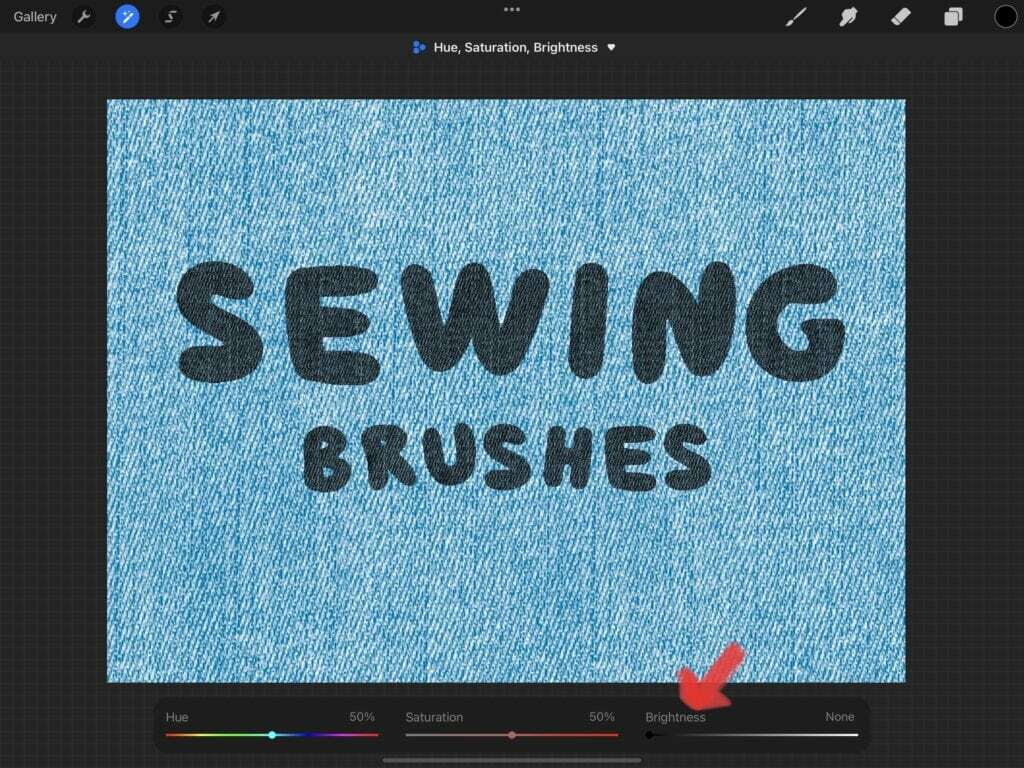
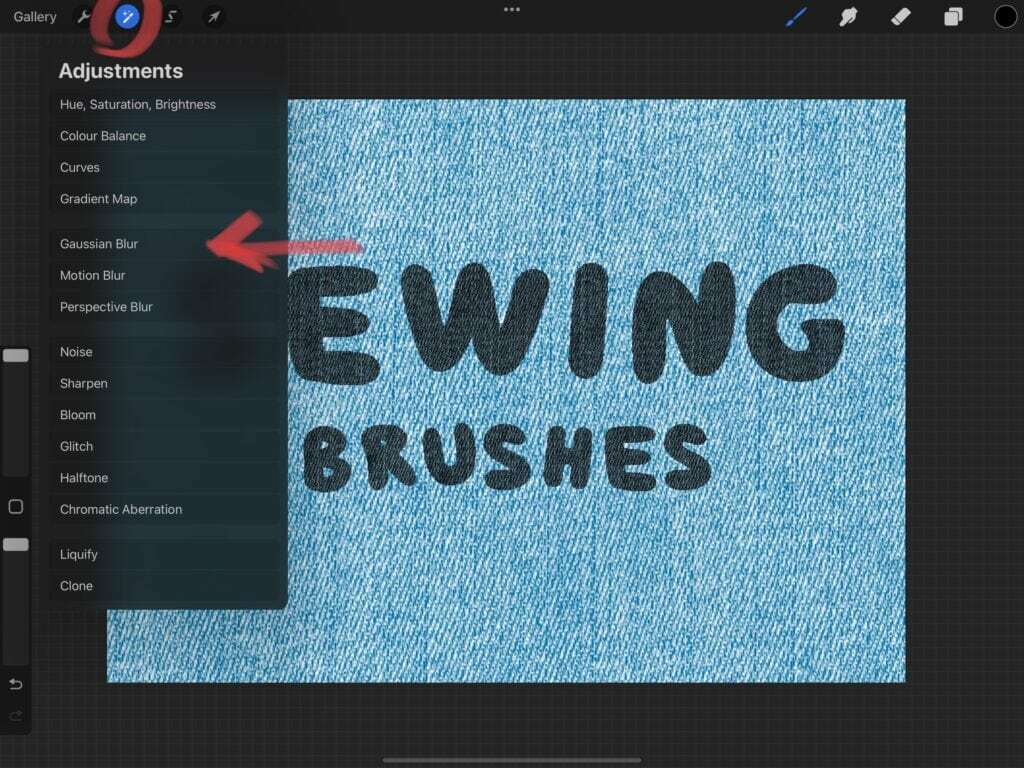
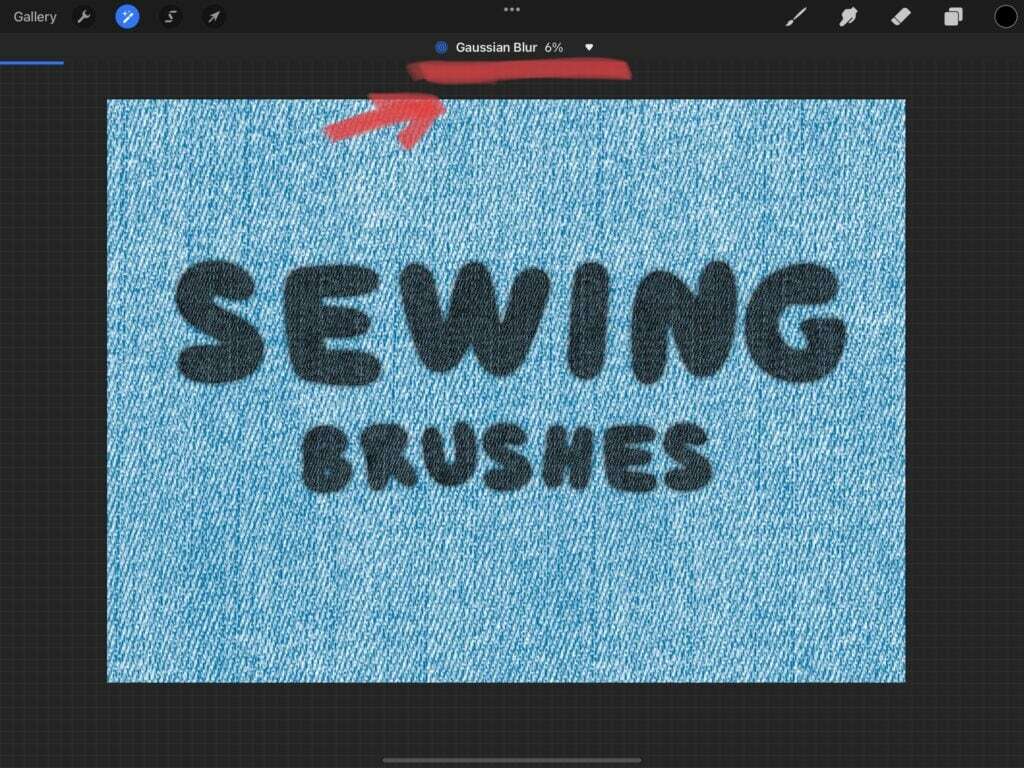
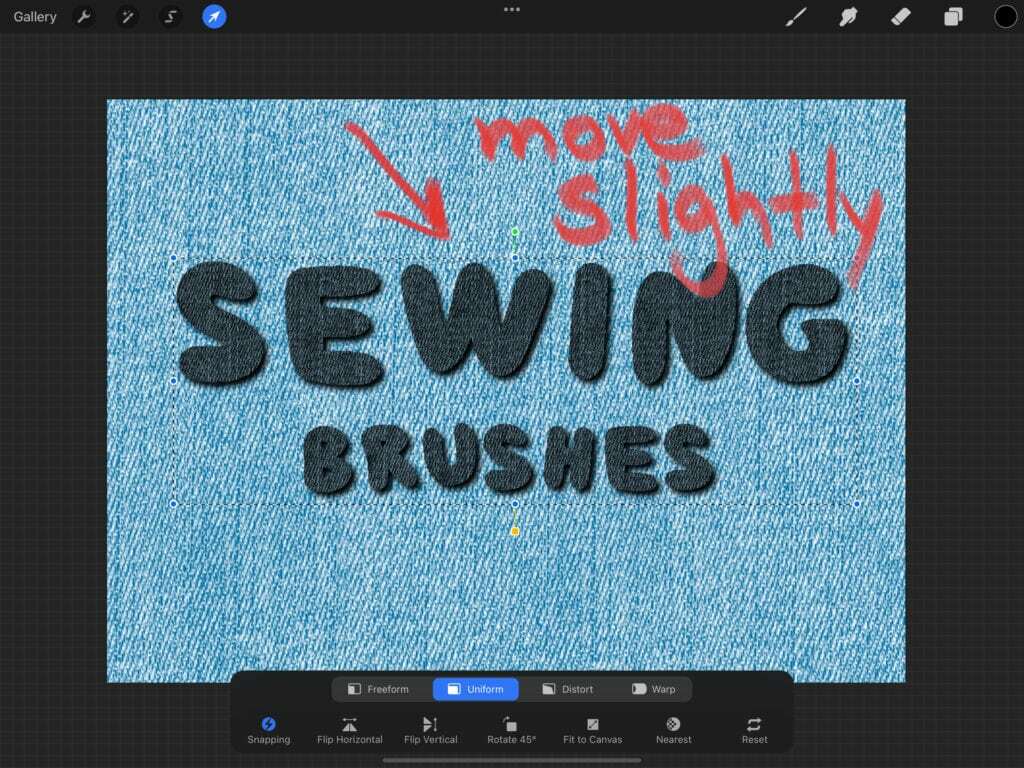
In order to make the fabric pattern look more realistic and three dimentional, I am gonna add a shadow. I am duplicating my text layer, and I also remove the alpha lock (two finger slide, or tap -> alpha lock) from the bottom layer. While being on the bottom layer, I go to adjustments -> hue, saturation, brightness -> brightness and set it to 0%. Then I go to adjustments -> gaussian blur -> layer and set gaussian blur to approximately 6%. With the ”transform” tool, I move the shadow slightly to the bottom left, so that it is a bit off. It doesn’t matter which direction, however we will later use the same trick and the direction should be the same.
Step 5: Stitches
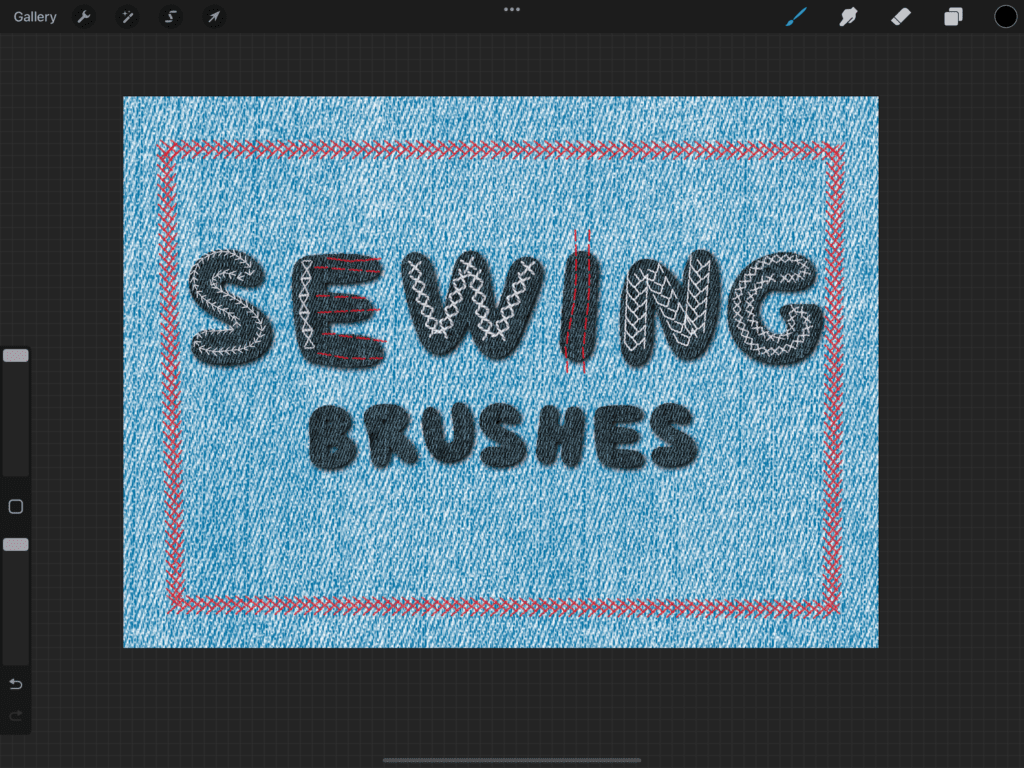
On a new layer, I am using a selection of the stitches brushes, to randomly draw lines on my letters. With different colors too. This is what my stitches layer looks like.
Step 6: Stitches shadows
Finally, I am repeating ”step 4” on the stitches layer, in order to create the shadows cast by the stitches. (Since stitches are thread, they are three dimensional and they too cast shadows. And that’s all! The emboidery design is done!
 Colored Pencils
 My 5 top High End Artist Grade Colored Pencils
 Acrylic Markers
 Ohuhu Acrylic Markers Review
 Colored Pencils
 Woomer Art Colored Pencils Review
 Graphite
 Staedtler Mars Lumograph Black Review
 Arrtx
Arrtx Arrtx 60-piece Regular and Anime Acrylic Markers Review
 Art discussion