

Another Nomad Sculpt tutorial today. This time we will be creating an empty box.
When I started out with Nomad Sculpt, creating clean hole-like cuts, was a mystery to me. Tutorials on Nomad Sculpt are scarce, so I tried many tricks of my own invention, with mixed results. Holes weren’t as ”clean” and edges weren’t as sharp as I would have liked.
Lately, however, after a lot of trial and error, I found a way that seems to work in most cases.
Hence the tutorial. I am so ecstatic about this method that I had to share it with the world! Without further ado, let’s jump straight to it.
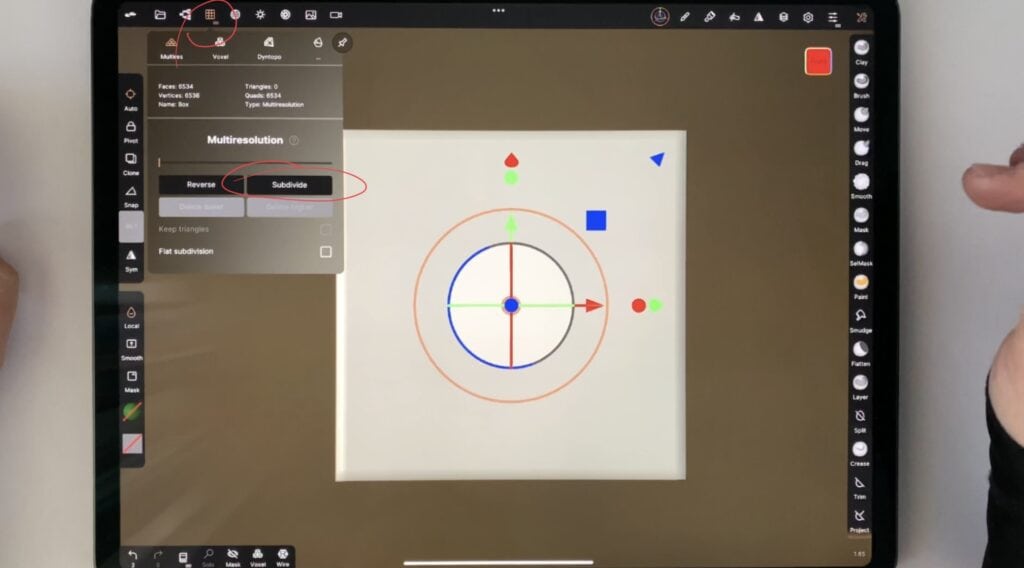
Firstly I am deleting the default sphere and I am adding a box.

While in the resolution tab, I am tapping the subdivide button a few times. To explain what subdivision is and how it affects our 3D model, is a whole chapter of its own. For the sake of this tutorial, suffice to say that subdivision multiplies the vertices by four, thus increasing the resolution, which comes in handy when we are doing a lot of dividing and cutting – just like we are about to do! However high resolution comes with a price, don’t get enthusiastic and get the highest resolution you can. (Why? Once again, a chapter of its own, but you can read about my personal experience here)
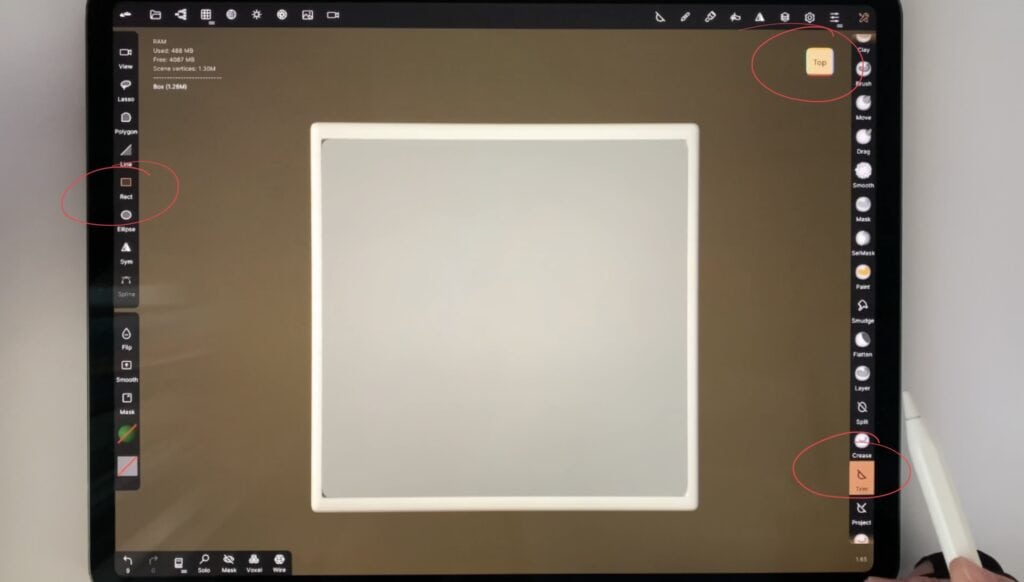
Now I am going to split the ”bottom” of the box from the ”walls”, or more precisely the part that will become the walls. While in ”front” view, I am using the rectangular ”split” tool to cut the bottom.
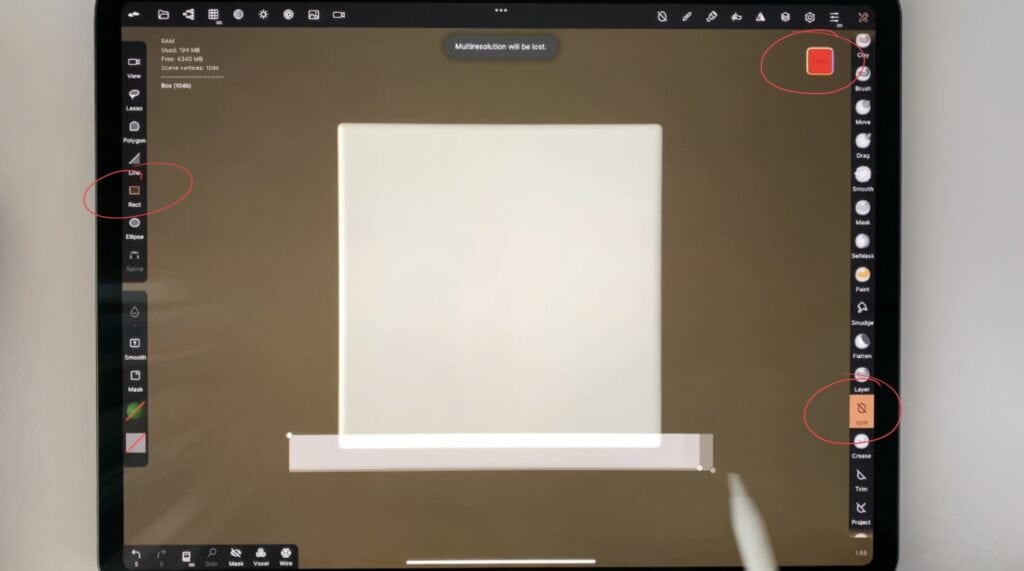
I change to ”top” view and using the rectangular “trim” tool, I make a square.
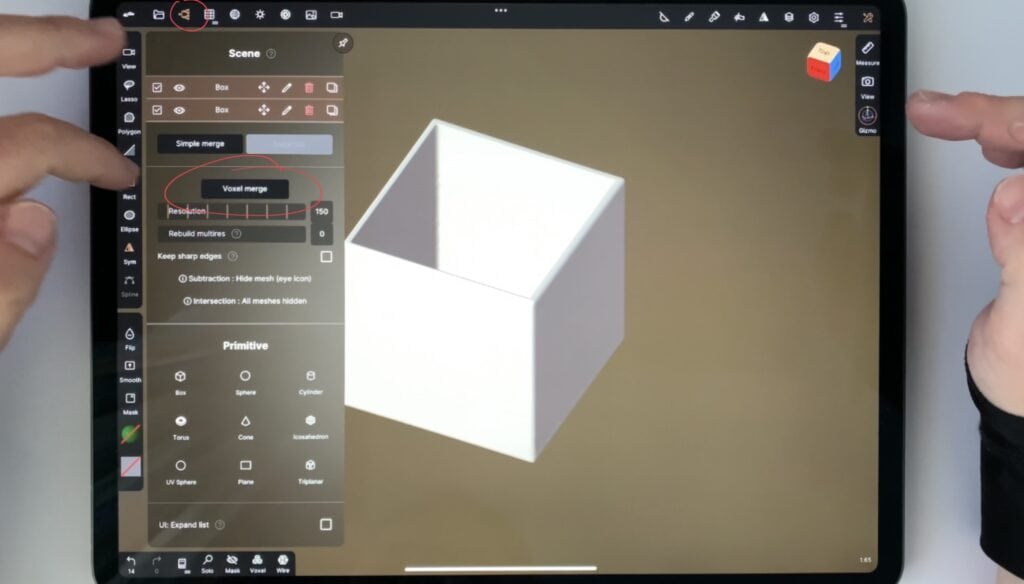
Tha’t it. I now tick both boxes on the scene menu, and tap “voxel merge”.
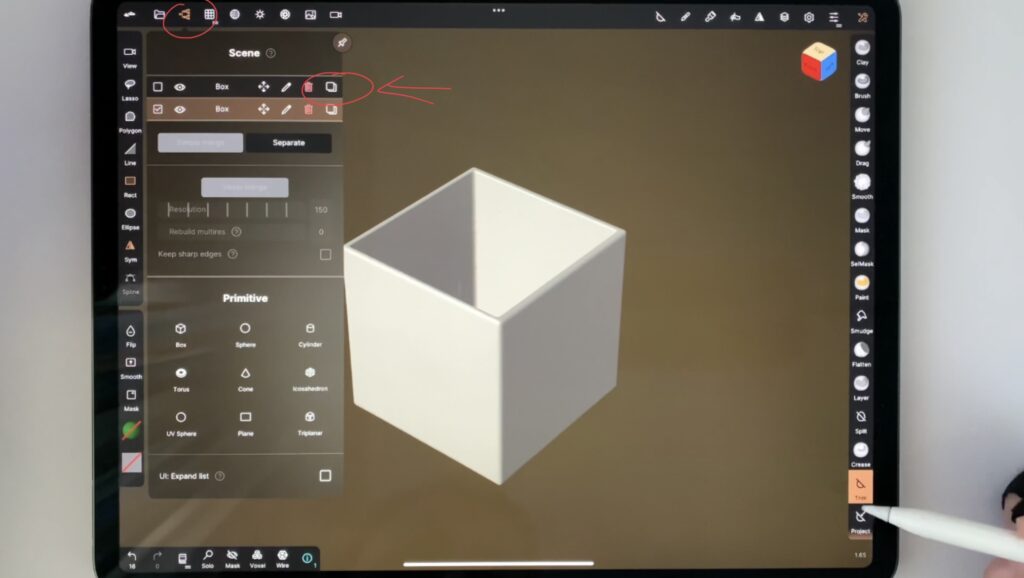
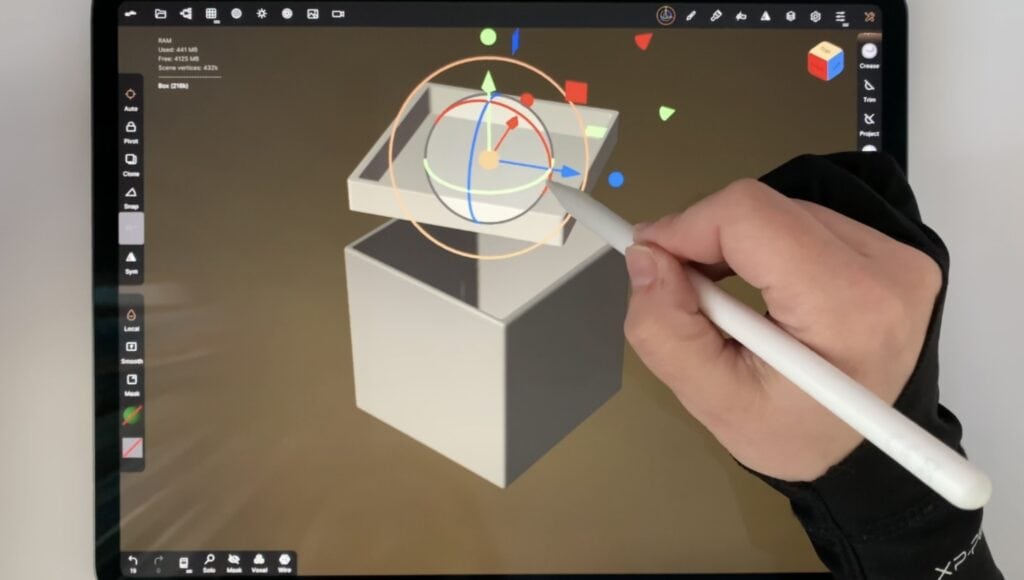
The box is practically ready. To create the lid, I am simply duplicating the merged box and, using the gizmo tool on the vertical menu, I am editing the shape so that it, well, looks like a lid!
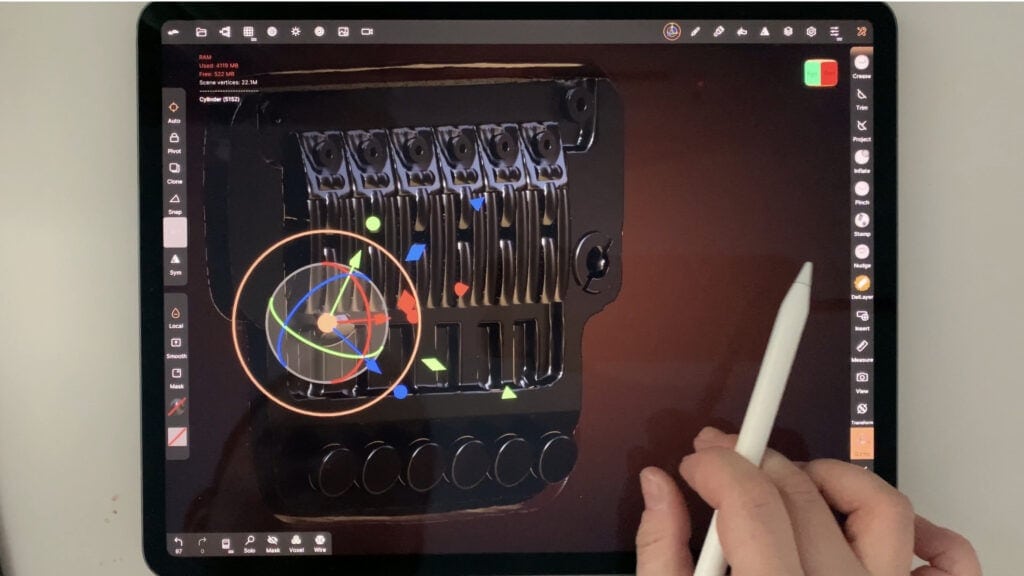
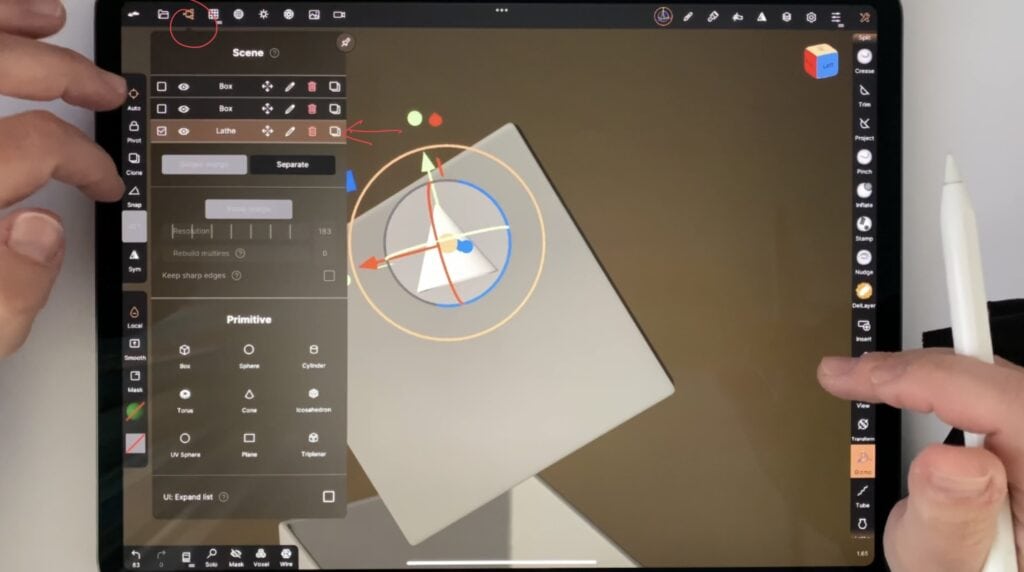
The box is done. Now I am gonna decorate it, making a ribbon-like thingy on the lid. You can leave it as is, or you can create the ribbon-ish design too, or you can make your own decoration! Anyways, I am beginning with the “lathe” tool on the right vertical menu, to create a pyramid like shape. I am making sure that ”hole” is on.

Using the gizmo tool, I am manipulating the shape so that it lays flat on the surface of the lid.

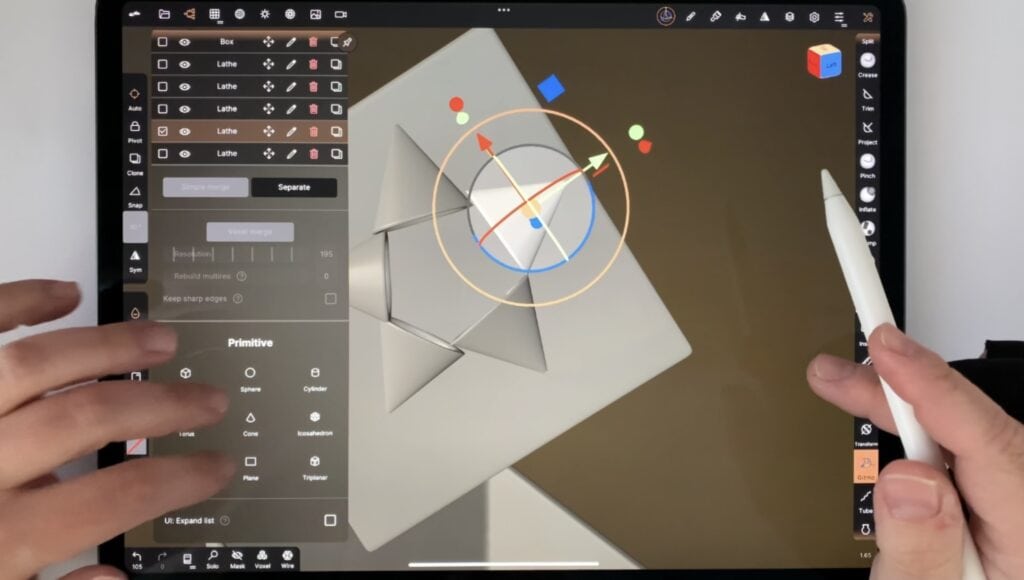
I am duplicating the pyramid multiple times.
And using the gizmo tool, I am manipulating each pyramid so that my image looks something like this:
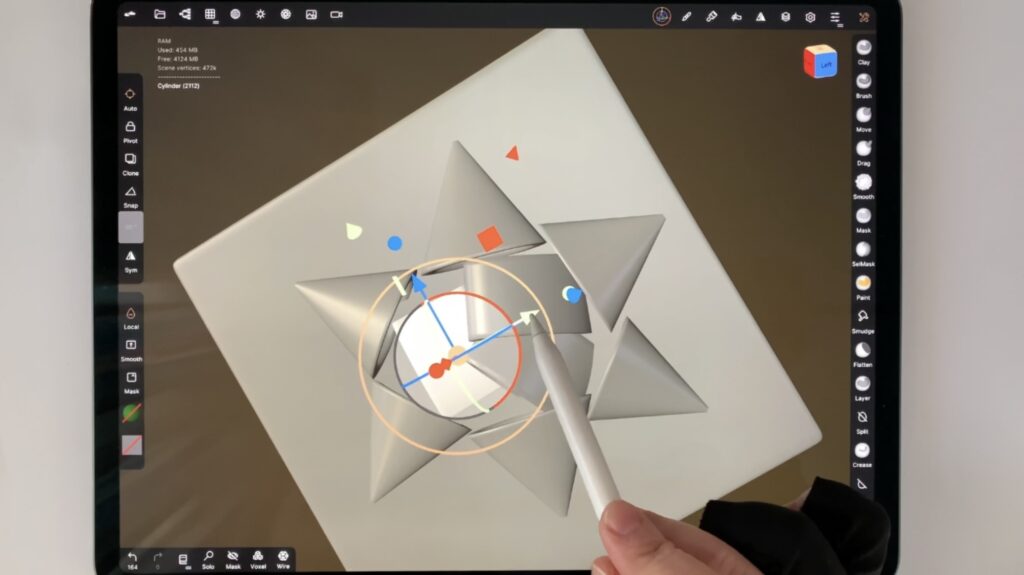
I will now repeat the whole pyramid process, but with cylinders this time. I am placing them in the middle of the shape, until I take something like this:
Just a little warning, it might take a while to get the grasp of the the gizmo tool, especially if you are a beginner. Be patient, be kind to yourself, and don’t be afraid to experiment and simplify shapes!
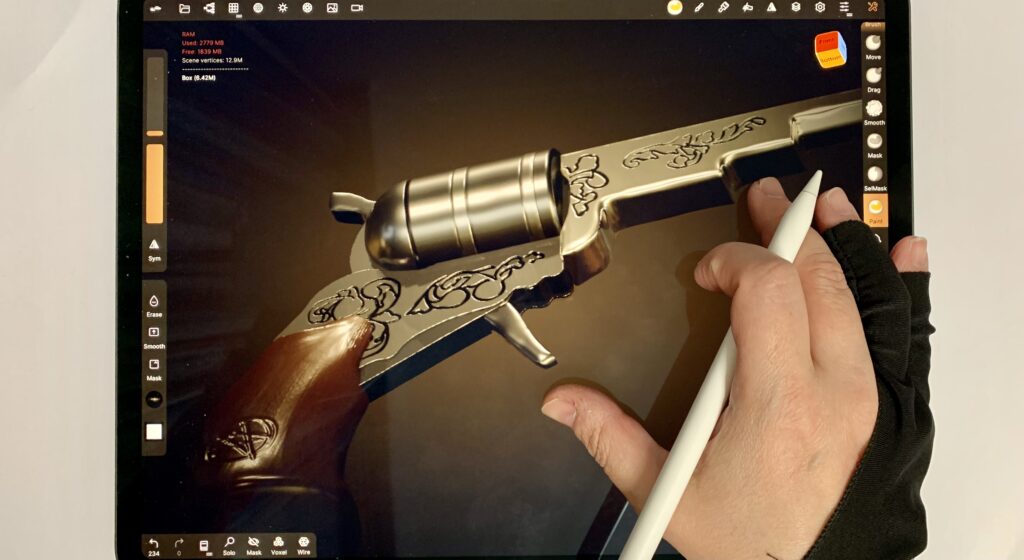
This is actually what I did with the ribbon thingy. It is not constructed the same way a real ribbon is, but still it looks pretty convincing, right?
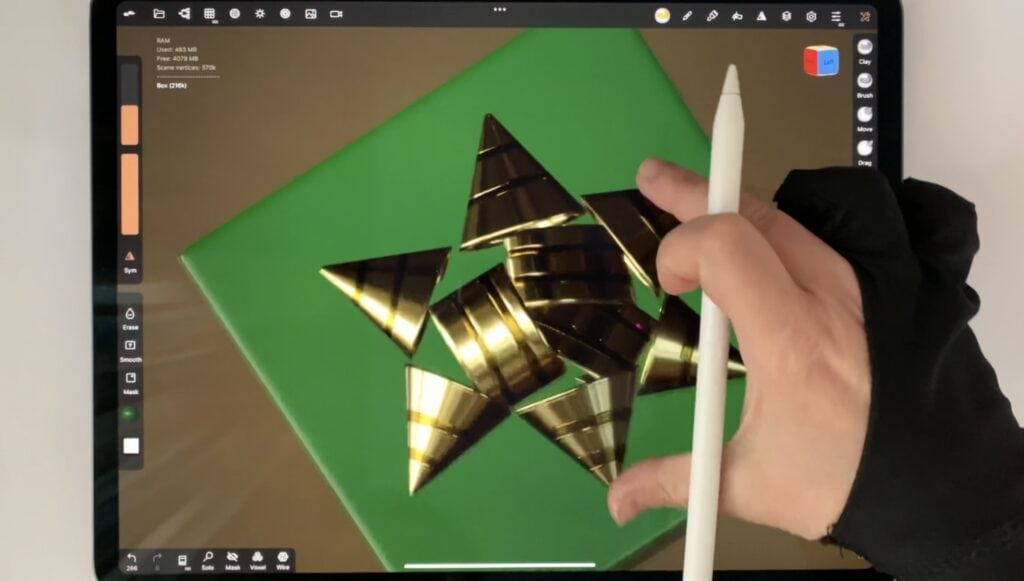
That’s it! Some painting and the box is done. Painting and lighting is really basic here, but a detailed painting tutorial is coming soon! Stay tuned and happy sculpting!

 Art discussion
 The future of Art (or why AI won’t take over)
 Colored Pencils
 My 5 top High End Artist Grade Colored Pencils
 Acrylic Markers
 Ohuhu Acrylic Markers Review
 Colored Pencils
 Woomer Art Colored Pencils Review
 Graphite
 Staedtler Mars Lumograph Black Review
 Arrtx
Arrtx