
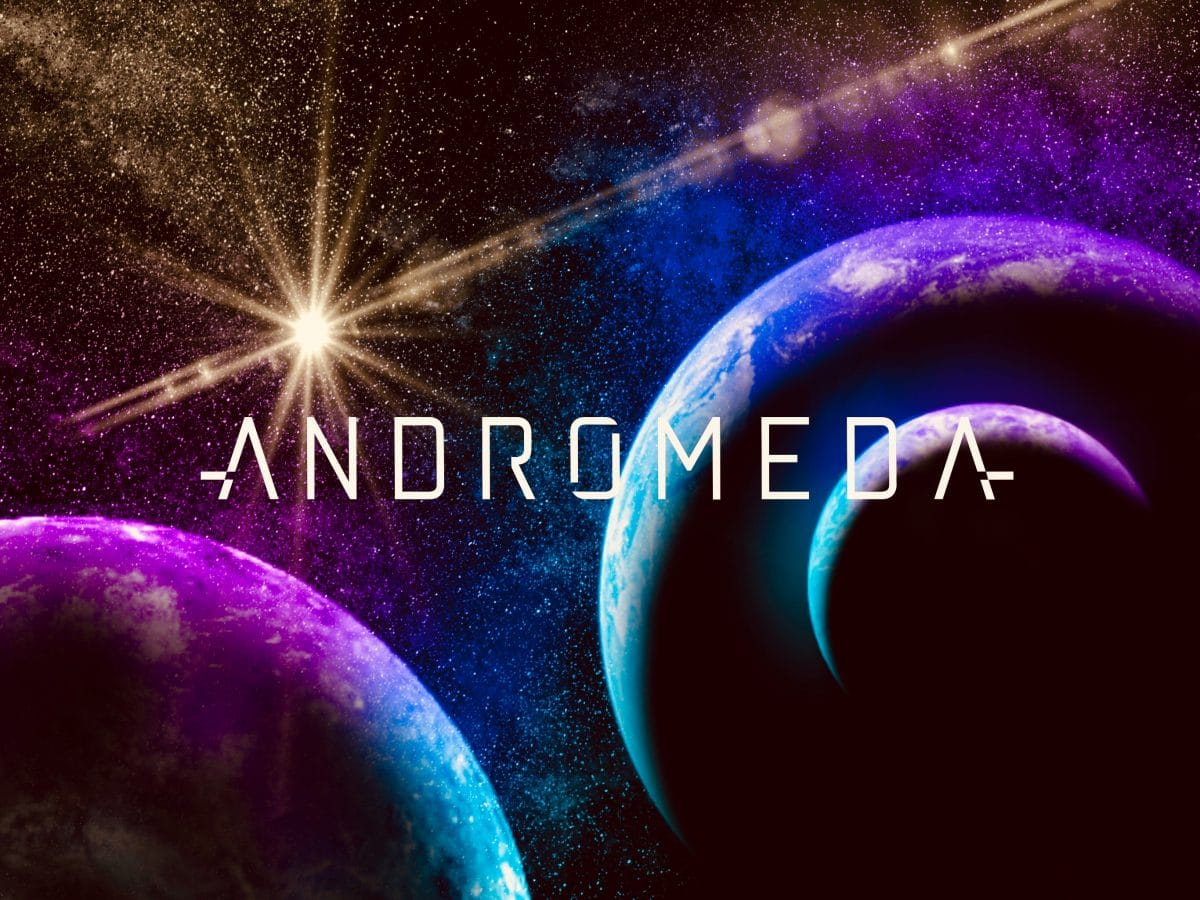

I’ve been always a sucker for everything Space: astronomy, technology, movies. It was a matter of time before I tried to paint something spacey! In fact, it took too long!
Anyways, better late than never, here’s my little piece. Normally such stuff is a …piece of cake in photoshop! It requires a bit more effort in Procreate but still it is such a simple few steps painting that anyone can do it!
I use a lot of custom brushes which you can get here. However, you can use anything similar.
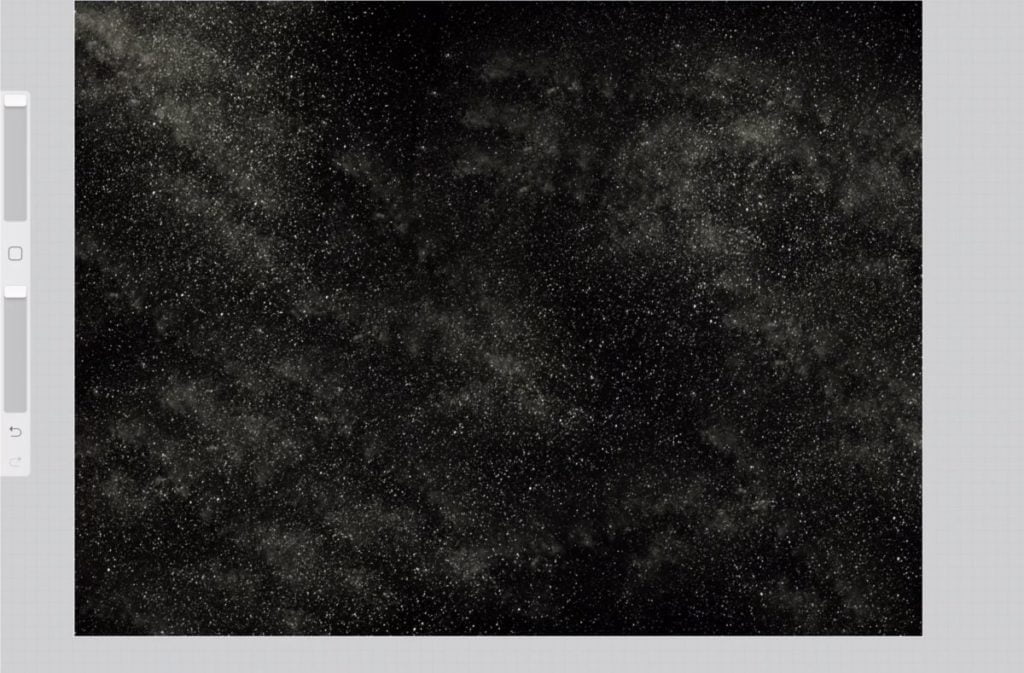
Starting off with a black canvas, I paint random stars. They should look like noise. (1)
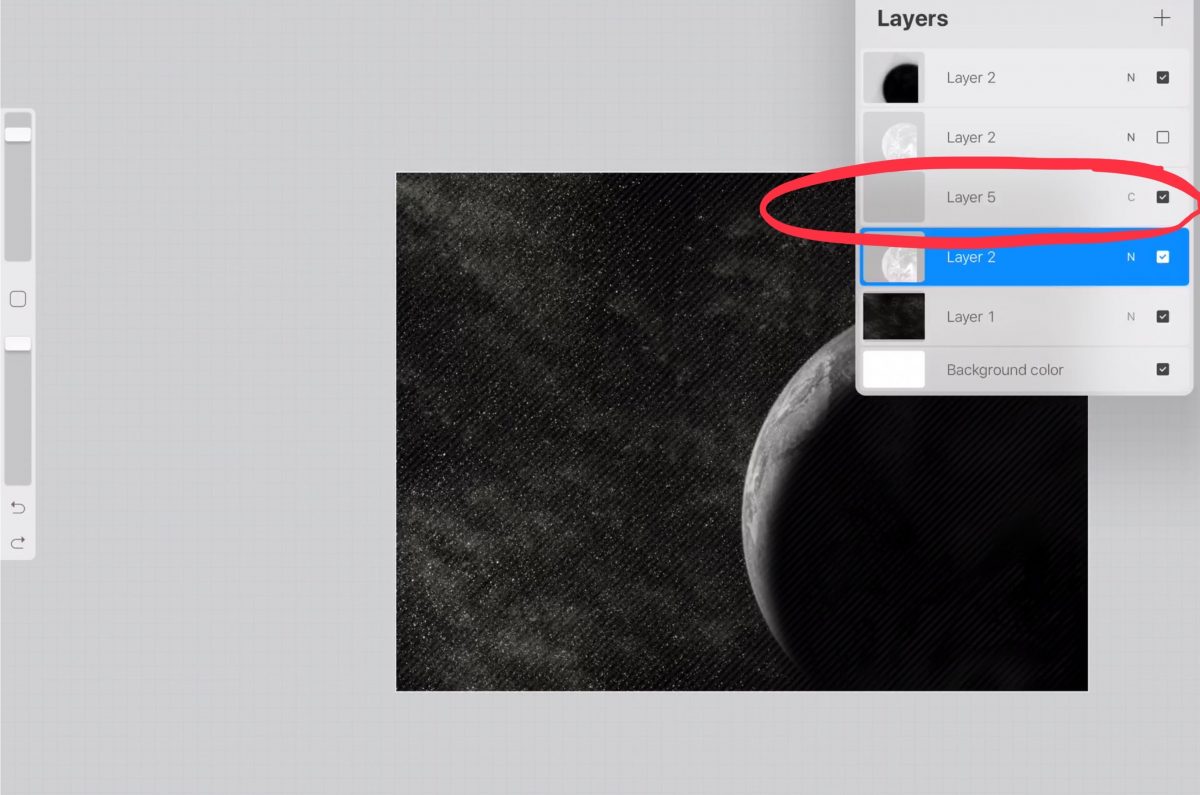
Then it’s time for the planets. I stamp a planet (you can use a plain circle and paint it a bit) and place it on the canvas to create the composition. (2) I then duplicate the layer and turn off brightness. This creates a dark circle which will become the shadow of the planet. (3)
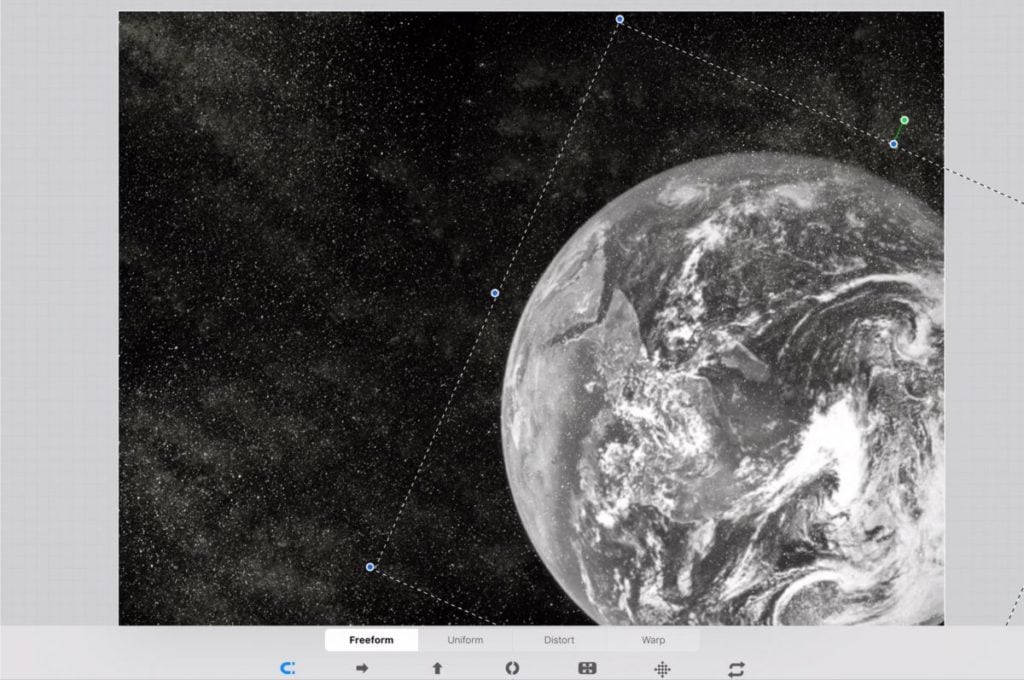
I then duplicate the layer and turn off the brightness. This creates a dark circle which will become the shadow of the planet. I blur the layer to my taste (Gaussian blur) and duplicate it a few times. Then I merge all black layers together and reposition the new layer in order to create something like this. (3)
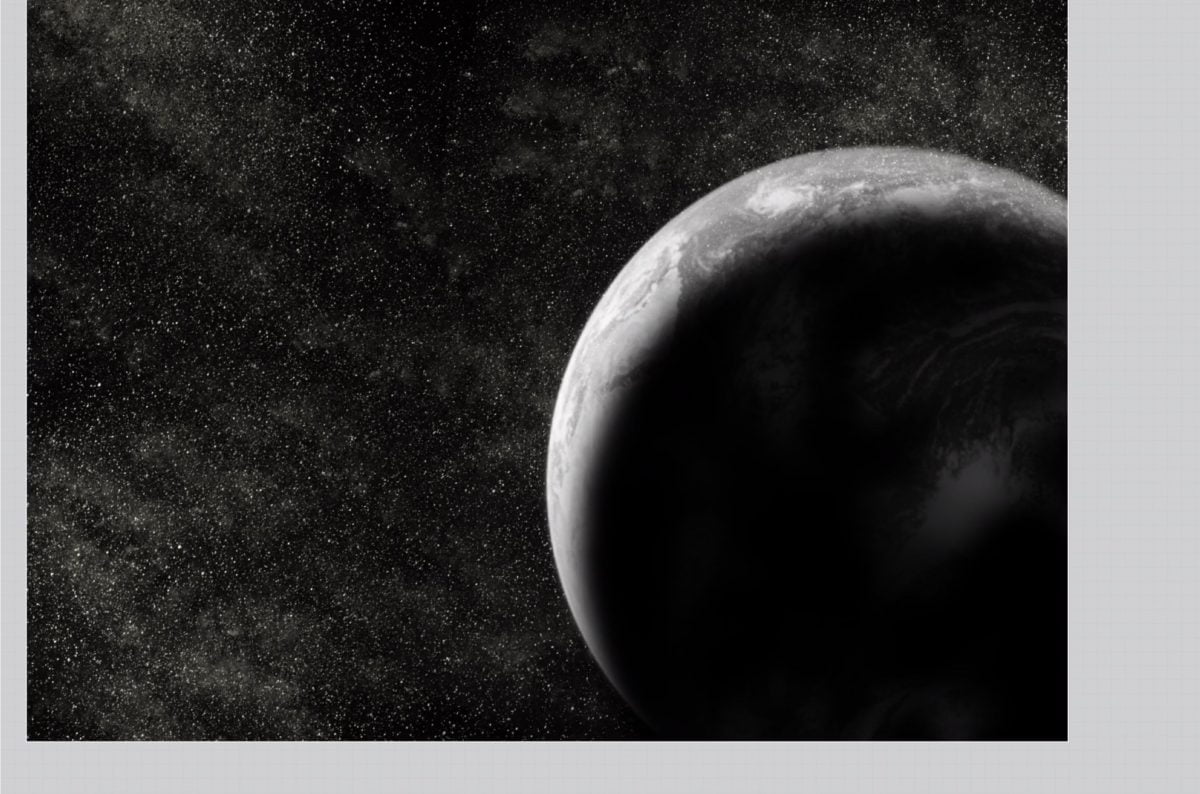
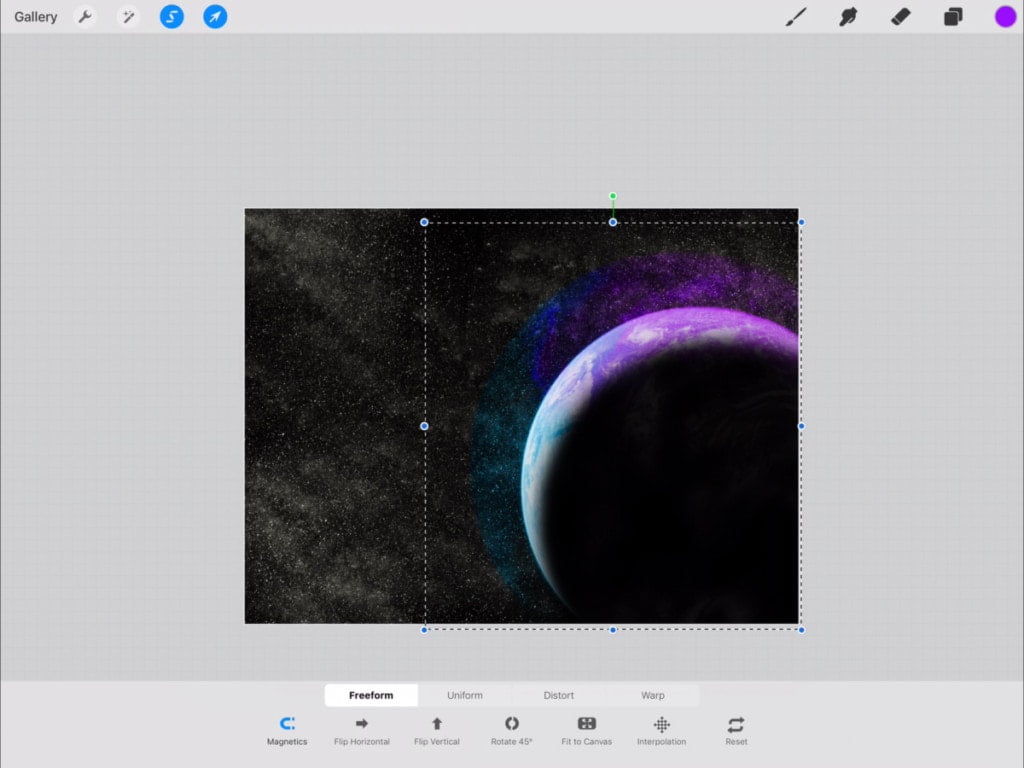
Coloring time! I create a new layer in “color” blending mode. (4) I “select” the contents on the planet layer and then paint with my favorite colors on the “color”layer. I then duplicate the layer, enlarge the contents and blur them with the “Gaussian blur” tool in order to add some color to the surrounding stars. (5)
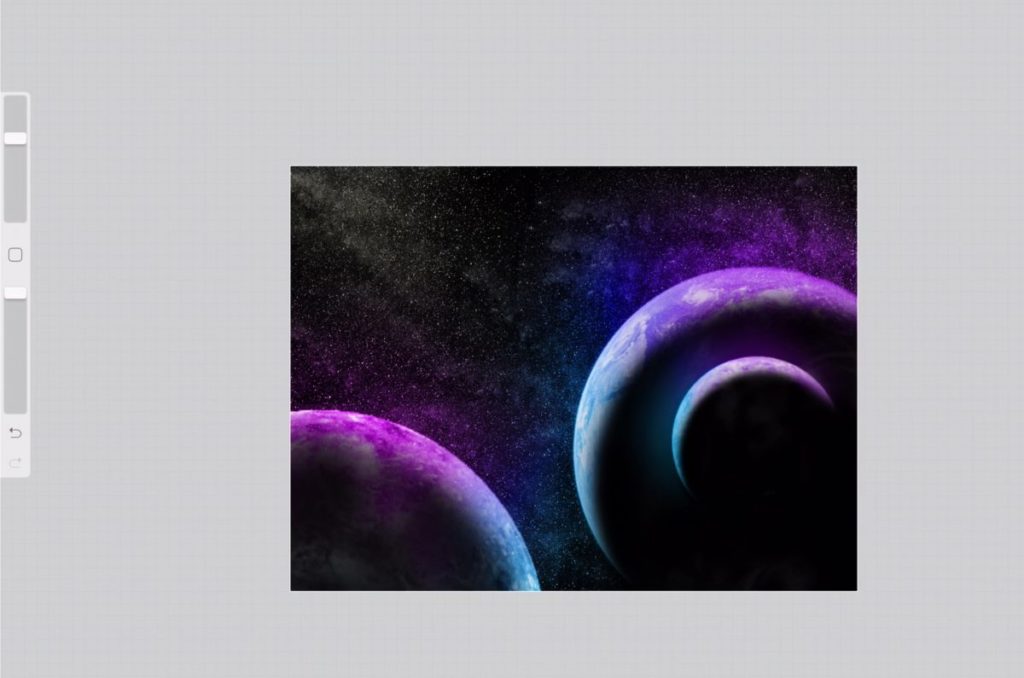
I repeat all previous steps to add random planets. (6)
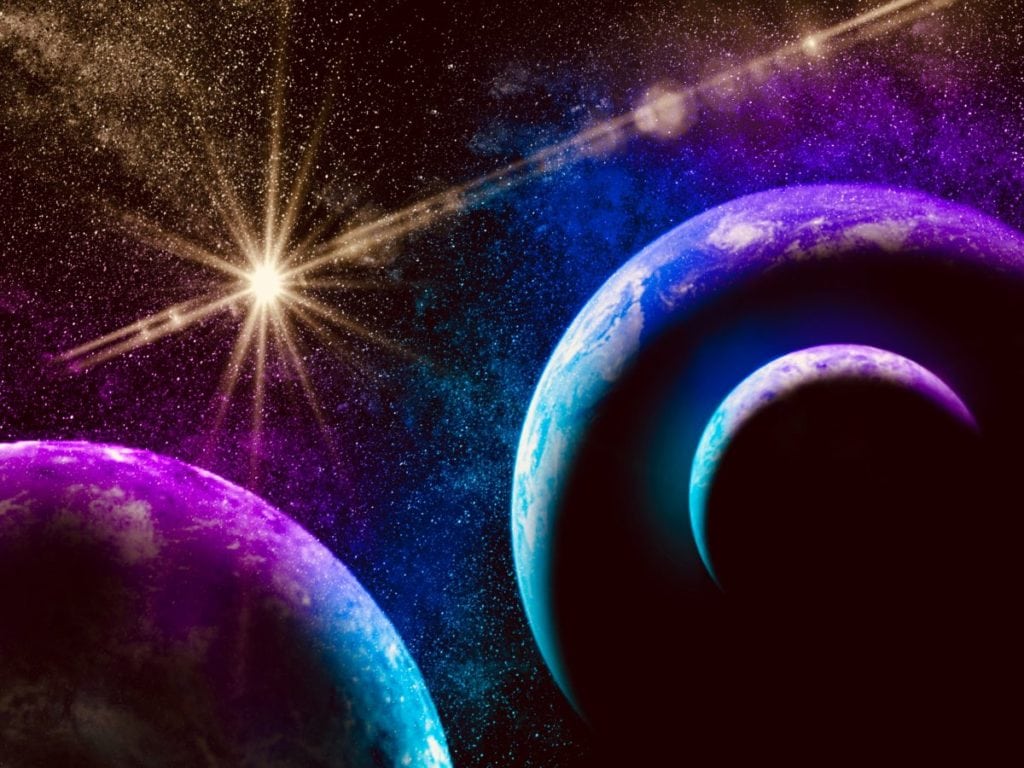
When I feel my composition is ok, I add a lens flare to create the lonely star. I play a bit with blending modes and I adjust the brightness/contrast/saturation in order to make the painting stand out. (7)
That’s all! You can also watch the painting process on YouTube. The video is sped up only x2, so all steps are shown clearly. And remember that there is no particular rule about space art, feel free to experiment and create your own magical universe! Cheers!
 Art discussion
 The future of Art (or why AI won’t take over)
 Colored Pencils
 My 5 top High End Artist Grade Colored Pencils
 Acrylic Markers
 Ohuhu Acrylic Markers Review
 Colored Pencils
 Woomer Art Colored Pencils Review
 Graphite
 Staedtler Mars Lumograph Black Review
 Arrtx
Arrtx