
“Officially” it’s the 4th day of another 30 day 3D challenge. Something super simple today (for various personal reasons which I won’t get into detail, this is an art blog after all!) but at least I took the chance to make a tutorial for all of ya. Although it’s a beginner’s tutorial, if there’s something you don’t quite get, please let me know! So, let’s get started.
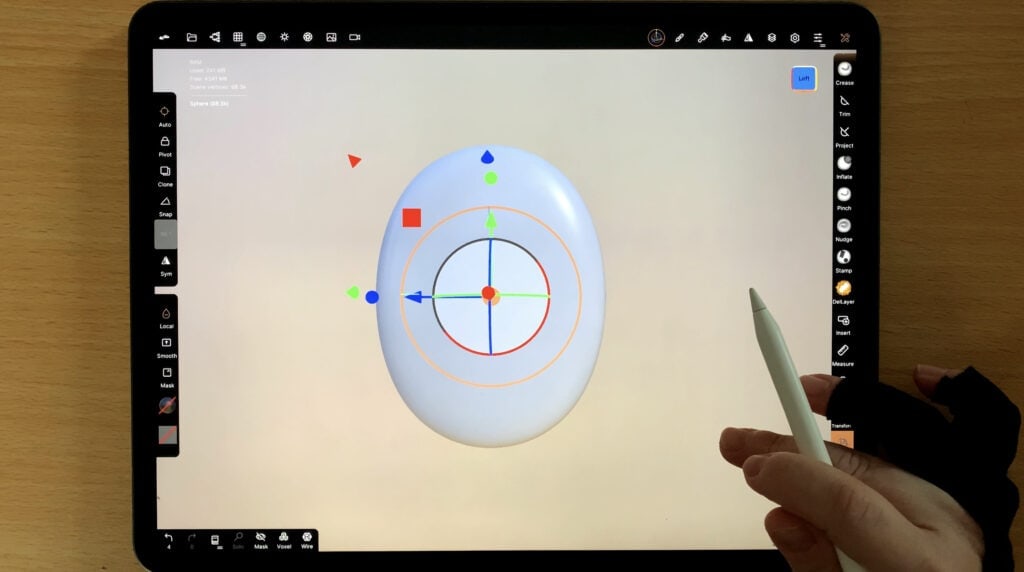
In order to create the head of the safety pin, I am using the gizmo tool to elongate and squeeze my initial sphere.
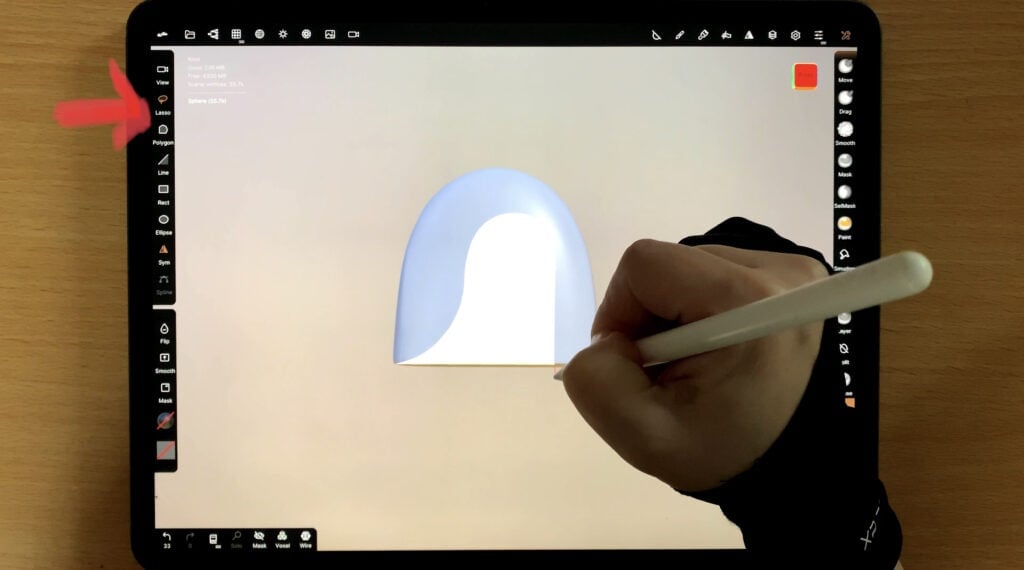
Now I’m gonna trim the shape, to make it look like an actual safety pin. The trimming will be done in two phases. Firstly I am using the rectangular trim tool, to cut the shape in half.

And then I am using the lasso trim tool to create an SI kinda shape, as shown below.
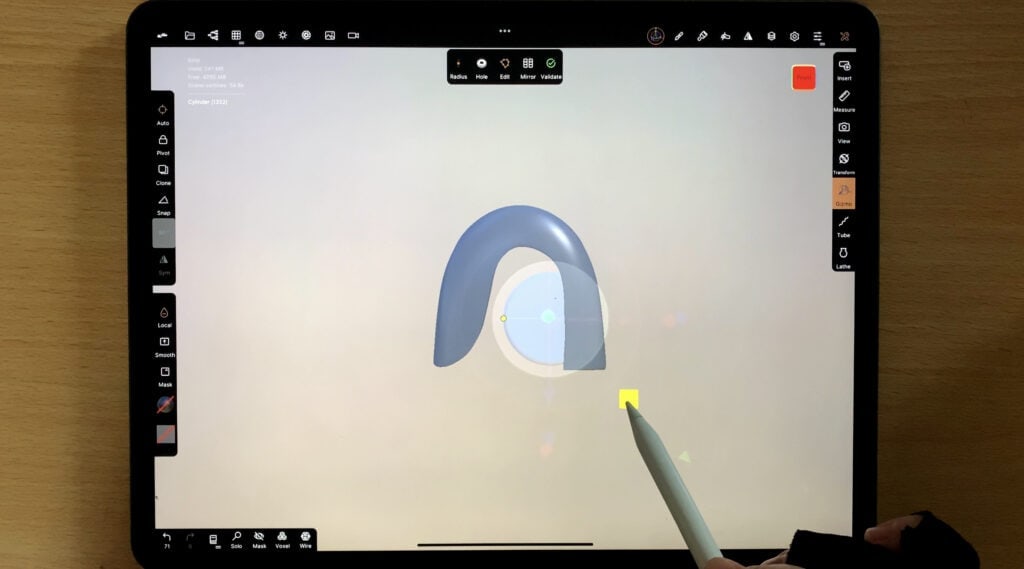
Now I am adding a cylinder and after adjusting the size and height, I am placing it through my previous shape, so that it can resemble the head of a safety pin.
(There are some steps that I omit for clarity purposes and to keep the tutorial small and simple. If, however you are familiar with the functions of Nomad Sculpt and don’t mind some extra sculpting, you can check out the video at the end of this post)
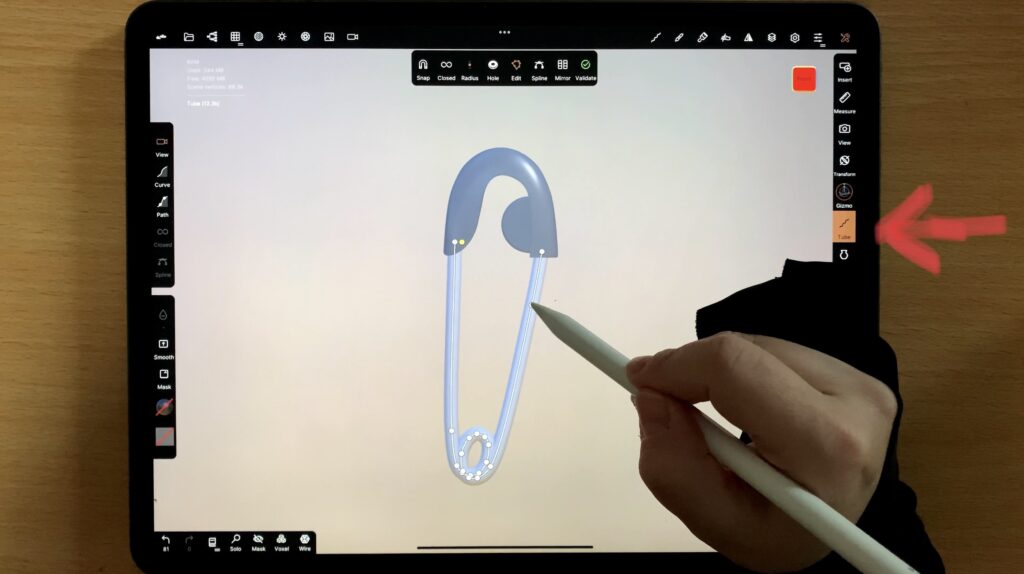
Now it’s time for the wire-y part of the safety pin. I simply grab the tube tool, and draw the shape. Simple as that! Be warned however, it needs a bit tweaking so that the wire looks three dimensional and realistic.
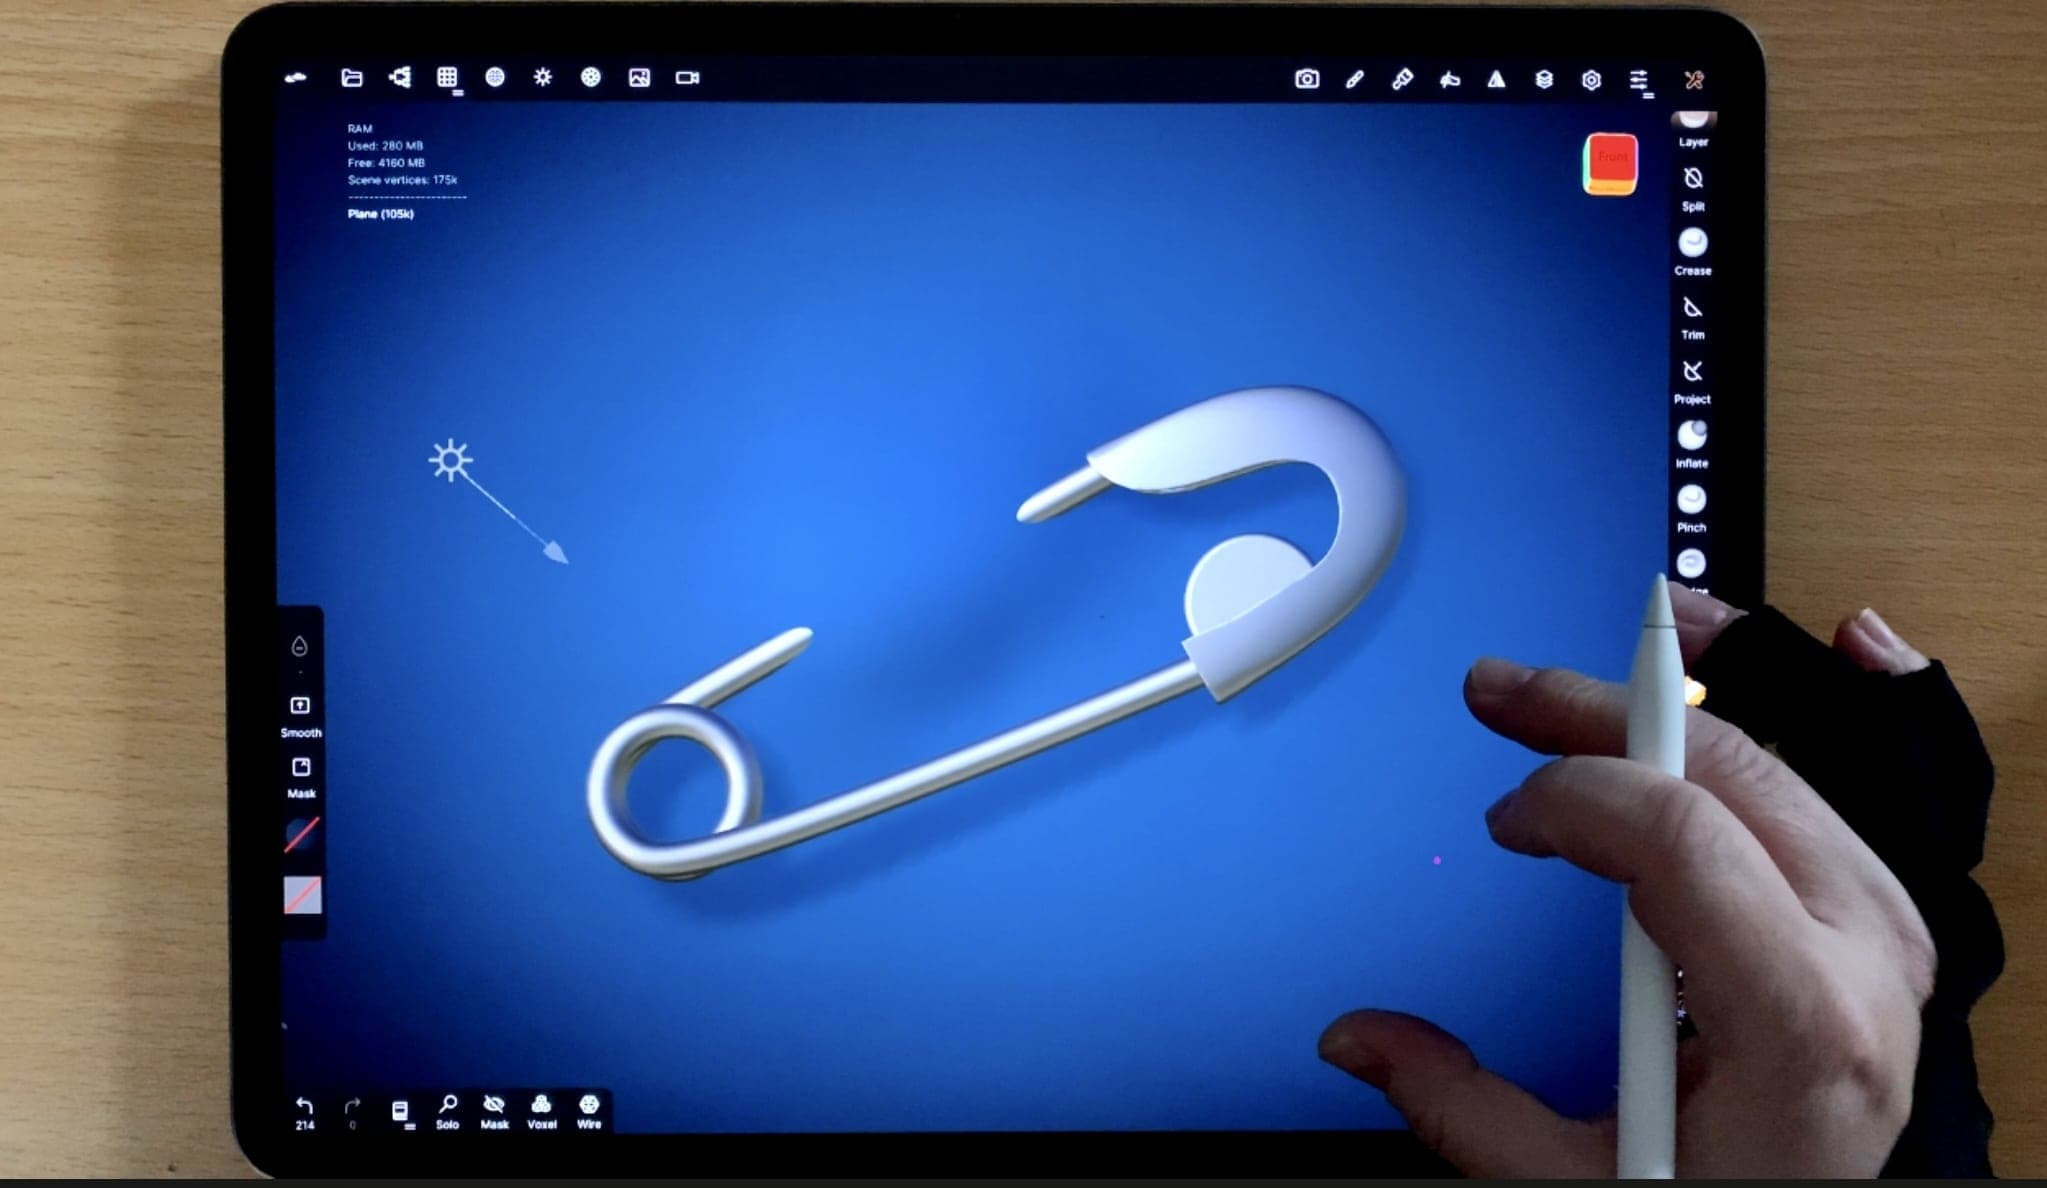
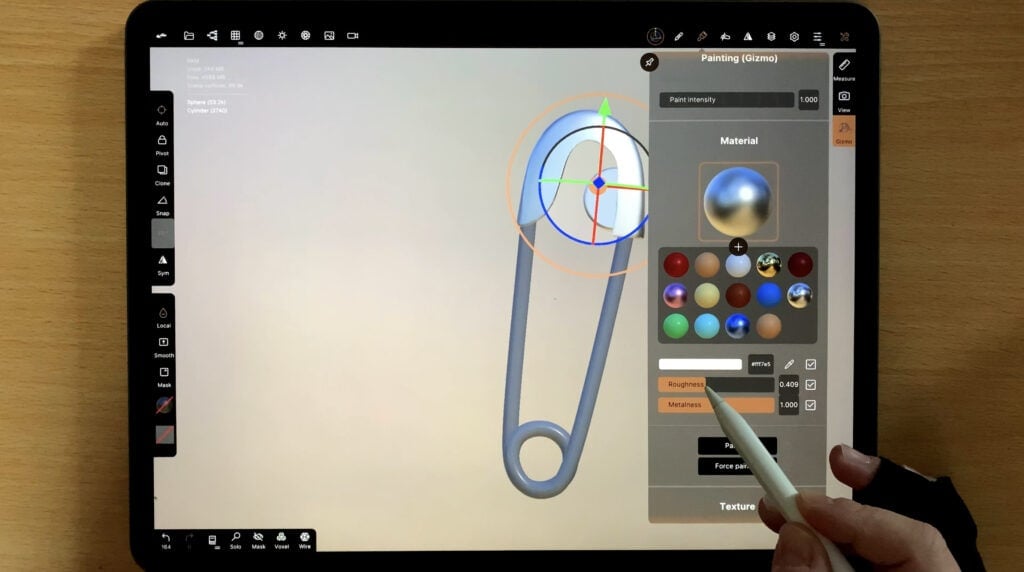
Time for fun! This is my favorite part. Choosing materials, lighting etc. I firstly go to the painting tab on the right, and paint my pin a metallic, white color.
You can call it done. Personally I am adding a cloth-kinda-thingy for the safety pin to be attached to. So, I am adding a plane to the scene.

After adjusting the plane so that it is close and parallel to the pin, I use the move tool to create the illusion of fabric being pulled off by the pin.
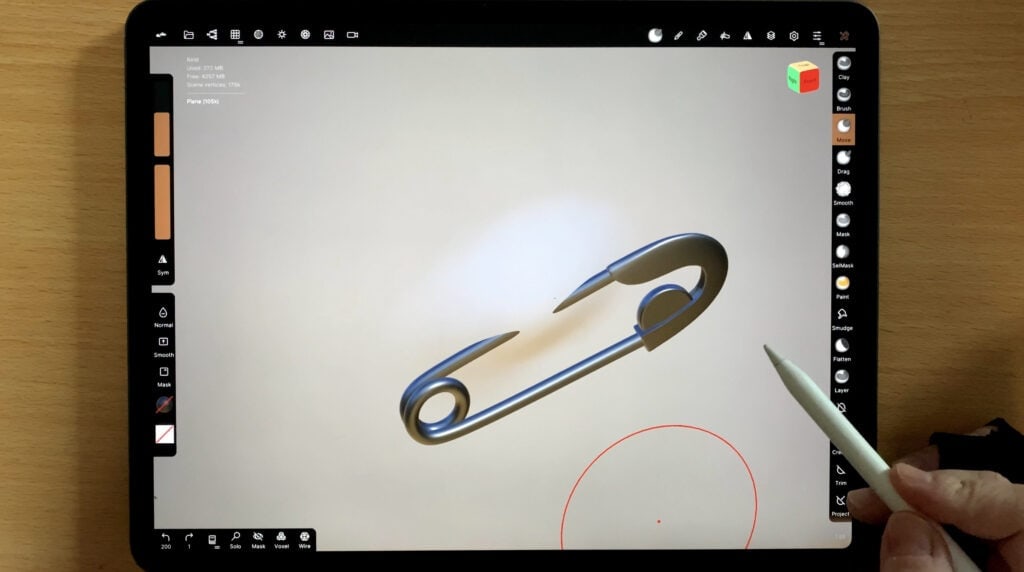
And that’s all! A little bit of color and we are done. Hope you give it a try, and see you guys tomorrow!
 Colored Pencils
 My 5 top High End Artist Grade Colored Pencils
 Acrylic Markers
 Ohuhu Acrylic Markers Review
 Colored Pencils
 Woomer Art Colored Pencils Review
 Graphite
 Staedtler Mars Lumograph Black Review
 Arrtx
Arrtx Arrtx 60-piece Regular and Anime Acrylic Markers Review
 Art discussion