
When I started out with digital art, I worked on photoshop with a Wacom Intuos (wow, what a shocker! 🙂 ) It was a great combo and I loved it. At least for a while. Some years later, however, being a mum of two, it was impossible to set up my working space and actually work. Needed something portable that I could use eg in bed, before sleep, pretty much the only time of the day I could relax and scribble something. So, I ended up with an iPad Pro, Apple Pencil and procreate. A pretty much incredible combo as well, but this is a topic for another post. Here, we’ll talk about procreate brushes. Procreate Fire brushes to be exact.
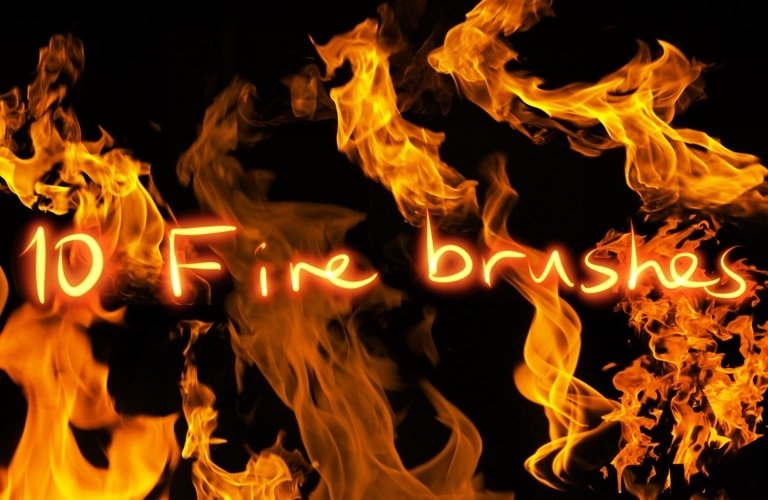
As procreate is relatively new and quite uncommon among professional digital artists, (which is quite unfortunate, there are only limited things that can be done in photoshop and not in procreate) there aren’t many brushes available. So, I decided to create my own. You can get them from my Etsy Shop:
Here I will show you how I tweak my fire brushes to make them look more realistic.
And the best part: It is a 3-click process and can be done in photoshop as well! 🙂
When brushes are used as a stamp, the effect is like this:
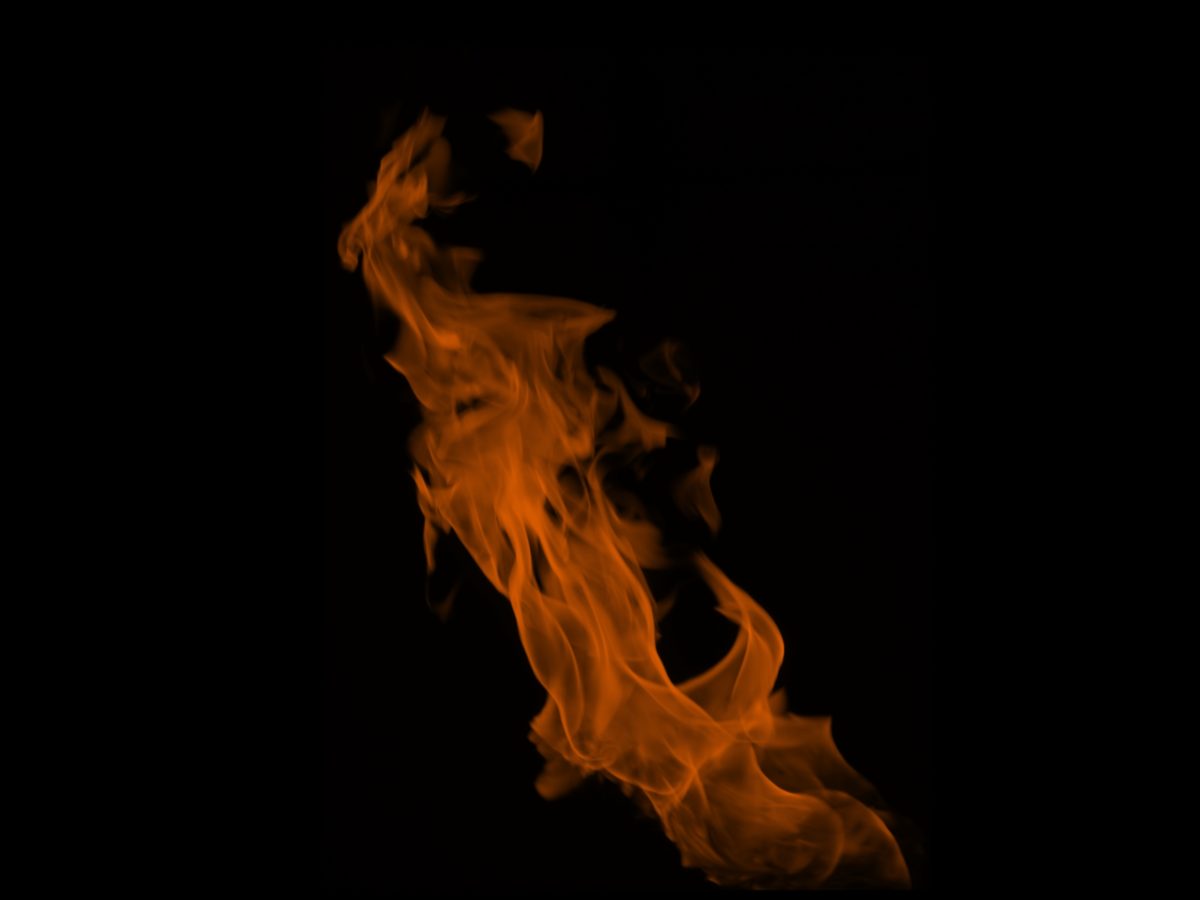
Quite dull and monochromatic, but it can be improved easily. All you need to do is duplicate the layer,
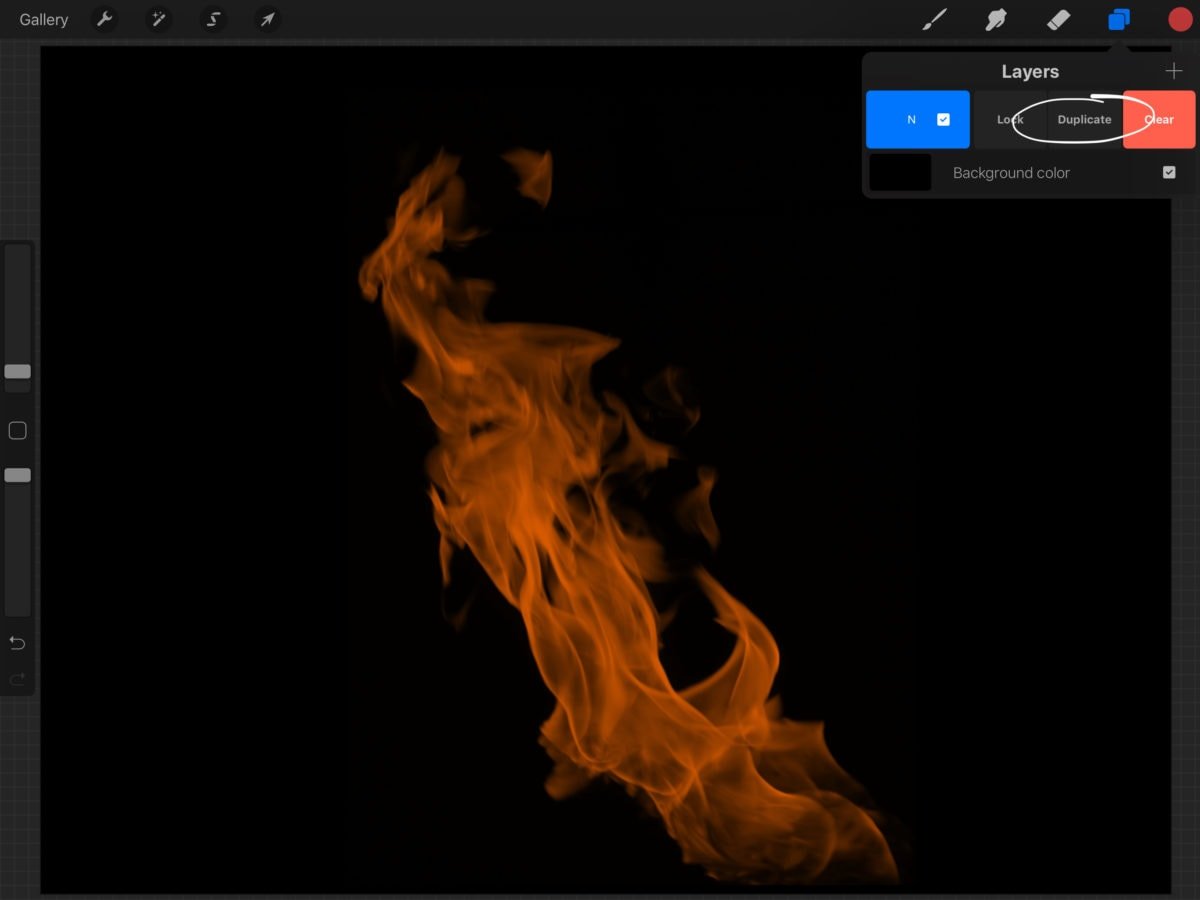
set blend mode to “overlay”,

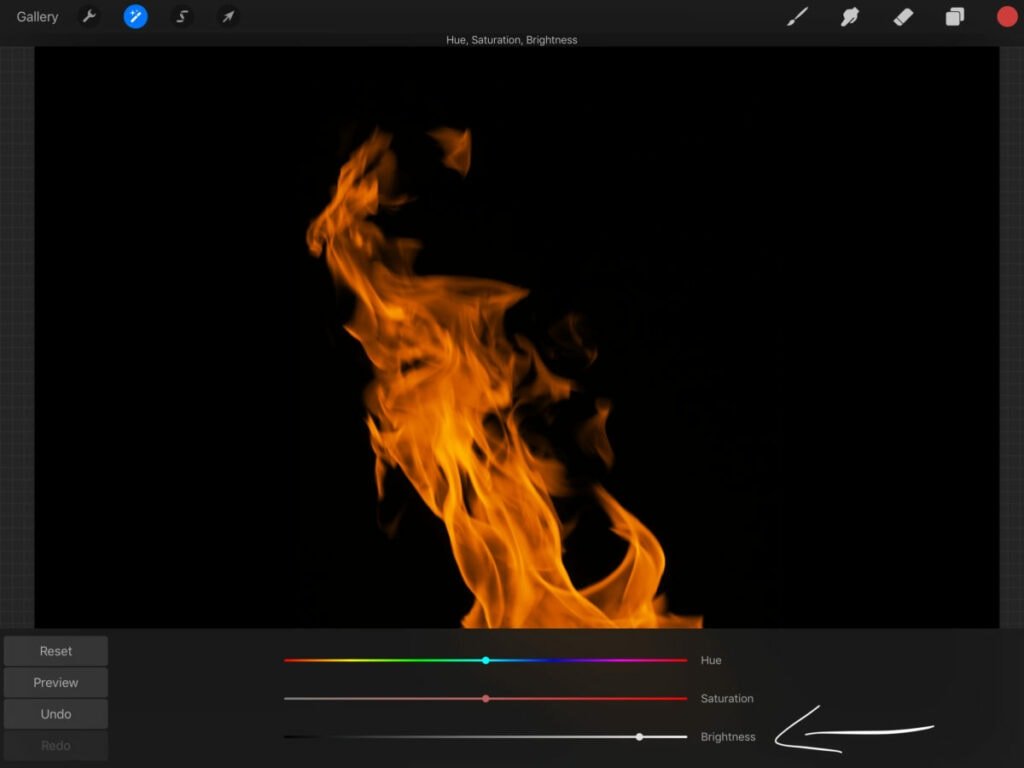
and adjust brightness to achieve the effect you wish.

This is what our little flame looks like. To further enhance it, duplicate this new layer.
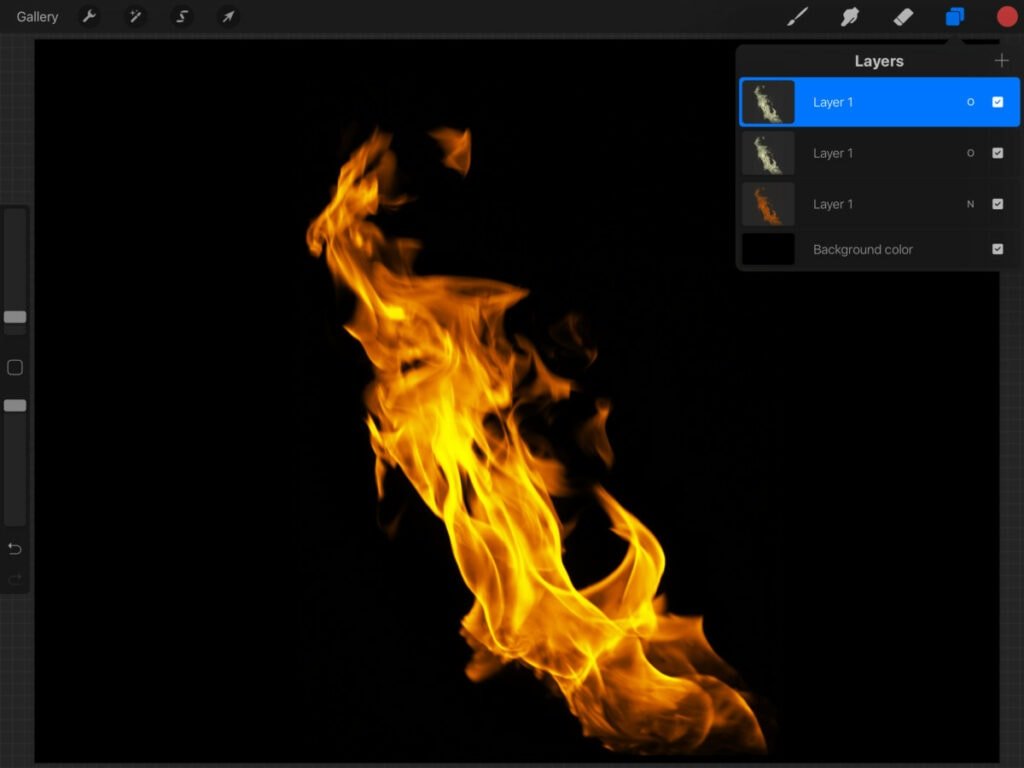
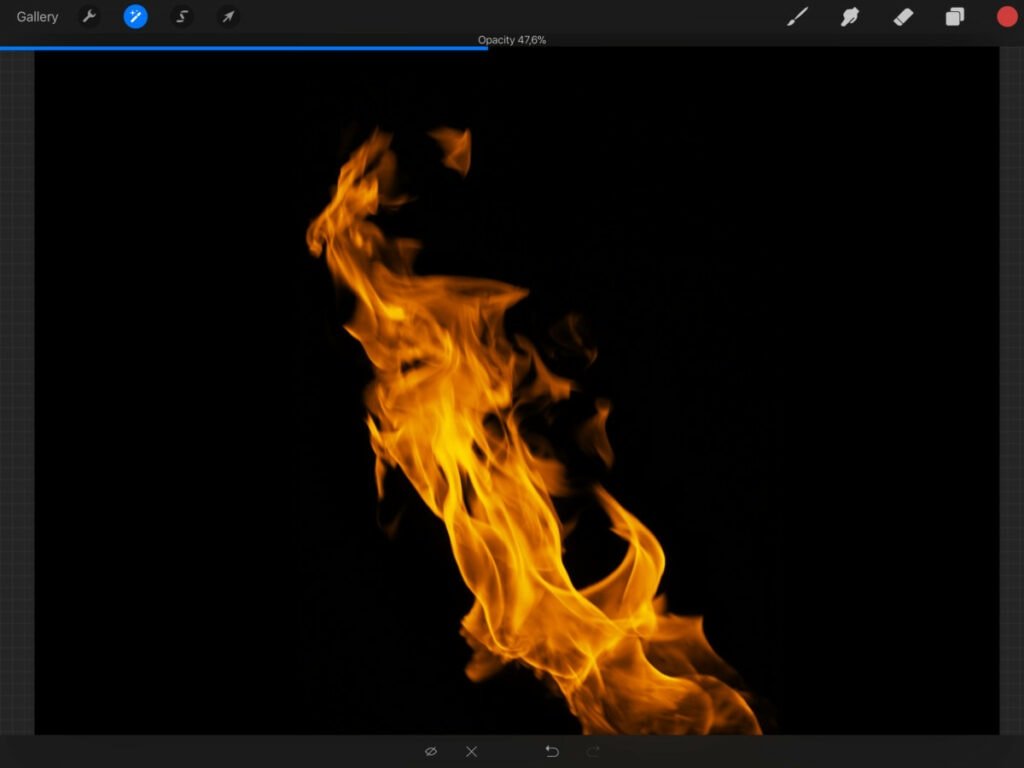
Looks pretty harsh at the moment, you can adjust the opacity to make it look more realistic.
And voila! Your badass flame is ready, indistinguishable from a real one!

Get these brushes from my Etsy Shop:

 Colored Pencils
 My 5 top High End Artist Grade Colored Pencils
 Acrylic Markers
 Ohuhu Acrylic Markers Review
 Colored Pencils
 Woomer Art Colored Pencils Review
 Graphite
 Staedtler Mars Lumograph Black Review
 Arrtx
Arrtx Arrtx 60-piece Regular and Anime Acrylic Markers Review
 Art discussion
2 Responses
Just bought this brushset and I think it will work out really well for me. I do wish they were a little bigger for larger scale print pieces. But other than that, I’m overall pleased.
Thank you very much for your comment! Tha’s the kind of feedback I am looking for, in order to create more helpful resources. I will see if I can recreate the same brushes, but bigger.