
Day 7 of another 30 day 3d challenge.
Once again I failed miserably at uploading videos daily. This time however, it was not my fault. My internet connection failed me. Did I mention how much I hate it when something is out of my control??
Anyway, today’s model (or… yesterday’s, just uploaded today XD) is a candle. Lately I’ve become interested in modeling stuff that is not solid, things like liquid, smoke and now fire. Love modeling these, because there is no specific way (at least to my knowledge!) to do them, just a lot of trial and error. Today’s flame was the trickiest of all.
I won’t get into details on how to sculpt the body of the candle, but feel free to ask any questions. Jumping straight into fire. Yep. That didn’t sound very good…
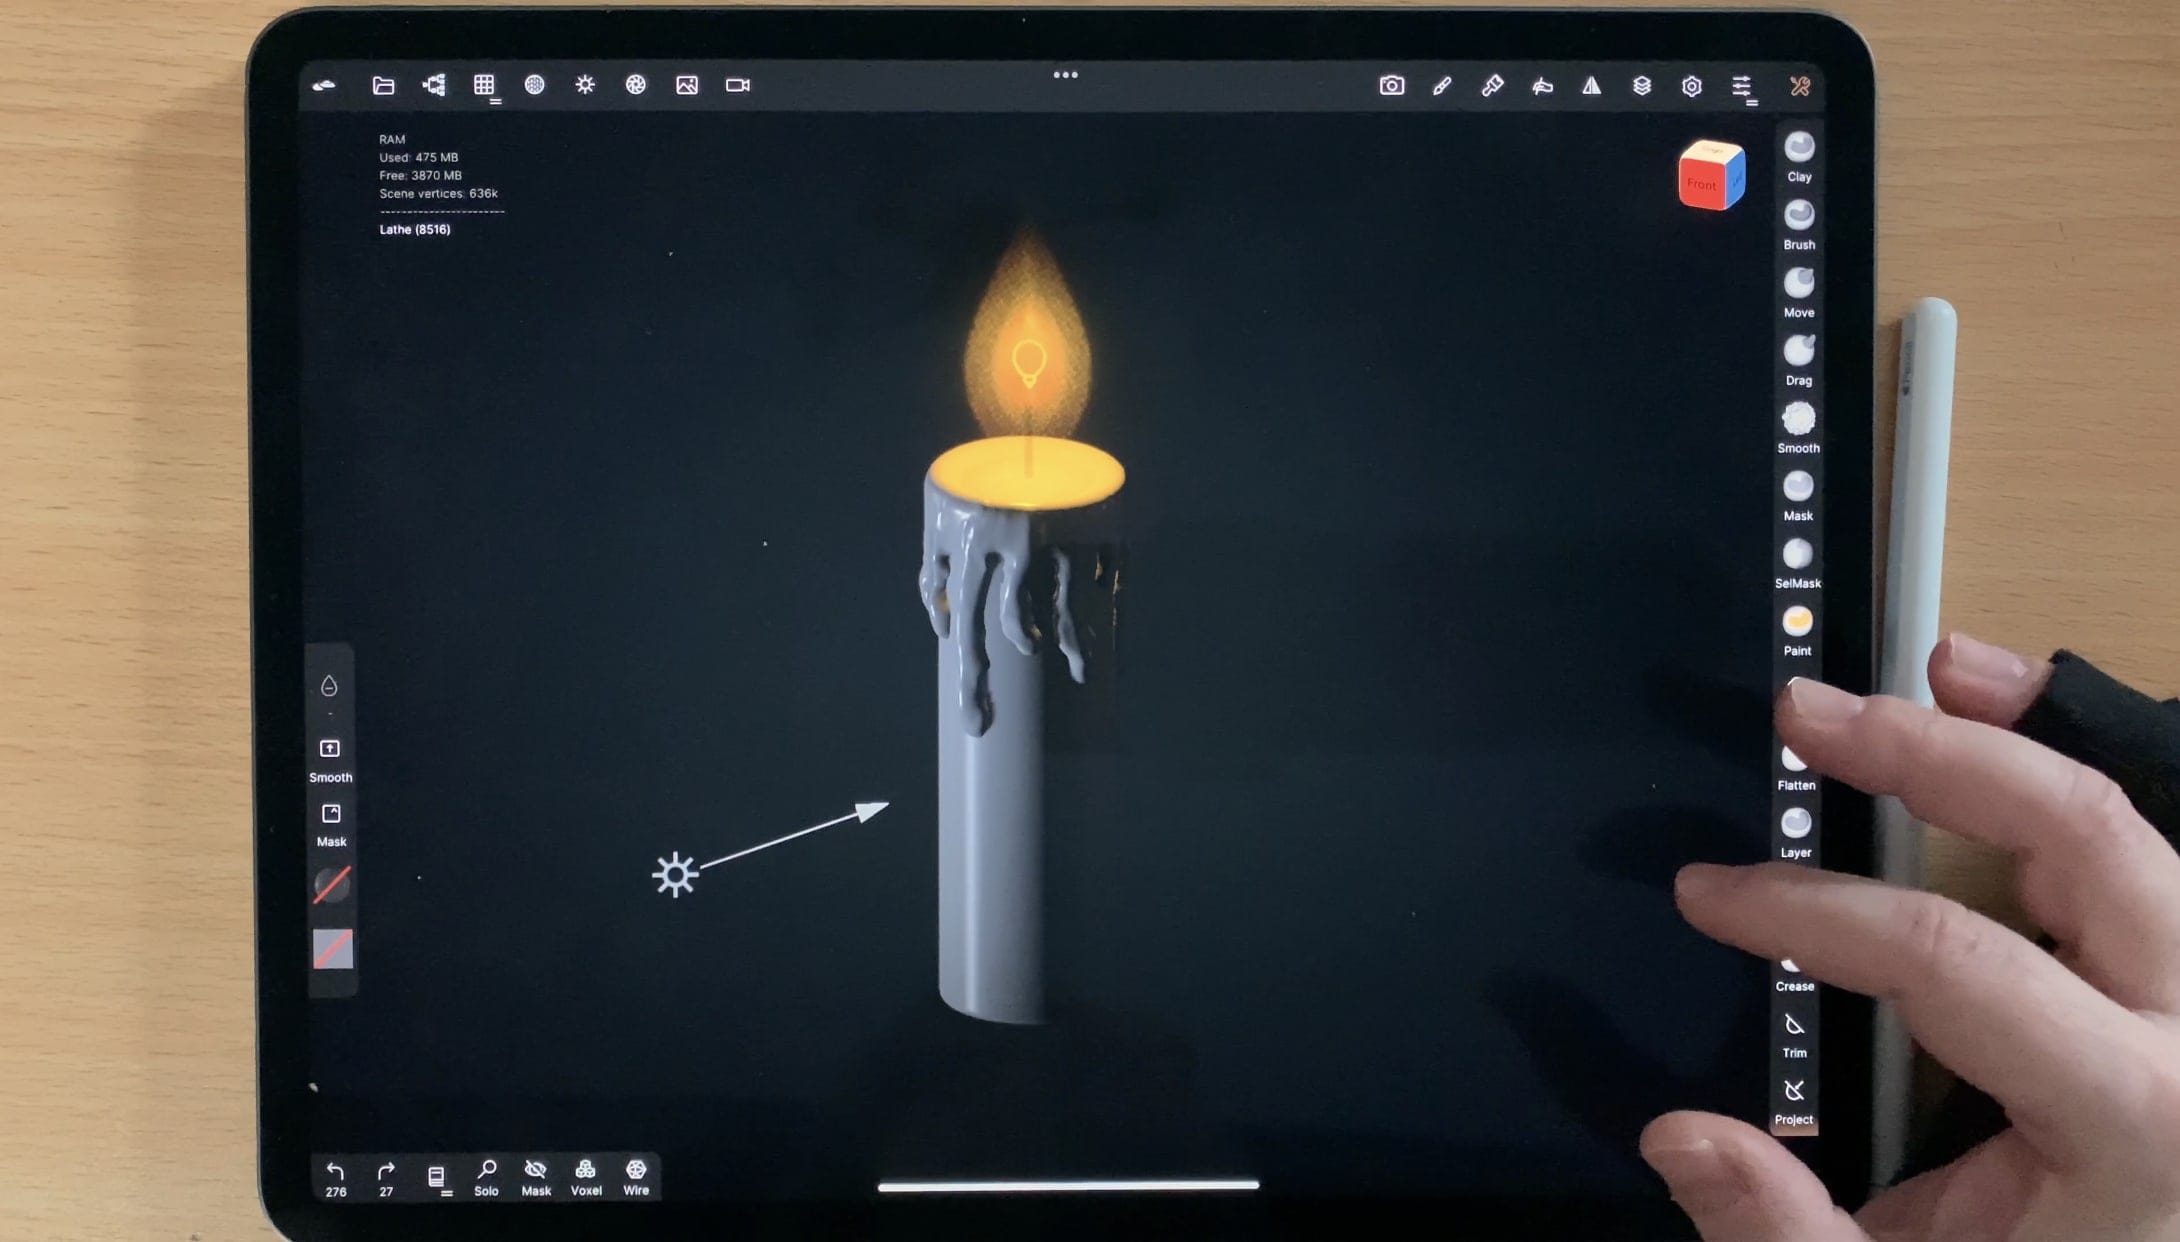
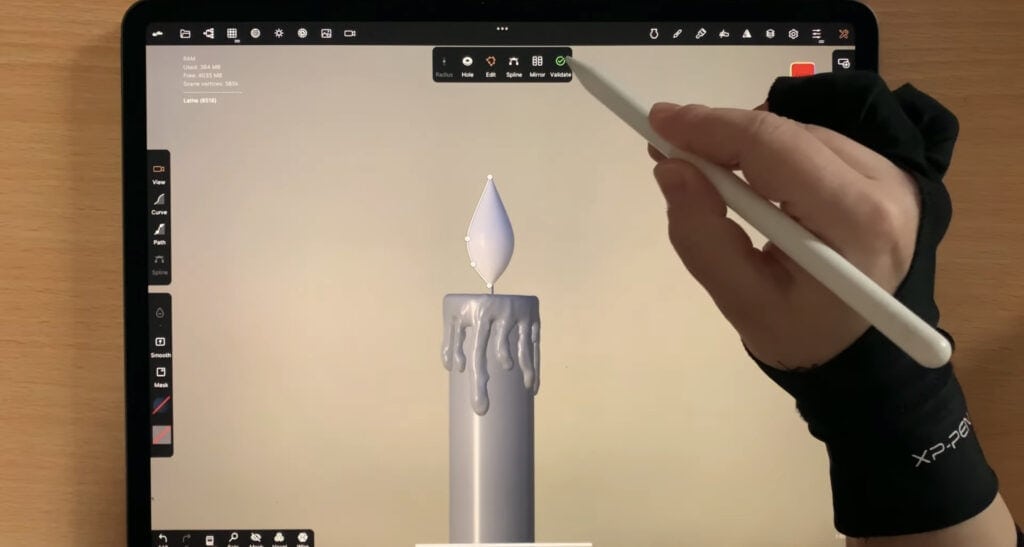
Anyways, I am starting off with my beloved ”lathe” tool, and I outline a flame shape.
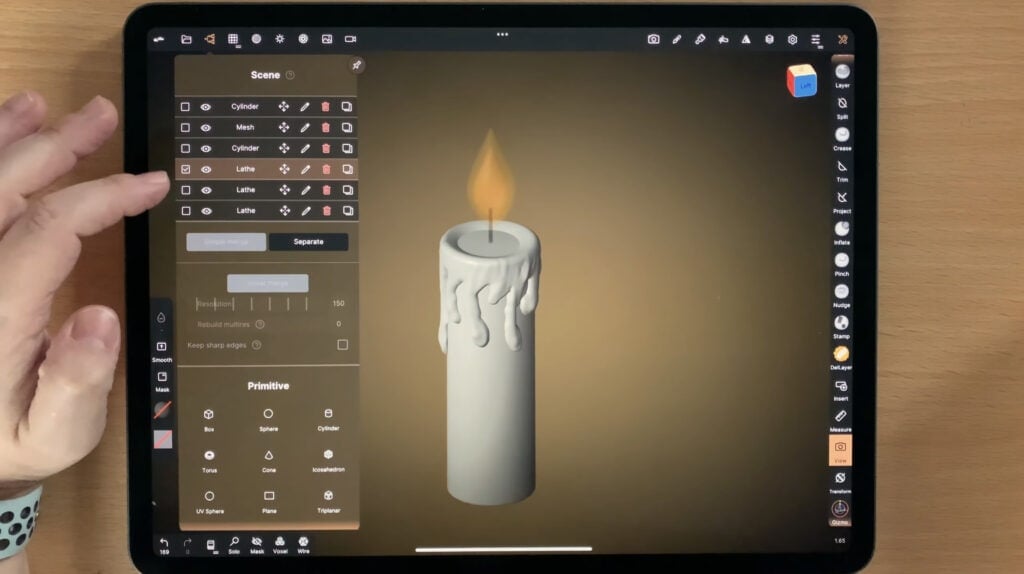
In the ”scene” menu, I make two copies of my flame shape. You can make any number, the more copies, the more “seem-less” the flame will look. I did two because 1) I am lazy and 2) I love imperfections and harsh lines! People don’t believe me (I guess there are judging by my graphite work?) but I really do. This is what my scene menu looks like. Oh, and I also edit each one of the copies (with the transform tool) so that they are slightly different in size.
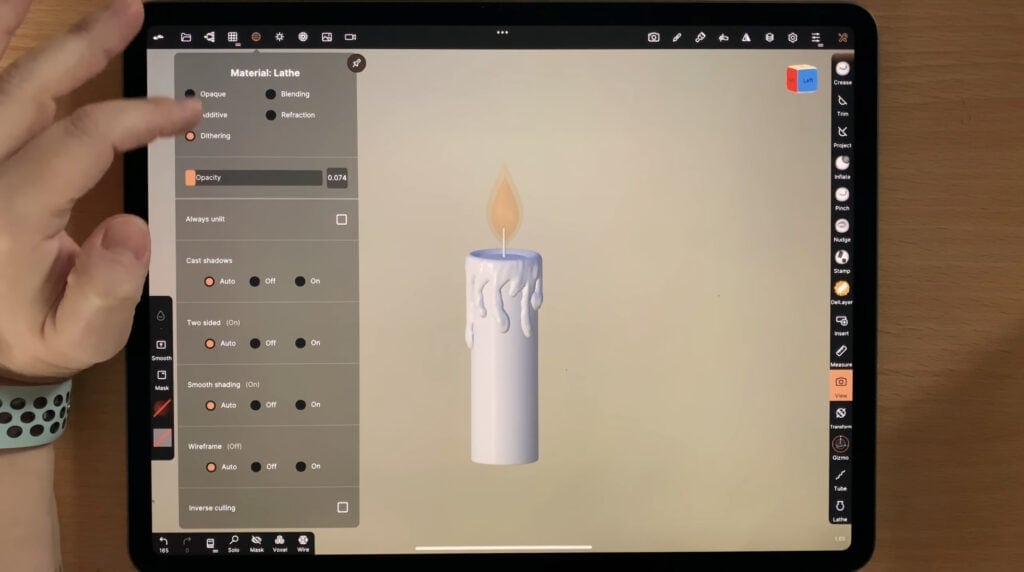
I also change the material for each one of the shapes, by selecting ”dithering” and adjusting the opacity.
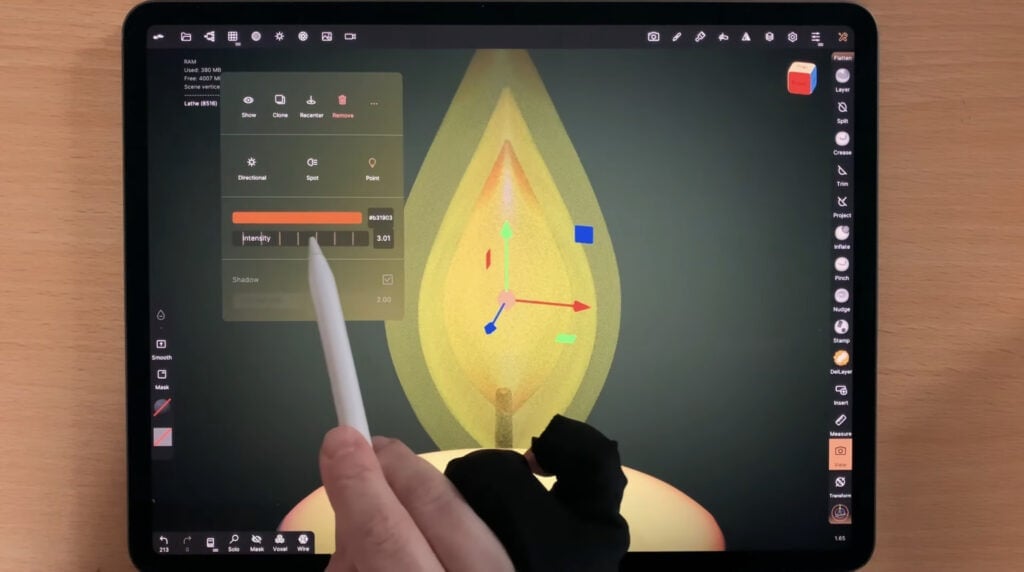
I am now adding a light to the center of the flame. (By clicking ”add light” in the light menu) Then I change the properties to ”point” light and play with the settings.
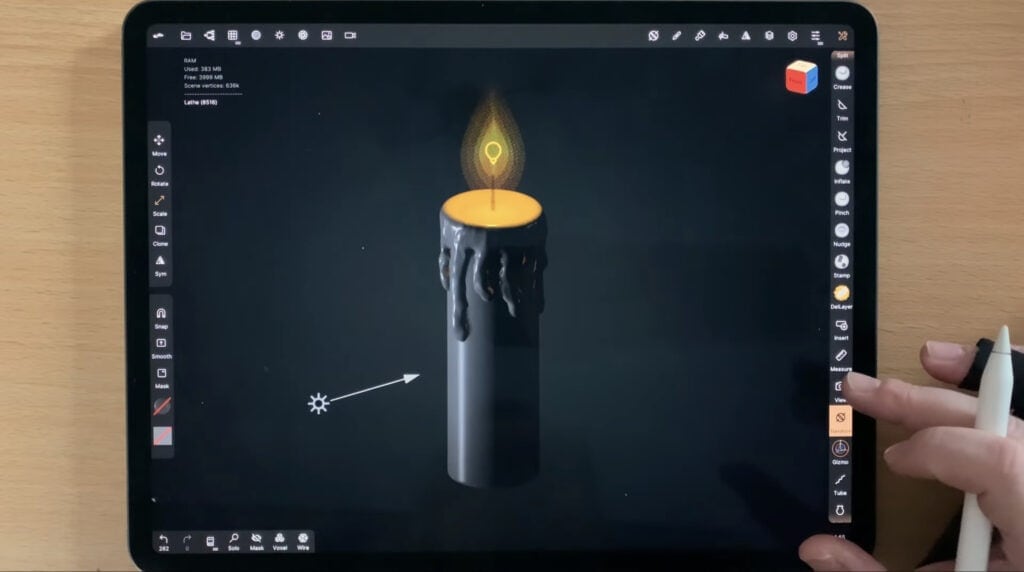
And basically that’s all! I play with … fire a bit more (lighting, scene etc, you know this is my favorite part!) and voila, the flame is done! Hope you give it a try and have fun. And please let me know if you use an alternative way to make fire in Nomad Sculpt. 🙂
 Art discussion
 The future of Art (or why AI won’t take over)
 Colored Pencils
 My 5 top High End Artist Grade Colored Pencils
 Acrylic Markers
 Ohuhu Acrylic Markers Review
 Colored Pencils
 Woomer Art Colored Pencils Review
 Graphite
 Staedtler Mars Lumograph Black Review
 Arrtx
Arrtx