
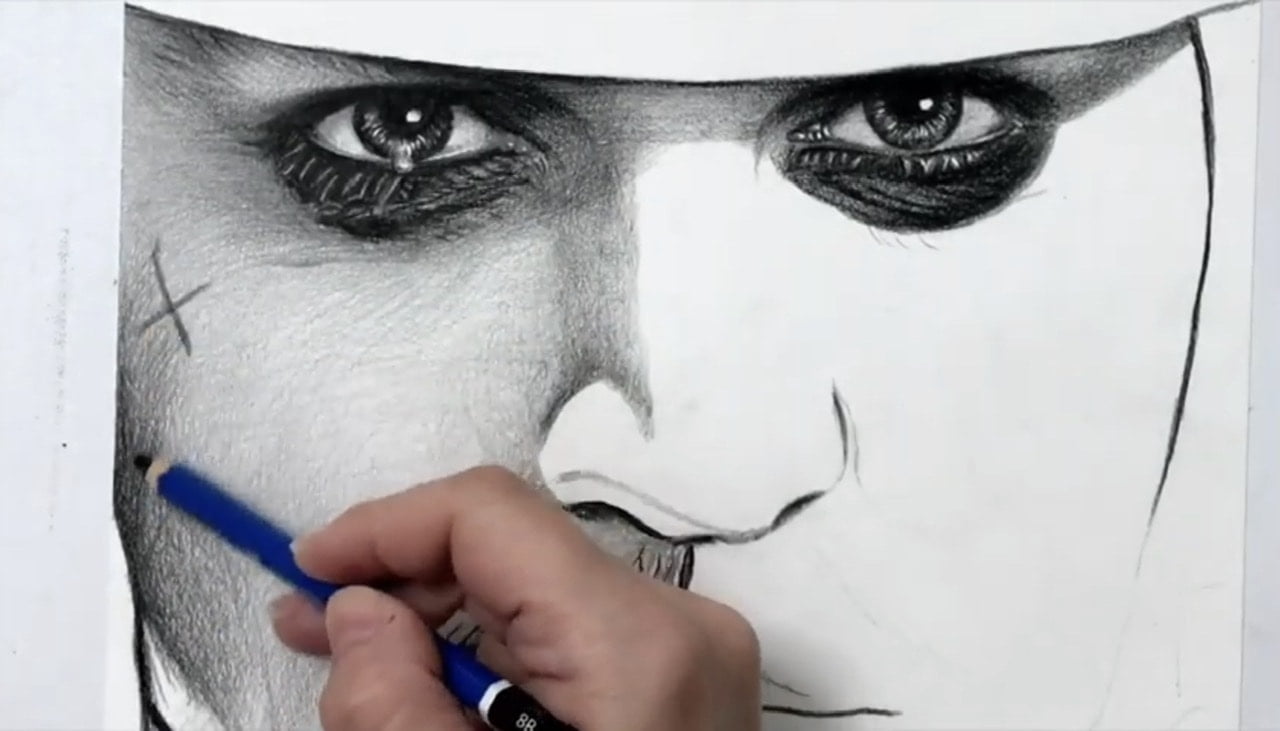
Hello everyone! Oh my Gosh, is it July already?? (And it’s almost over!) Damn Coronavirus! Left me with an enormous load of work and I have neglected my blog. Anyways, here I am with a much anticipated tutorial: how to draw male (textured) skin with graphite pencils. Let’s break down the process to a few super easy steps, even a beginner can follow. You can also read this post about the topic which I did a couple of years back.
Choose a textured paper
Unlike female skin which is generally smooth, male skin is textured and as such, it is easier to create it on grainy paper. On smooth paper, you need to draw EVERY SINGLE DETAIL. On grainy paper, however, you basically take advantage of the texture of the paper, in order to create the texture of the skin.
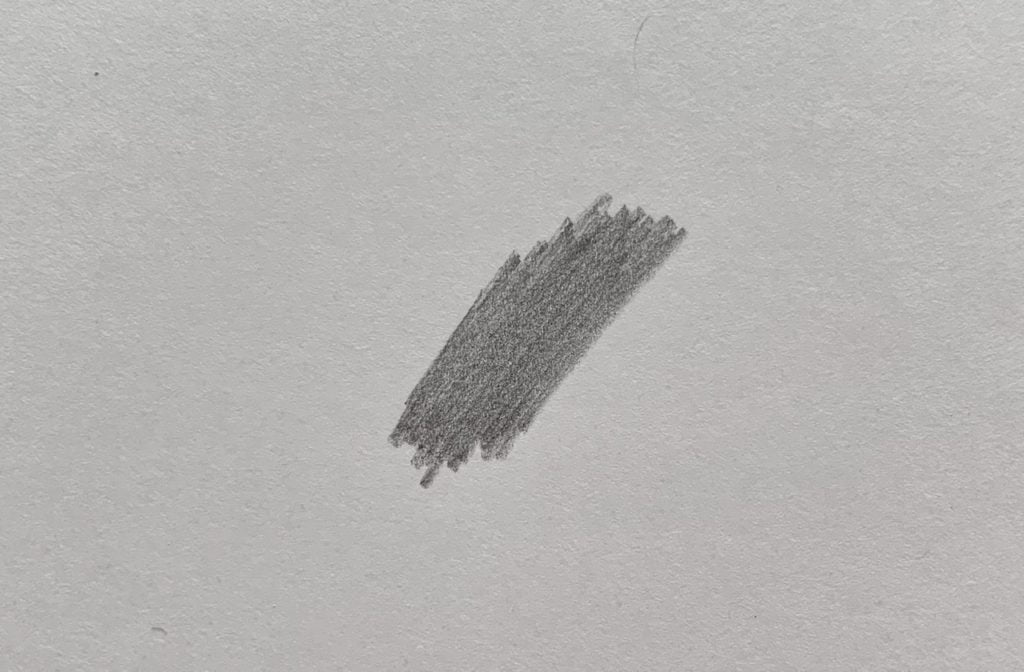
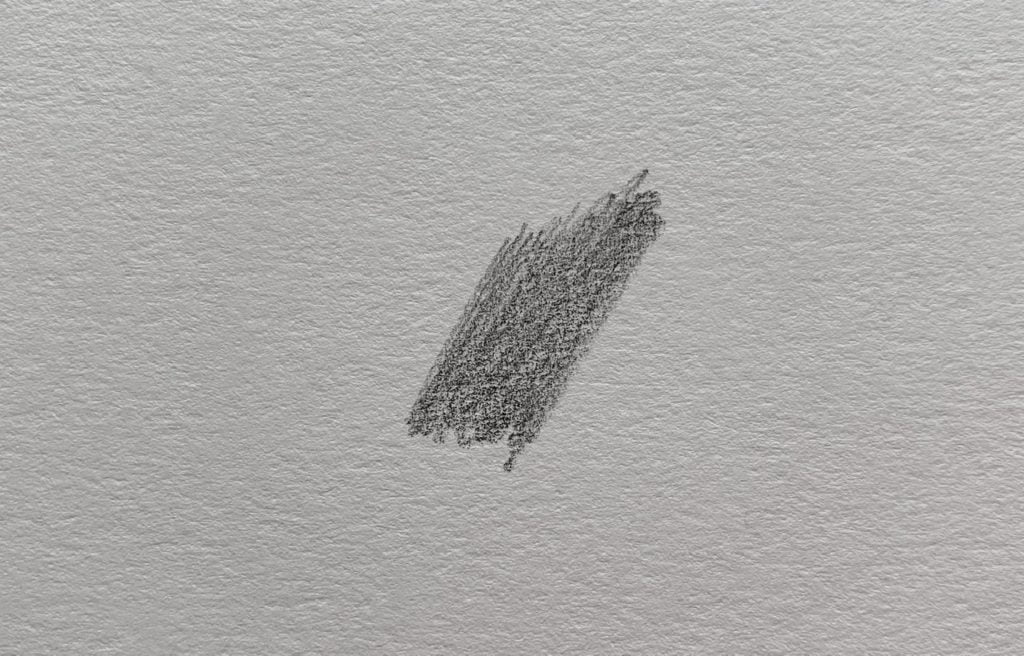
Tip: Don’t try to draw every single detail (unless of course you are a professional hyperrealism artist, in which case you shouldn’t read this blog!) You’ll go crazy. Instead, try to find a way to recreate the texture – we are going for the big picture here.
Choose soft pencils
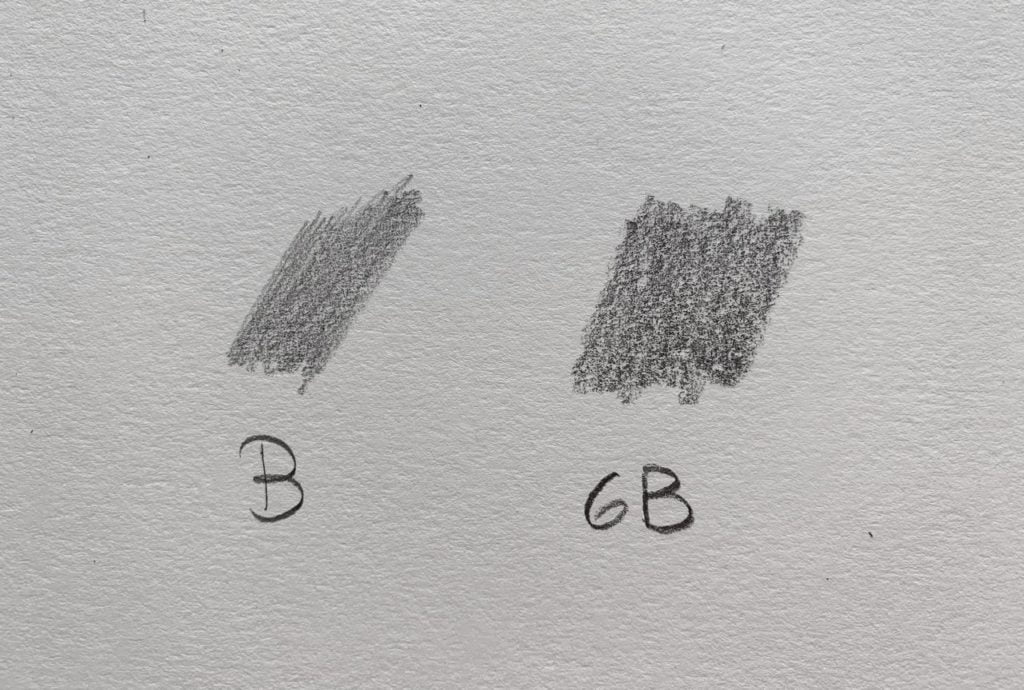
Make sure you use soft pencils. The softer the pencil, the more texture it creates, which is the goal here. My favorite pencils for male skin are 6B and 8B, and I rarely use anything harder than 4B.
Follow the natural contour of the face
Your pencil strokes should follow the natural contours of the face. This way, natural lines and wrinkles look more realistic.
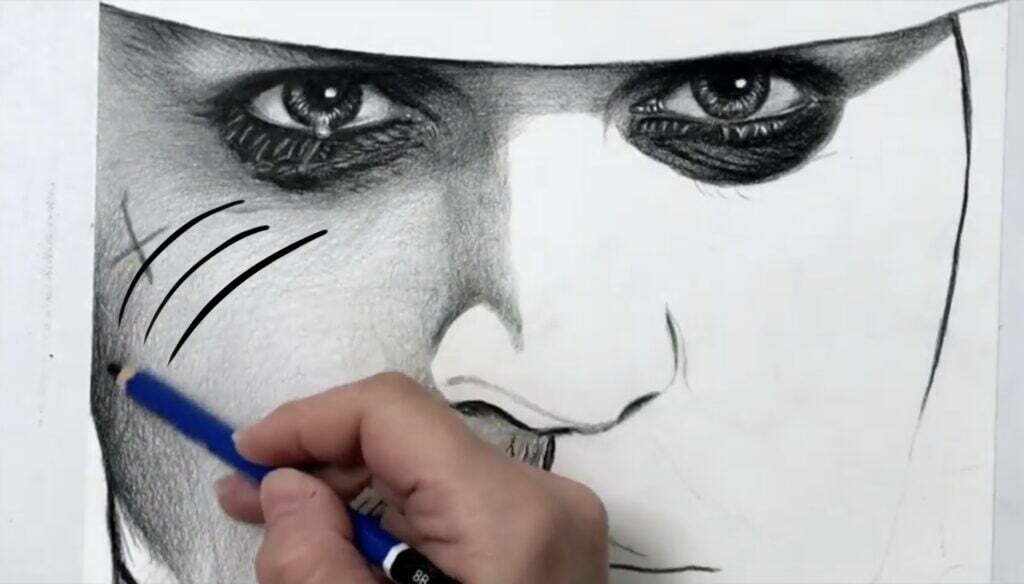
Blend minimally, only when you have to
Blending (=smudging) the graphite so that it looks smooth, is a common technique among pencil artists. Here, however, we need texture. The fastest and easiest way to achieve this, is to blend minimally, so that the natural texture of the paper is visible. I personally like to add a few minimally blended layers as the base, whereas the final layers on top are completely unblended.
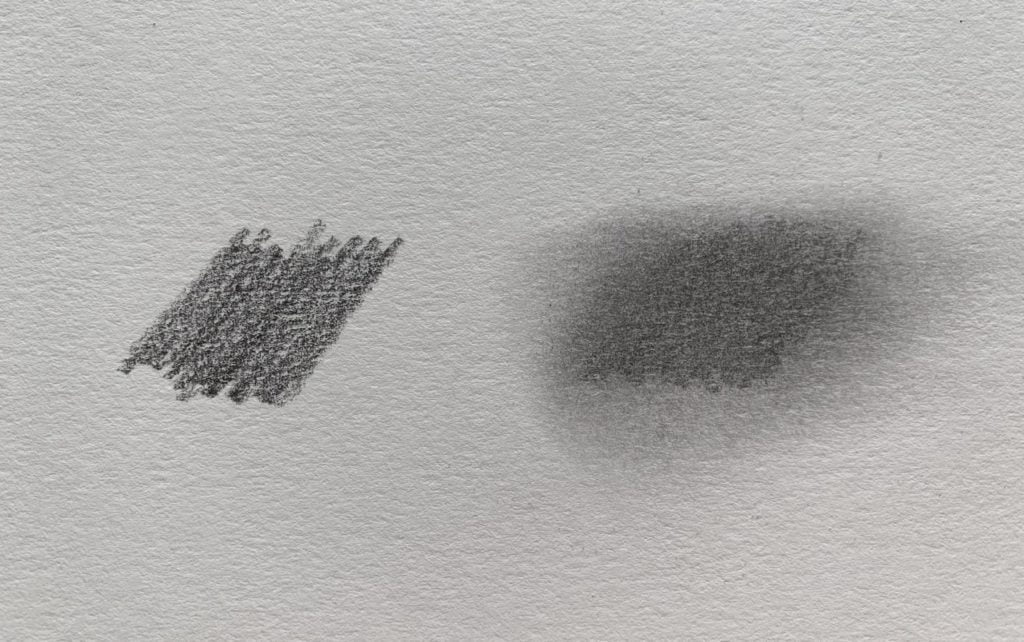
Done! Male, textured skin as easy as it can get!
You can check out the Video tutorial here:

 3D
3D Berry’s Adventures: Behind the Scenes
 Acrylic Markers
 Review – Arrtx Liquid Ink Acrylic Markers
 Fonts
Fonts Fontself for iPad Review – vol2
 Art discussion
 The future of Art (or why AI won’t take over)
 Colored Pencils
 My 5 top High End Artist Grade Colored Pencils
 Acrylic Markers