
I have said over and over again that I love procreate, I cannot live without procreate, I wake up in the morning and the first thing I do is open procreate on my iPad. (At least WHEN I wake up. Some days I don’t wake up at all. No joking… And by the end of this post you will know if I slept last night or not! XD)
You got my point, I love procreate. However, for someone who started off with photoshop, procreate is a missing a few important functions. Yep text effects, I am talking to you! I really miss text effects oink procreate, but over the years I found ways to approximate them. Today I will be showing you how to create a water text effect, something many of you requested when I shared a liquid font banner the other day.
Funny thing is that this banner was created using affinity photo, not procreate. However, similar results can be achieved in procreate with just a few more clicks. Let’s get started!
Step 1
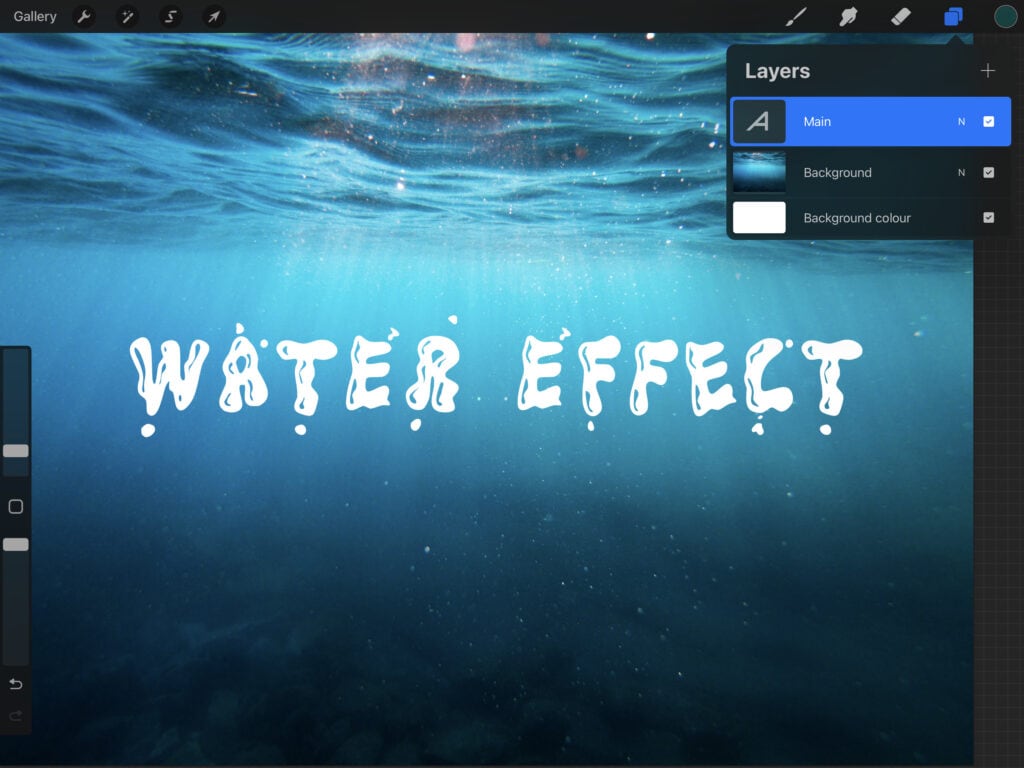
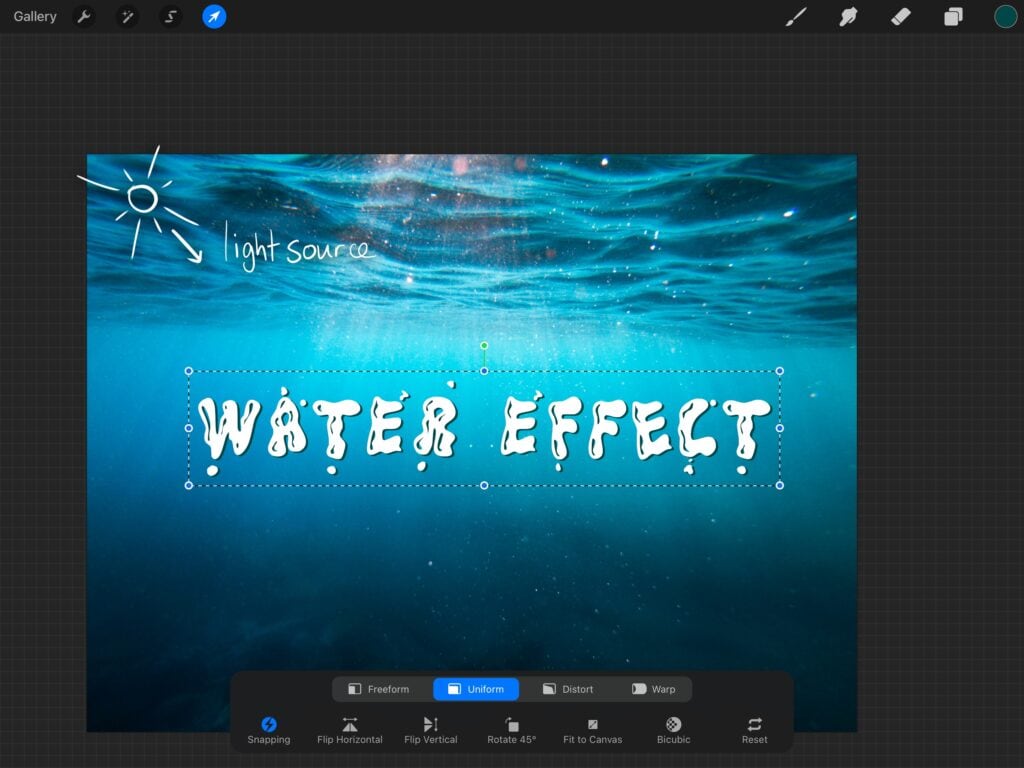
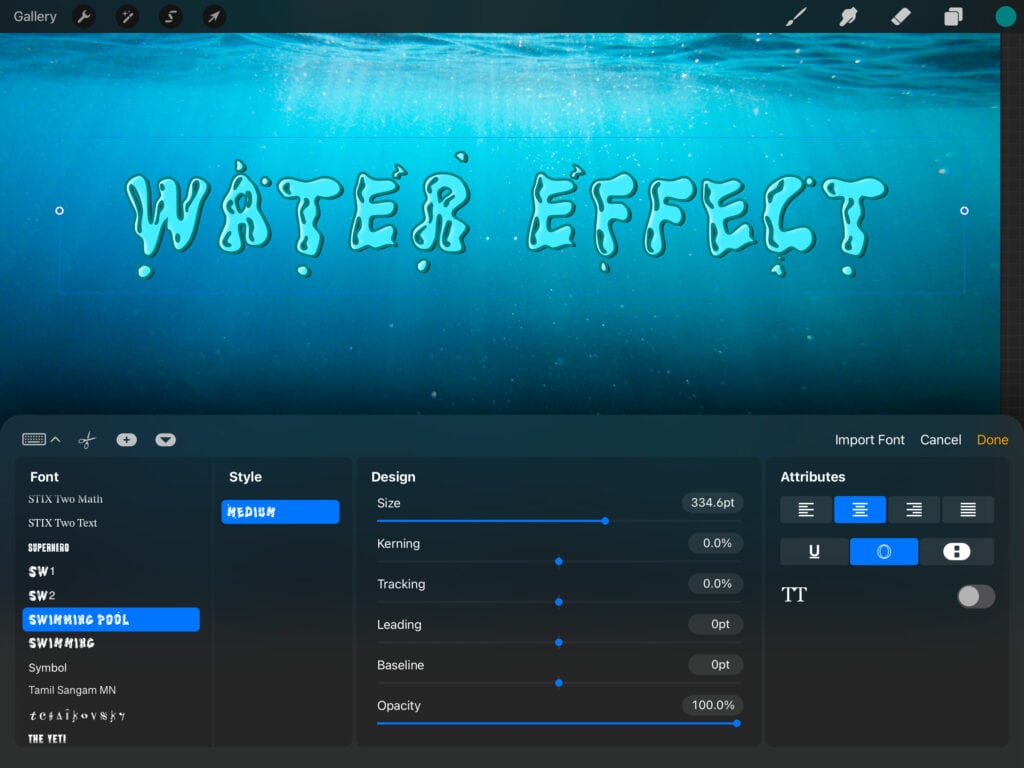
I am starting off with the following image, a plain font on an underwater background. These are the links to the font and background, both of them are free for personal use. These are just example assets, feel free to use anything to your liking. Just make sure the font is wiggly enough, for more realistic results.
Step 2
I duplicate my text layer and recolor the bottom layer with a deep green-blue color.
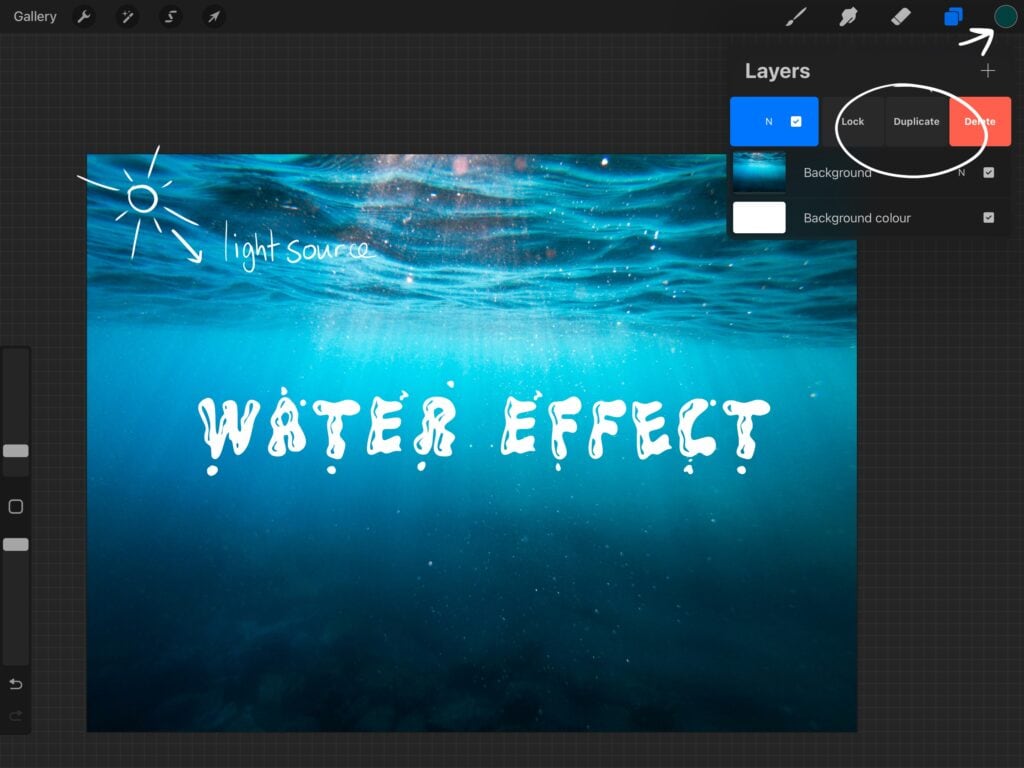
Then with the select tool I drag the bottom layer down and right (this is supposed to be the direction of the light source) so that it looks like this:
Step 3
Time for the tricky part. I duplicate my main layer again. Then I fill it with a light blue-green color and I rasterize it.
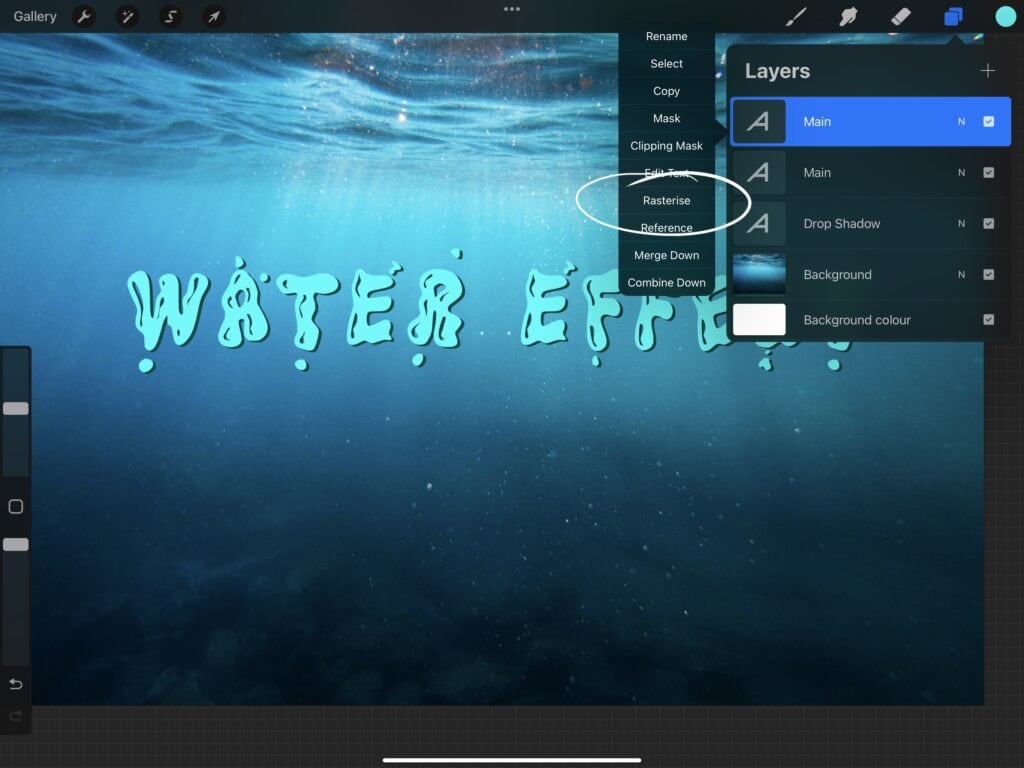
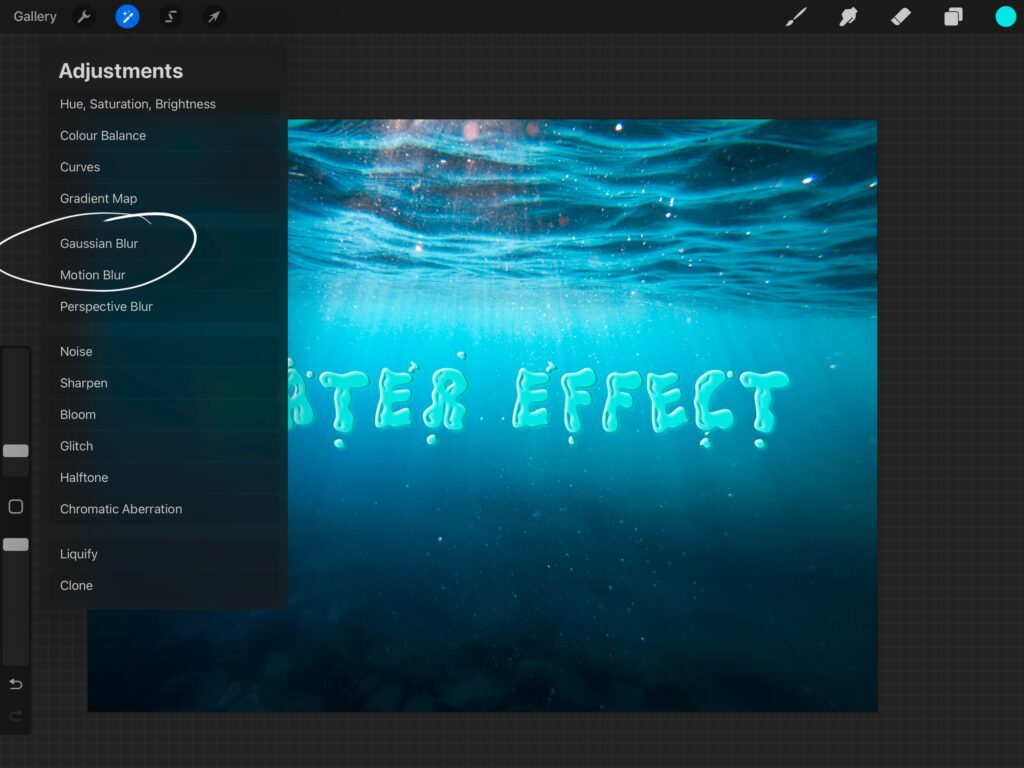
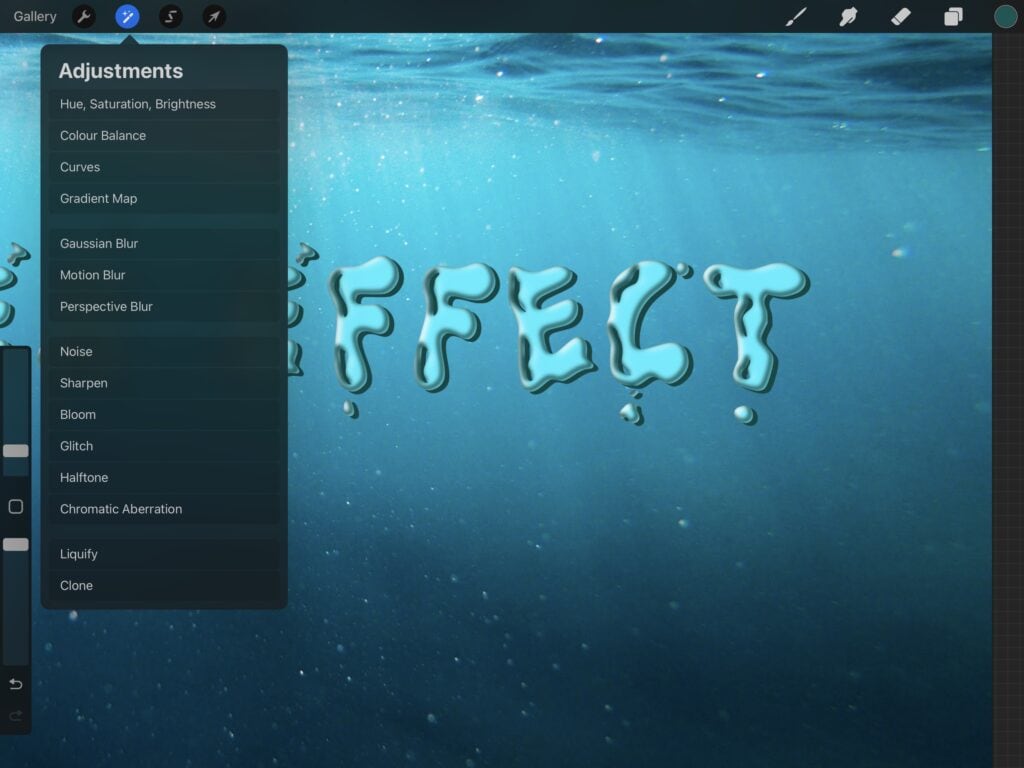
I drag again it towards the direction of the light source and I blur it (adjustments -> Gaussian blur).
I select the layer again from the right drop down menu, and select “clipping mask”. The final result should look something like this:
Step 4
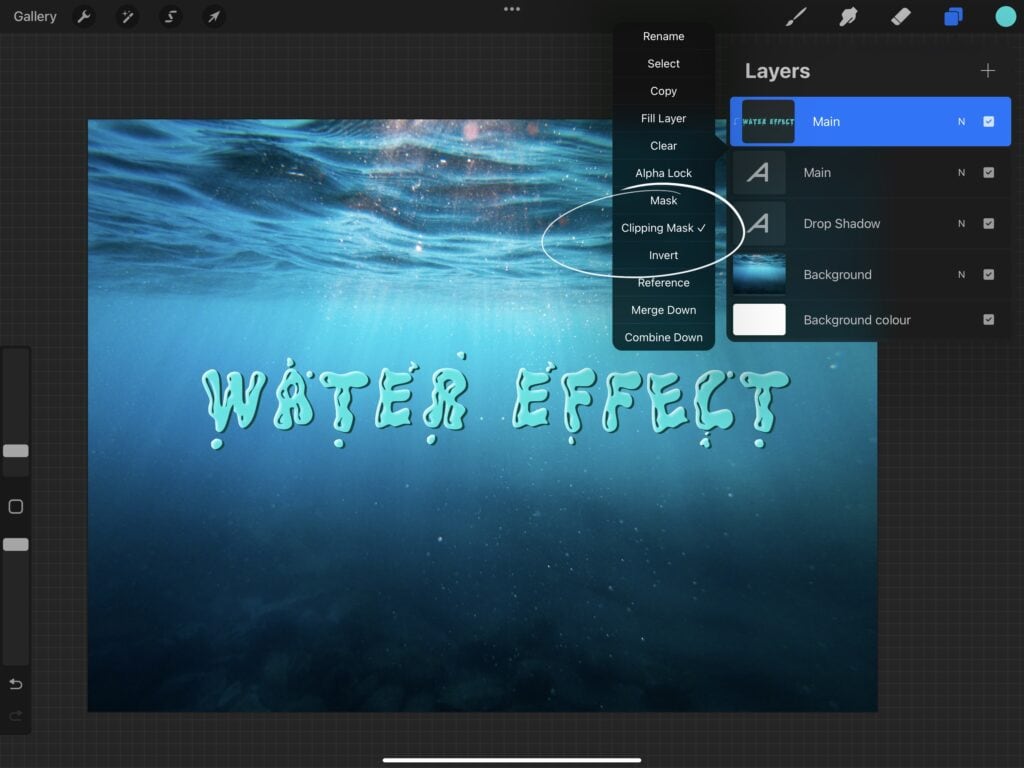
I now duplicate the “main” layer again and bring it to the top. When you do that the “clipping mask” might get disabled, so make sure the layers will be just like below:
Afterwards I color the top text layer with a dark greenish hue, then select “edit text”, then “outline”.
In the meantime I clip the layer to the layer below, drag it contrary to the direction of the light and blur it (adjustments -> Gaussian blur). The result should be like this:
Step 5
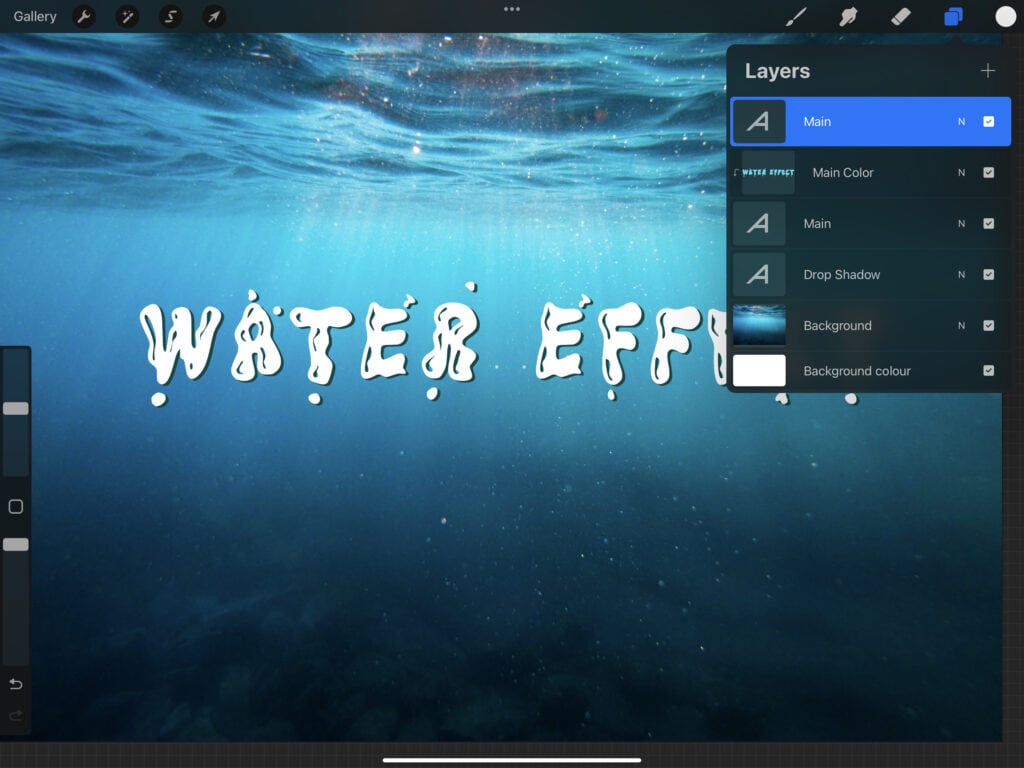
Finally I add a new layer on top. This is the highlights layer. With the standard airbrush I paint white highlights on the top left edges. This is where the light falls on the water droplets/bubbles/whatever you might wanna call them. Optionally you can add a second highlight layer. This is for random reflections on the water (because water tends to reflect almost everything). You can be super messy with this layer, the more random the reflections the better! This is how I organize my layers:

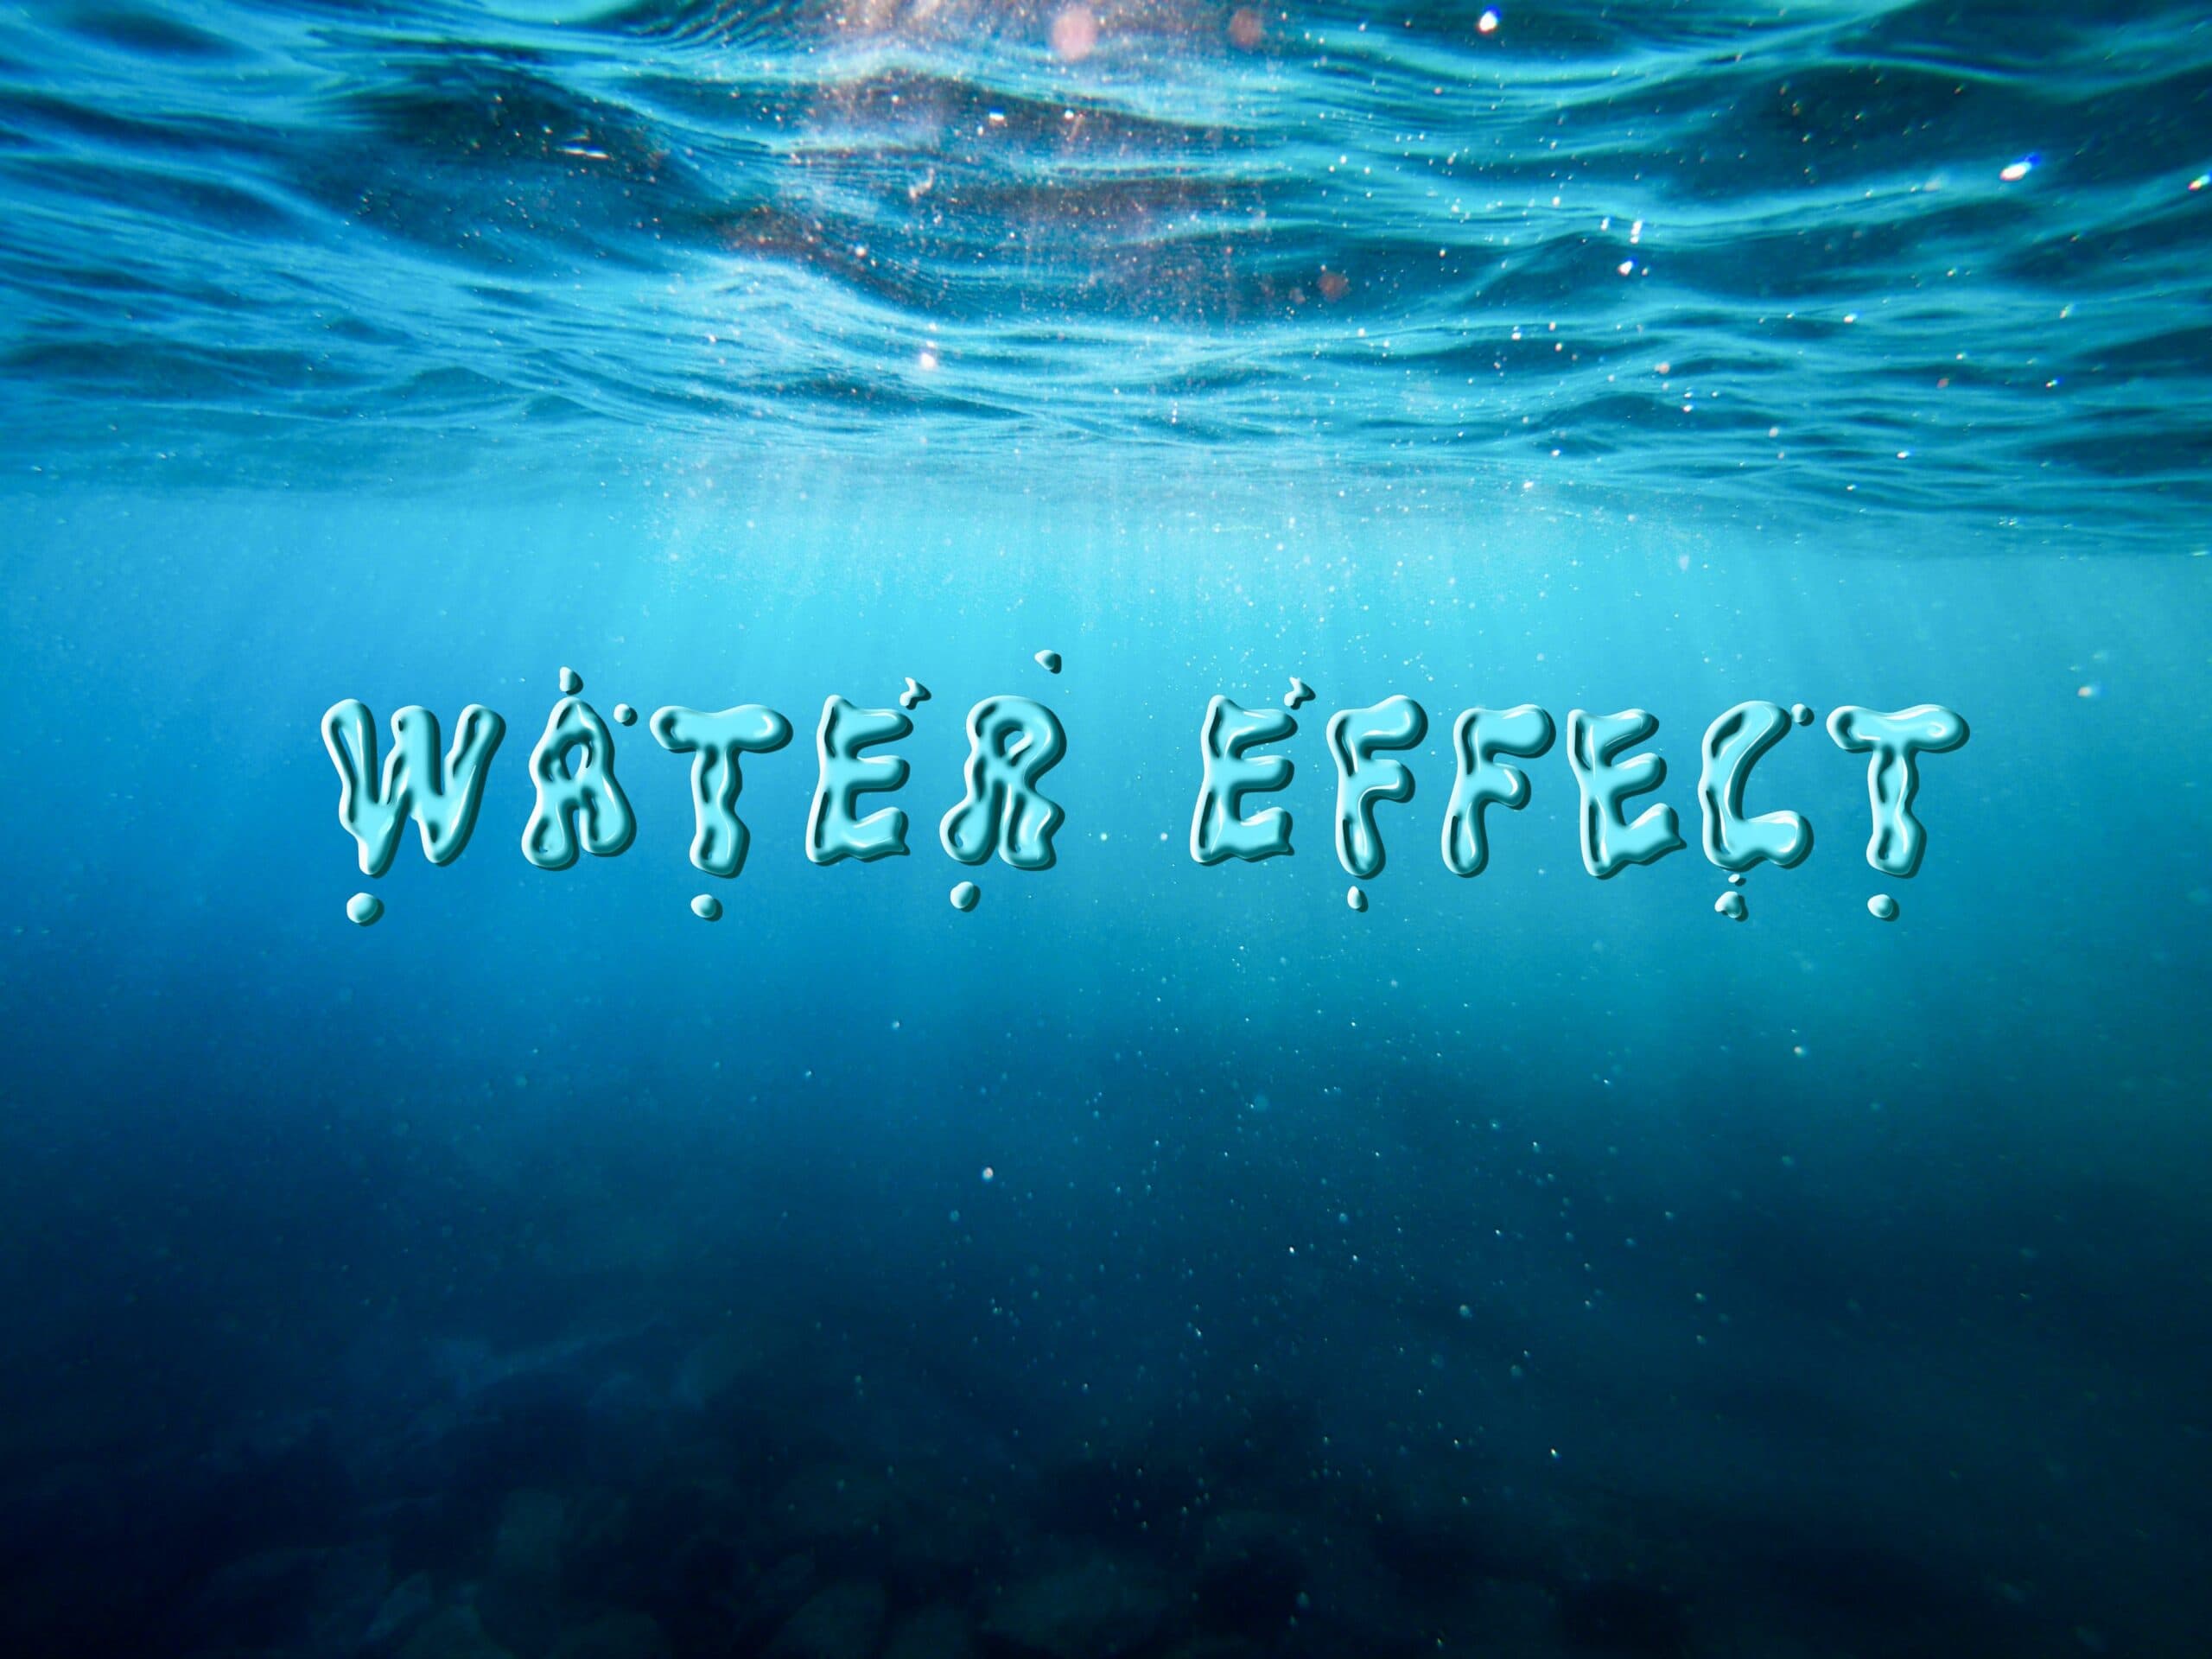
And this is how the finished image looks like.

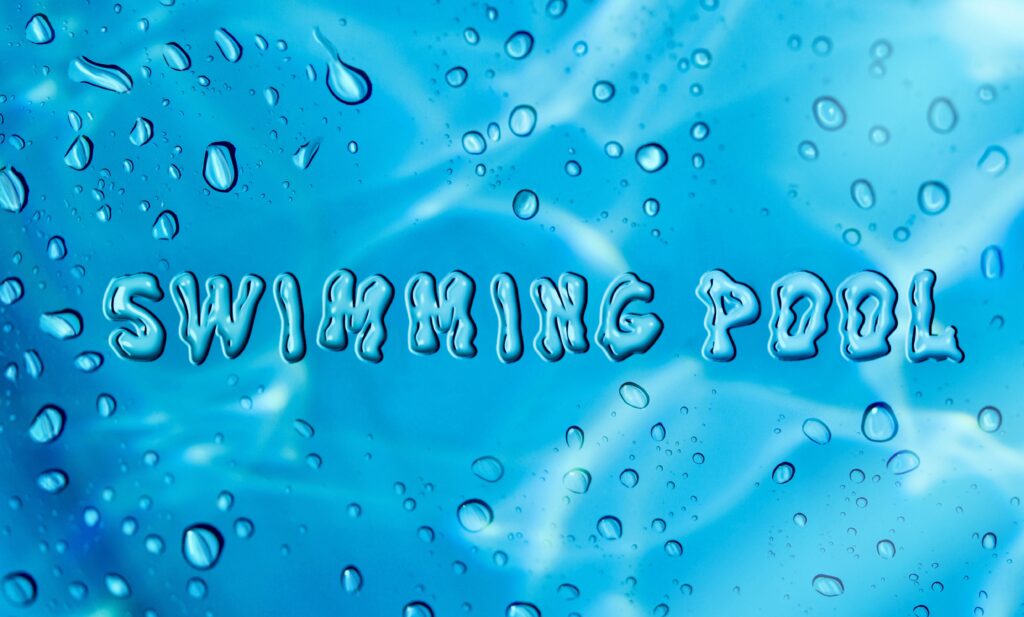
What do you think? Not quite the same as the “Swimming pool” image at the beginning of this post, but not too bad either, right? So, what about you guys? Do you edit your texts in procreate? And if so, what are your best tips?
Disclaimer: Nowadays, I use Affinity Photo every time I want to create a text effect on the iPad. As I have already mentioned I love Affinity Photo and at 19.99€ (currently discounted at 11.99€) it is a real bargain. And no, I am not sponsored (that would be great! XD ) I am not even an affiliate. However I always give credit when proper credit is due, so yes, it is a great app!
 Colored Pencils
 My 5 top High End Artist Grade Colored Pencils
 Acrylic Markers
 Ohuhu Acrylic Markers Review
 Colored Pencils
 Woomer Art Colored Pencils Review
 Graphite
 Staedtler Mars Lumograph Black Review
 Arrtx
Arrtx Arrtx 60-piece Regular and Anime Acrylic Markers Review
 Art discussion